
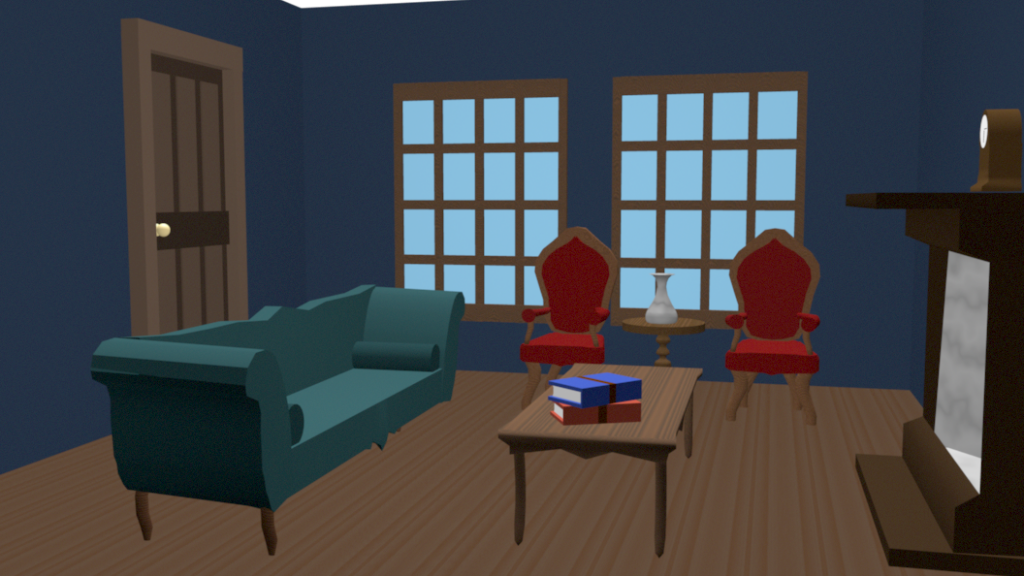
Below are some renders of the room scene that I created out of my assets. To do this I first took the room scene I had been rendering my assets in to use as a base for the room. I then started with the door and the window assets and imported these into the maya document I was working on. I then used the move and scale tools to position them and scale them to the right size. Once this was done I imported the fireplace and clock and did the same thing, I placed the fireplace on one of the empty walls. After I had imported that I then added in all my other assets, duplicated the chair and scaled everything to size. It was at this point, when I had added all my assets into the room and placed them where I thought looked best, that I decided to change the colour of the walls of the room. I decided to go for a deep blue for the walls as I felt this was a nice colour which was between that of the sofa and the chair fabrics. I think the deep blue was a good choice as it makes the furniture stand out but also simultaneously matches with each of the pieces.
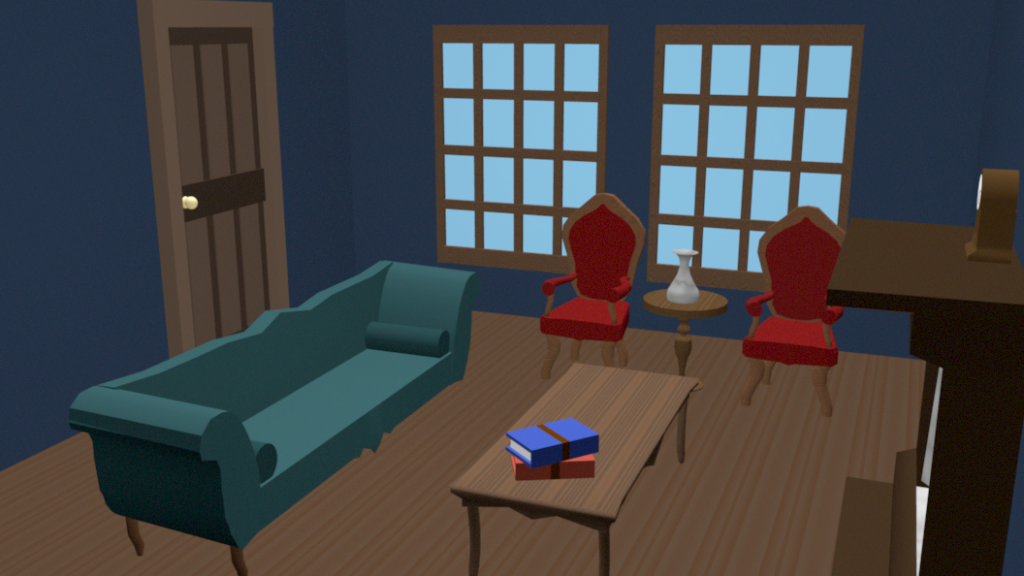
Looking at everything in the room together I think I made the right decision using differing wood tones on my assets, I think that overall it looks good together. I think that if I had of used the same settings and colours for all of the wood it would have been too much and all blended in together and not looked as realistic. I think I was able to achieve what I set out to make and made something in a semi realistic style that I’m happy with.
After the scene was created I then set to create my animation. This was actually easier to create than I anticipated. I wanted to do a camera going through the room and turning around as if it was someone ‘filming it’. To do this I made a path with the curve tool, and traced the path that I wanted the camera to follow. Once i had this path I placed a camera and used the ‘attach to motion path’ setting located in the constrain, motion paths part of the rendering tab. After this was done I checked what the animation looked like in maya and then set to rendering it. When I was attempting to render as a video from batch sequence I kept receiving errors, the same for when I tried rendering the individual frames on batch sequence, every time I’d view a render there would be incorrect textures, missing pieces and distorted elements to my assets. I did attempt to sit and render each frame individually using the ‘render current frame’ setting, after doing about 500 this way I did some more research and decided to try out Render Sequence. I used Render Sequence to render the remaining 1500 frames in batch, this took about a day to achieve but was ultimately faster than rendering individually. Once I had all of the frames rendered and in a file on my desktop I then took them into some video editing software and pieced them together to make the animation, I did have some issues here too with exporting and file size so I’m not sure if I met all of the specifics due to computer issues but I did manage to get my video to be around 30 seconds.I changed some brightness settings and colour grading and then exported it as a .mp4. After I had this done I just had to upload the animation to Canvas once I was ready to submit my project. I like how my animation turned out and I’m quite proud of it for my first attempt at a 3D project or using Maya.