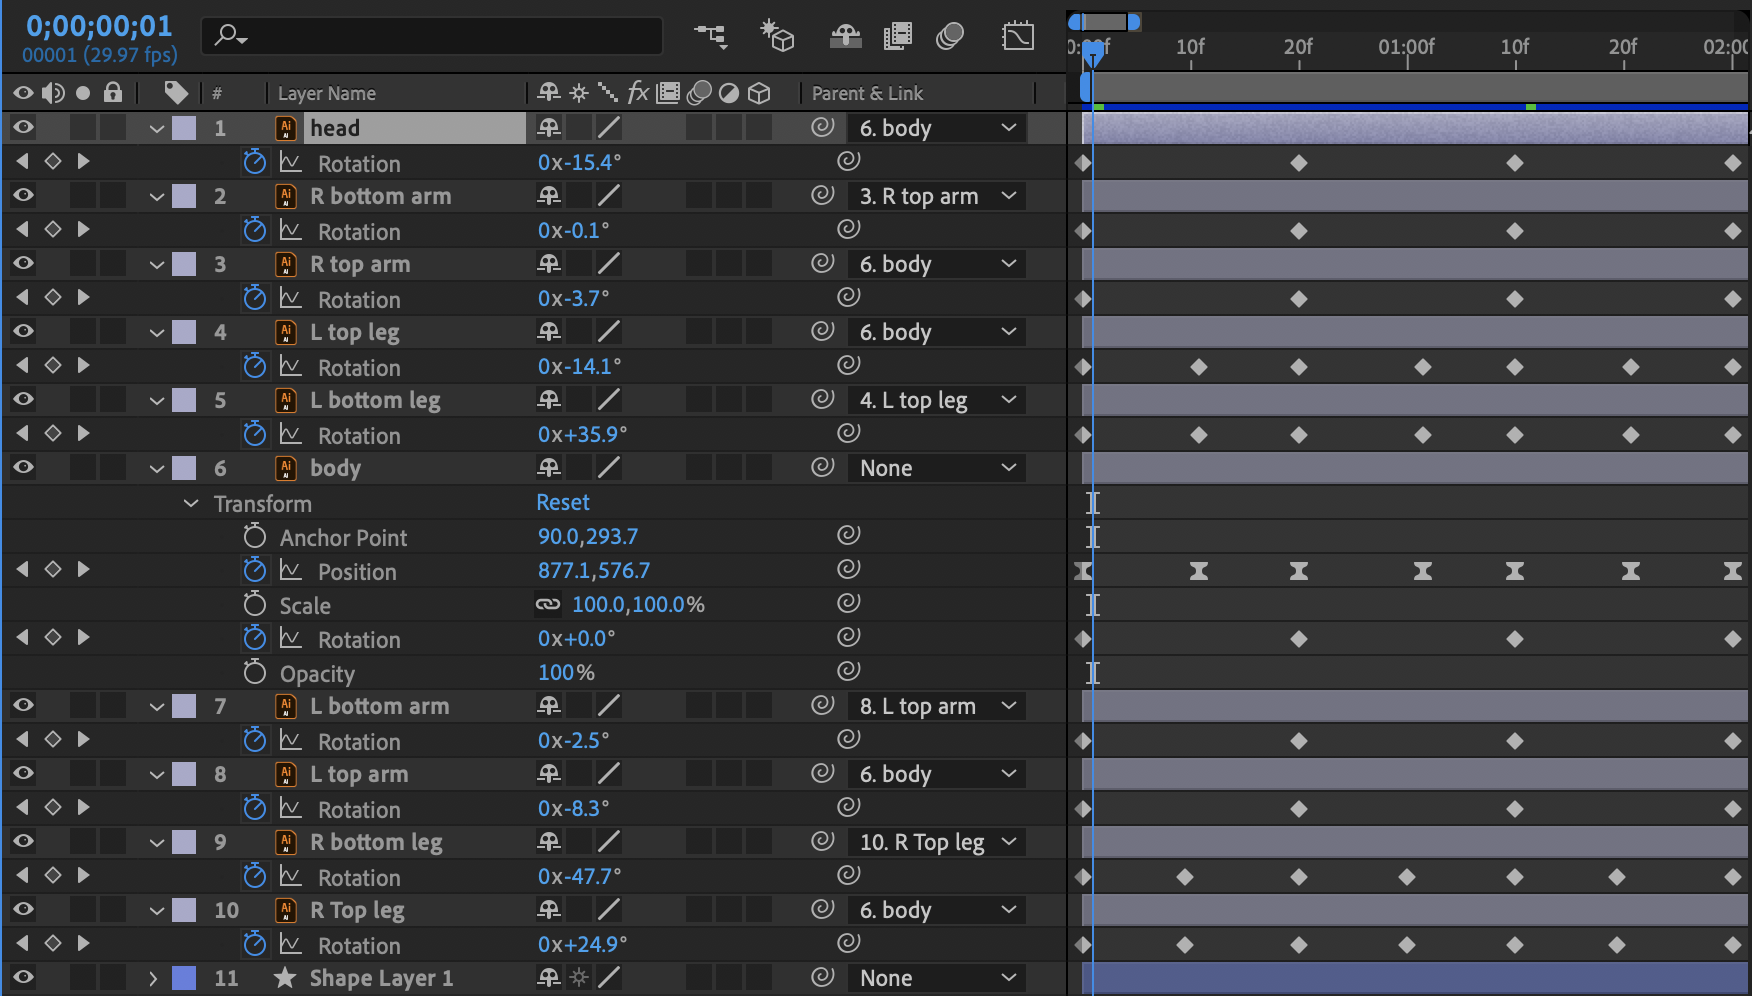
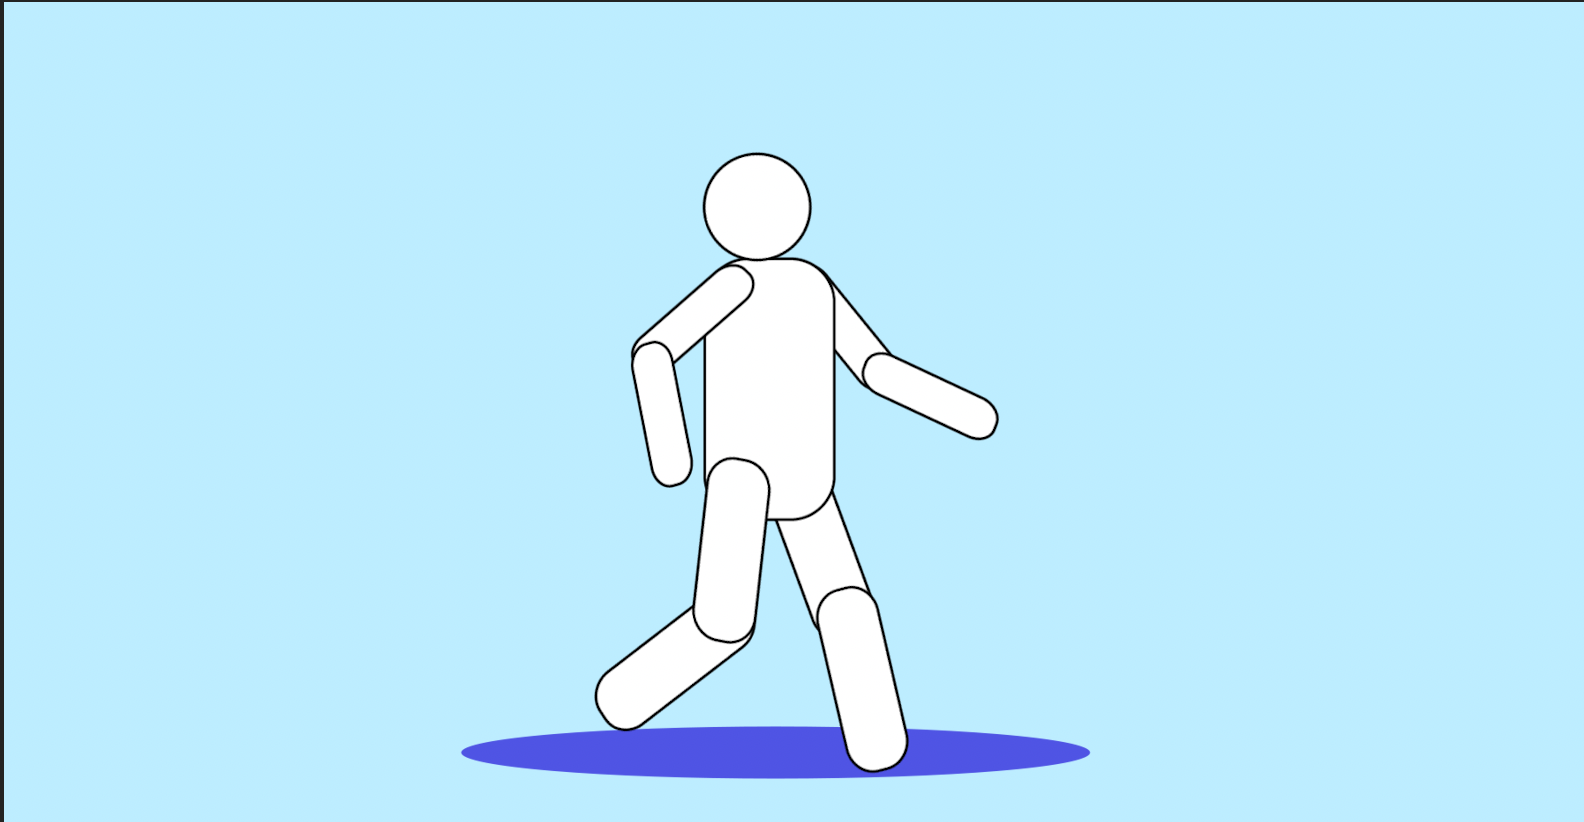
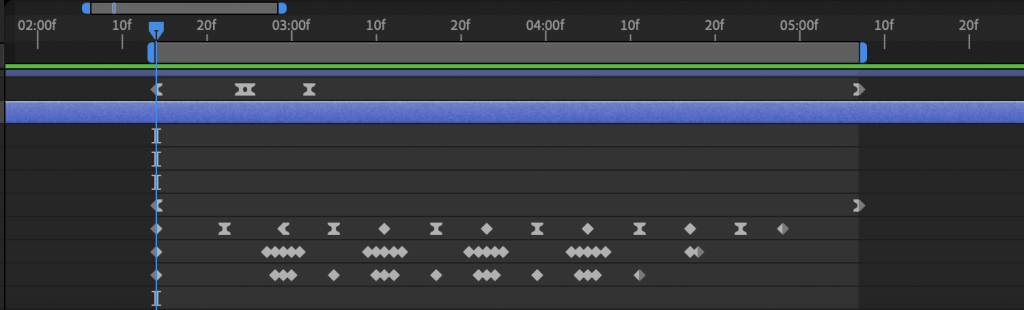
This is the character walk style animation that I made in after effects. This animation was easier than I anticipated to create and I was able to make something that I was satisfied with on the first attempt. I made the person itself in Adobe Illustrator then imported this as a composition into After Effects making sure each part of they body was on a separate layer so could be manipulated separately. I then parented the pieces together as shown in the screenshot below so that elements would move together and smoothly, I then mainly used rotation keyframes with some position keyframes to move the person to create the walk cycle making sure to make the beginning and end keyframes the same. I didn’t really have much issue when creating this animation, only in the process of rendering it. The issue that I had was once it was rendered and uploaded to Youtube it looked a lot slower than what it had looked like in After Effects so I went back into After Effects and moved in the timeline so that the space between keyframes was shorter and the end result was quicker. My whole animation is 2 seconds long but since the start and end frame are the same it can be looped infinitely. I really like the outcome of this animation and think it looks quite good for a first attempt at anything like this.
Task 3 – Bouncing Ball Animation
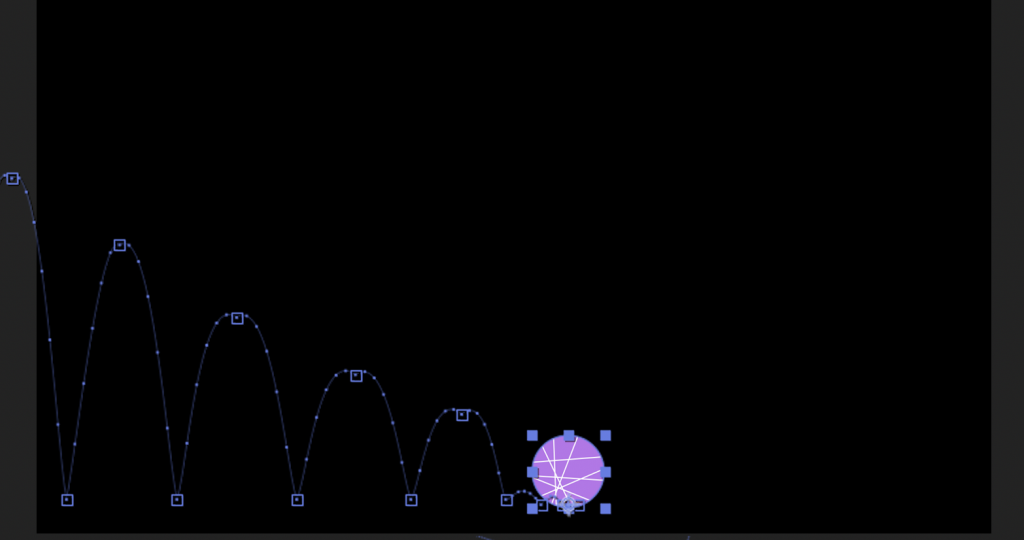
This is the bouncing ball animation that I created for task 3. To make this I followed the tutorial suggested as I have never used After Effects before and am lacking in experience. I had a few first attempts before this one which did not look as good or the bounces were too pointed and not curved enough that I didn’t know how to solve easily, so this is actually the 3rd one that I made. I decided to start over each time as I could use what I made in each attempt as a test run and improve my skills by doing it again. I think it turned out well for a first attempt and even-though it is quite simple you can see it rotating as it bounces and the squash and stretch effect well. i think by doing this task and leaning how to animate something basic like a ball in the software it made me more aware of how to do other things with it. Once I had made the ball animation I then uploaded it to youtube. Below are some progress screenshots.
Task 2 – Animated Logo
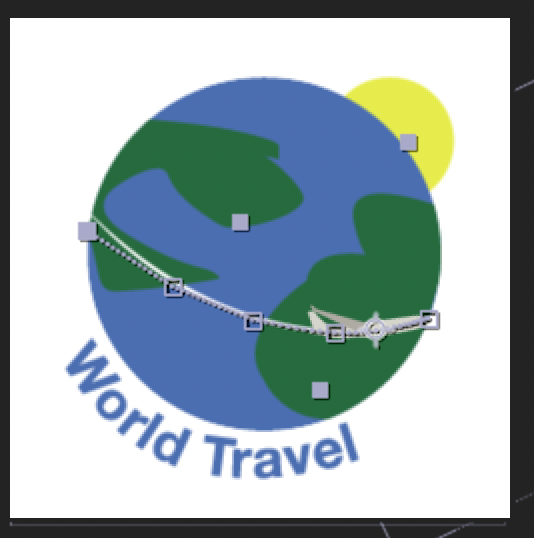
Below is the logo that I created for Task 2. I decided that I was going to make a travel company logo as I had an idea of an animation I could make for one like that. I decided that I was going to make a logo that featured the world and a plane going around it, I felt like this would be a cool logo and something that was easy to make with my limited skill set. I picked World Travel for the company name as this summed up what the company did and I didn’t feel like the name was the biggest element for the logo, it was the animation itself. The customers would be families and holidaymakers looking for travel and air fairs across the world. I picked blue, green and yellow and shades of white and grey for the main colours of this logo as these were the colours that made sense for the design. I wanted my logo’s animation to be simple so I think the idea of having the plane fly around it was good and also illustrated what the company did better than the still logo would itself.

Below are some screenshots of my progress and how I animated the logo. I used the scale, rotate, and x and y position settings to achieve my animation. I decided that I wanted it to follow the line on the logo so this is the path that I animated it to take. To create this animation I used Adobe After Effects and the key frame system within it.
Below is the gif of the animated logo that I created. To make the gif I first had to render the animation as a video, I did this by adding it to the render queue and saving it as a .mov file. Once I had this video I used an online converter to make it into a .gif file.

Task 1 – Traditional to Digital Animation
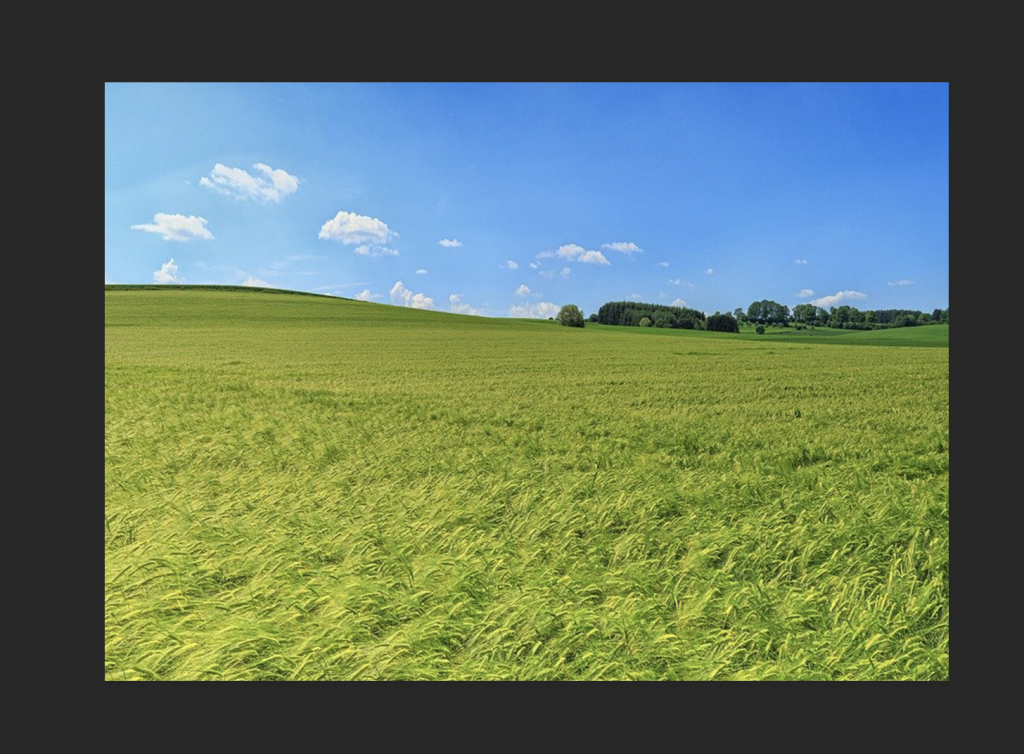
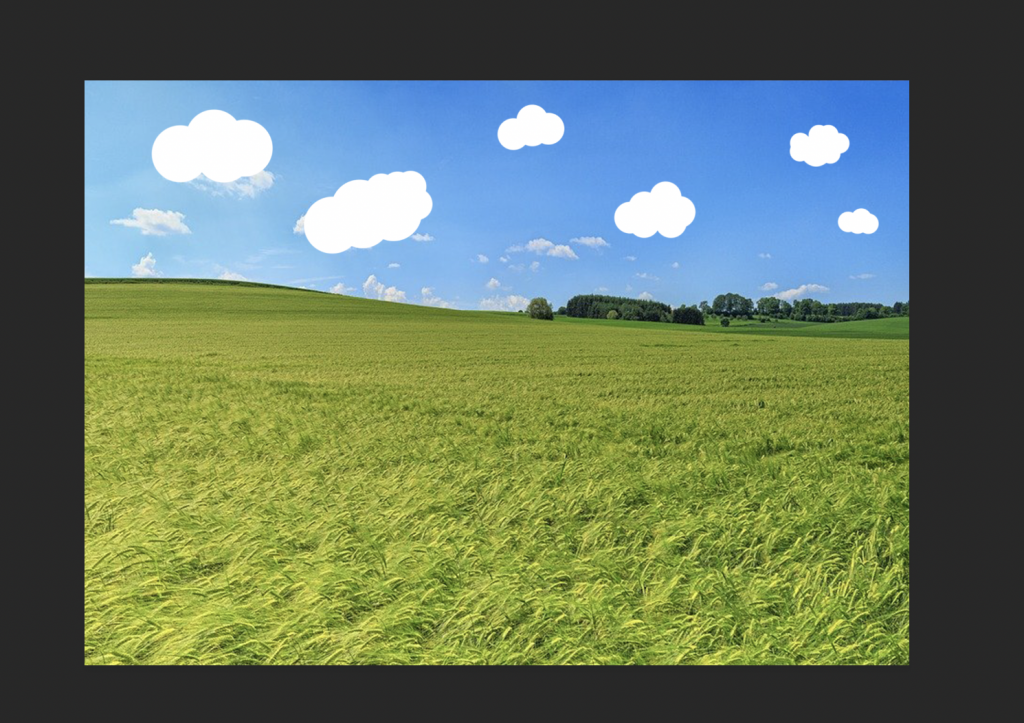
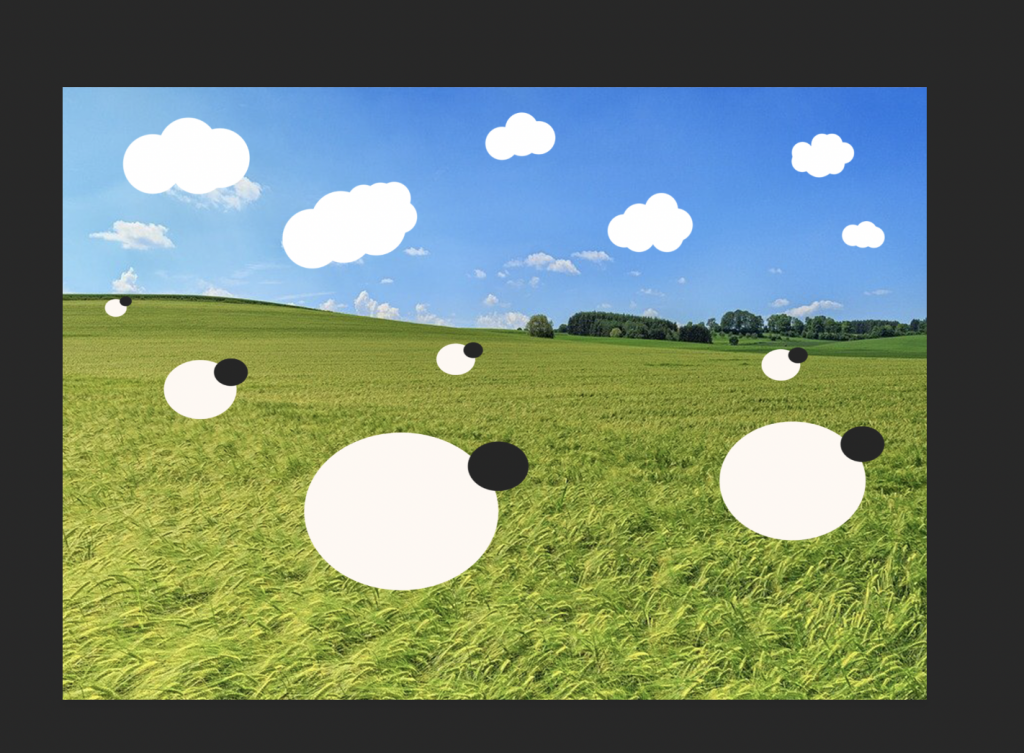
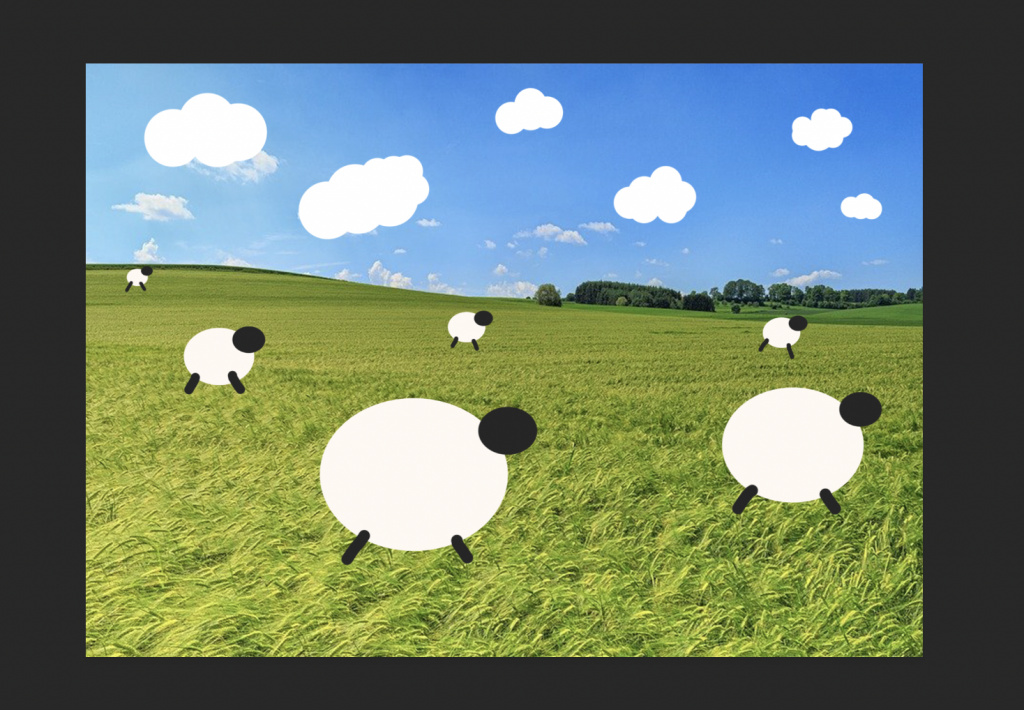
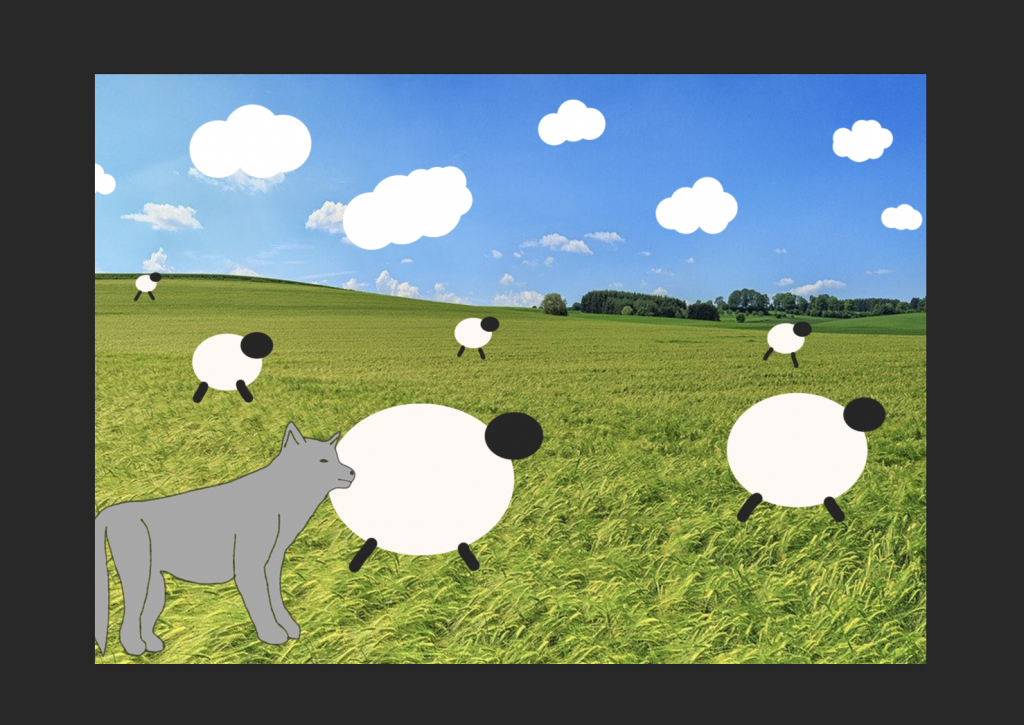
This is the animation of a scene that I created. I produced this in photoshop. I had never really made animations before so I did keep it relatively simple but tried to use some of the principles of animation within my work. The principles that I used in this animation that I made include arcs (how the wolf travels across the screen from right to left) and ease in (how the wolf slowly moves in from the left of the screen at the beginning).
I’d say my animation is closest in style to a cel animation but also could be close to stop motion in a way. I would say this because the background itself is stationary and used within every single frame of the animation and is on a separate layer. The wolf, the clouds and the sheep are then on individual layers placed on top of the scenery This is similar to cel animation as these foreground layers are placed on top of the background layers and are able to be moved separately and are mostly transparent so the underneath layers are not effected by their addition or subtraction. It is however quite similar to stop motion however as not every single frame is redrawn they are simply shifted along as you would move things in stop motion.
I think that this animation, despite the look of it being simple looks okay for a first attempt at a more traditional looking animation technique.
Above are screenshots of how I layered all my pieces together to make the scene. This is how all my layers worked together in photoshop. I created everything on separate layers so I could move things at their own speeds and make things flow how I wanted them too. I wasn’t sure how to make a complicated animation so I wanted to do something simple such as objects just moving across the screen showing some animation principles.
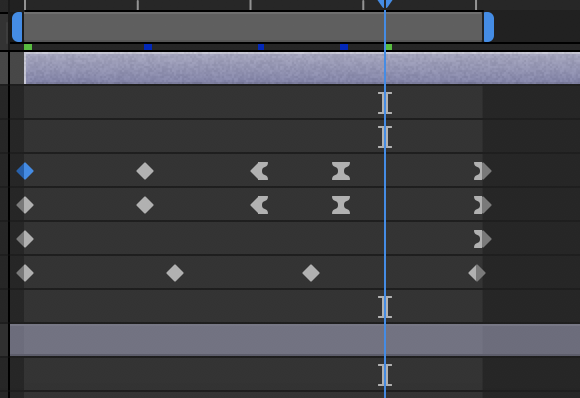
Below is a screenshot of my timeline in photoshop showing some of my frames and how the ones next to each other are quite similar as some objects moved more and some less than others.

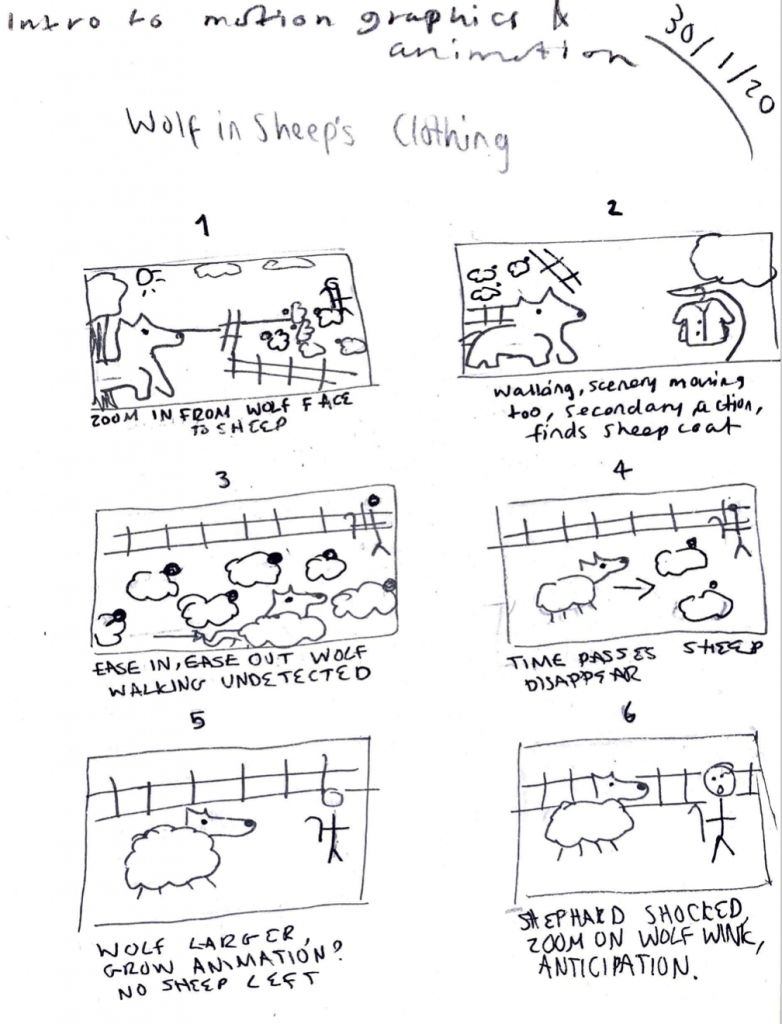
Aesop’s Fable Storyboard
For this exercise I decided to chose a fable that I already knew to make the process of creating a storyboard easier. I first went onto the website we were provided with with the fables on and selected ‘The Wolf in Sheep’s Clothing’ as my story. I then refreshed my memory and re read this fable. Once I had re read this I then took the key points and sketched up the storyboard below of the key events. I tried to add some short scene explanation underneath each one and to kind of list what my plan with that scene would be. I think this was a useful exercise as it helped me to think more about the 12 principles of animation and how I could use these in work that I produce.