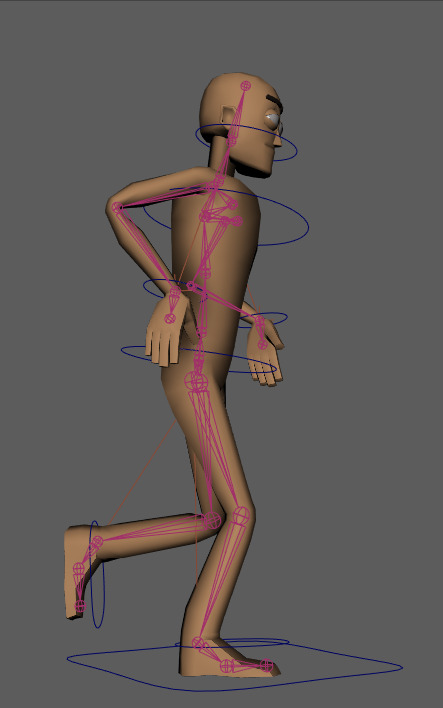
Animation 3 – Wave
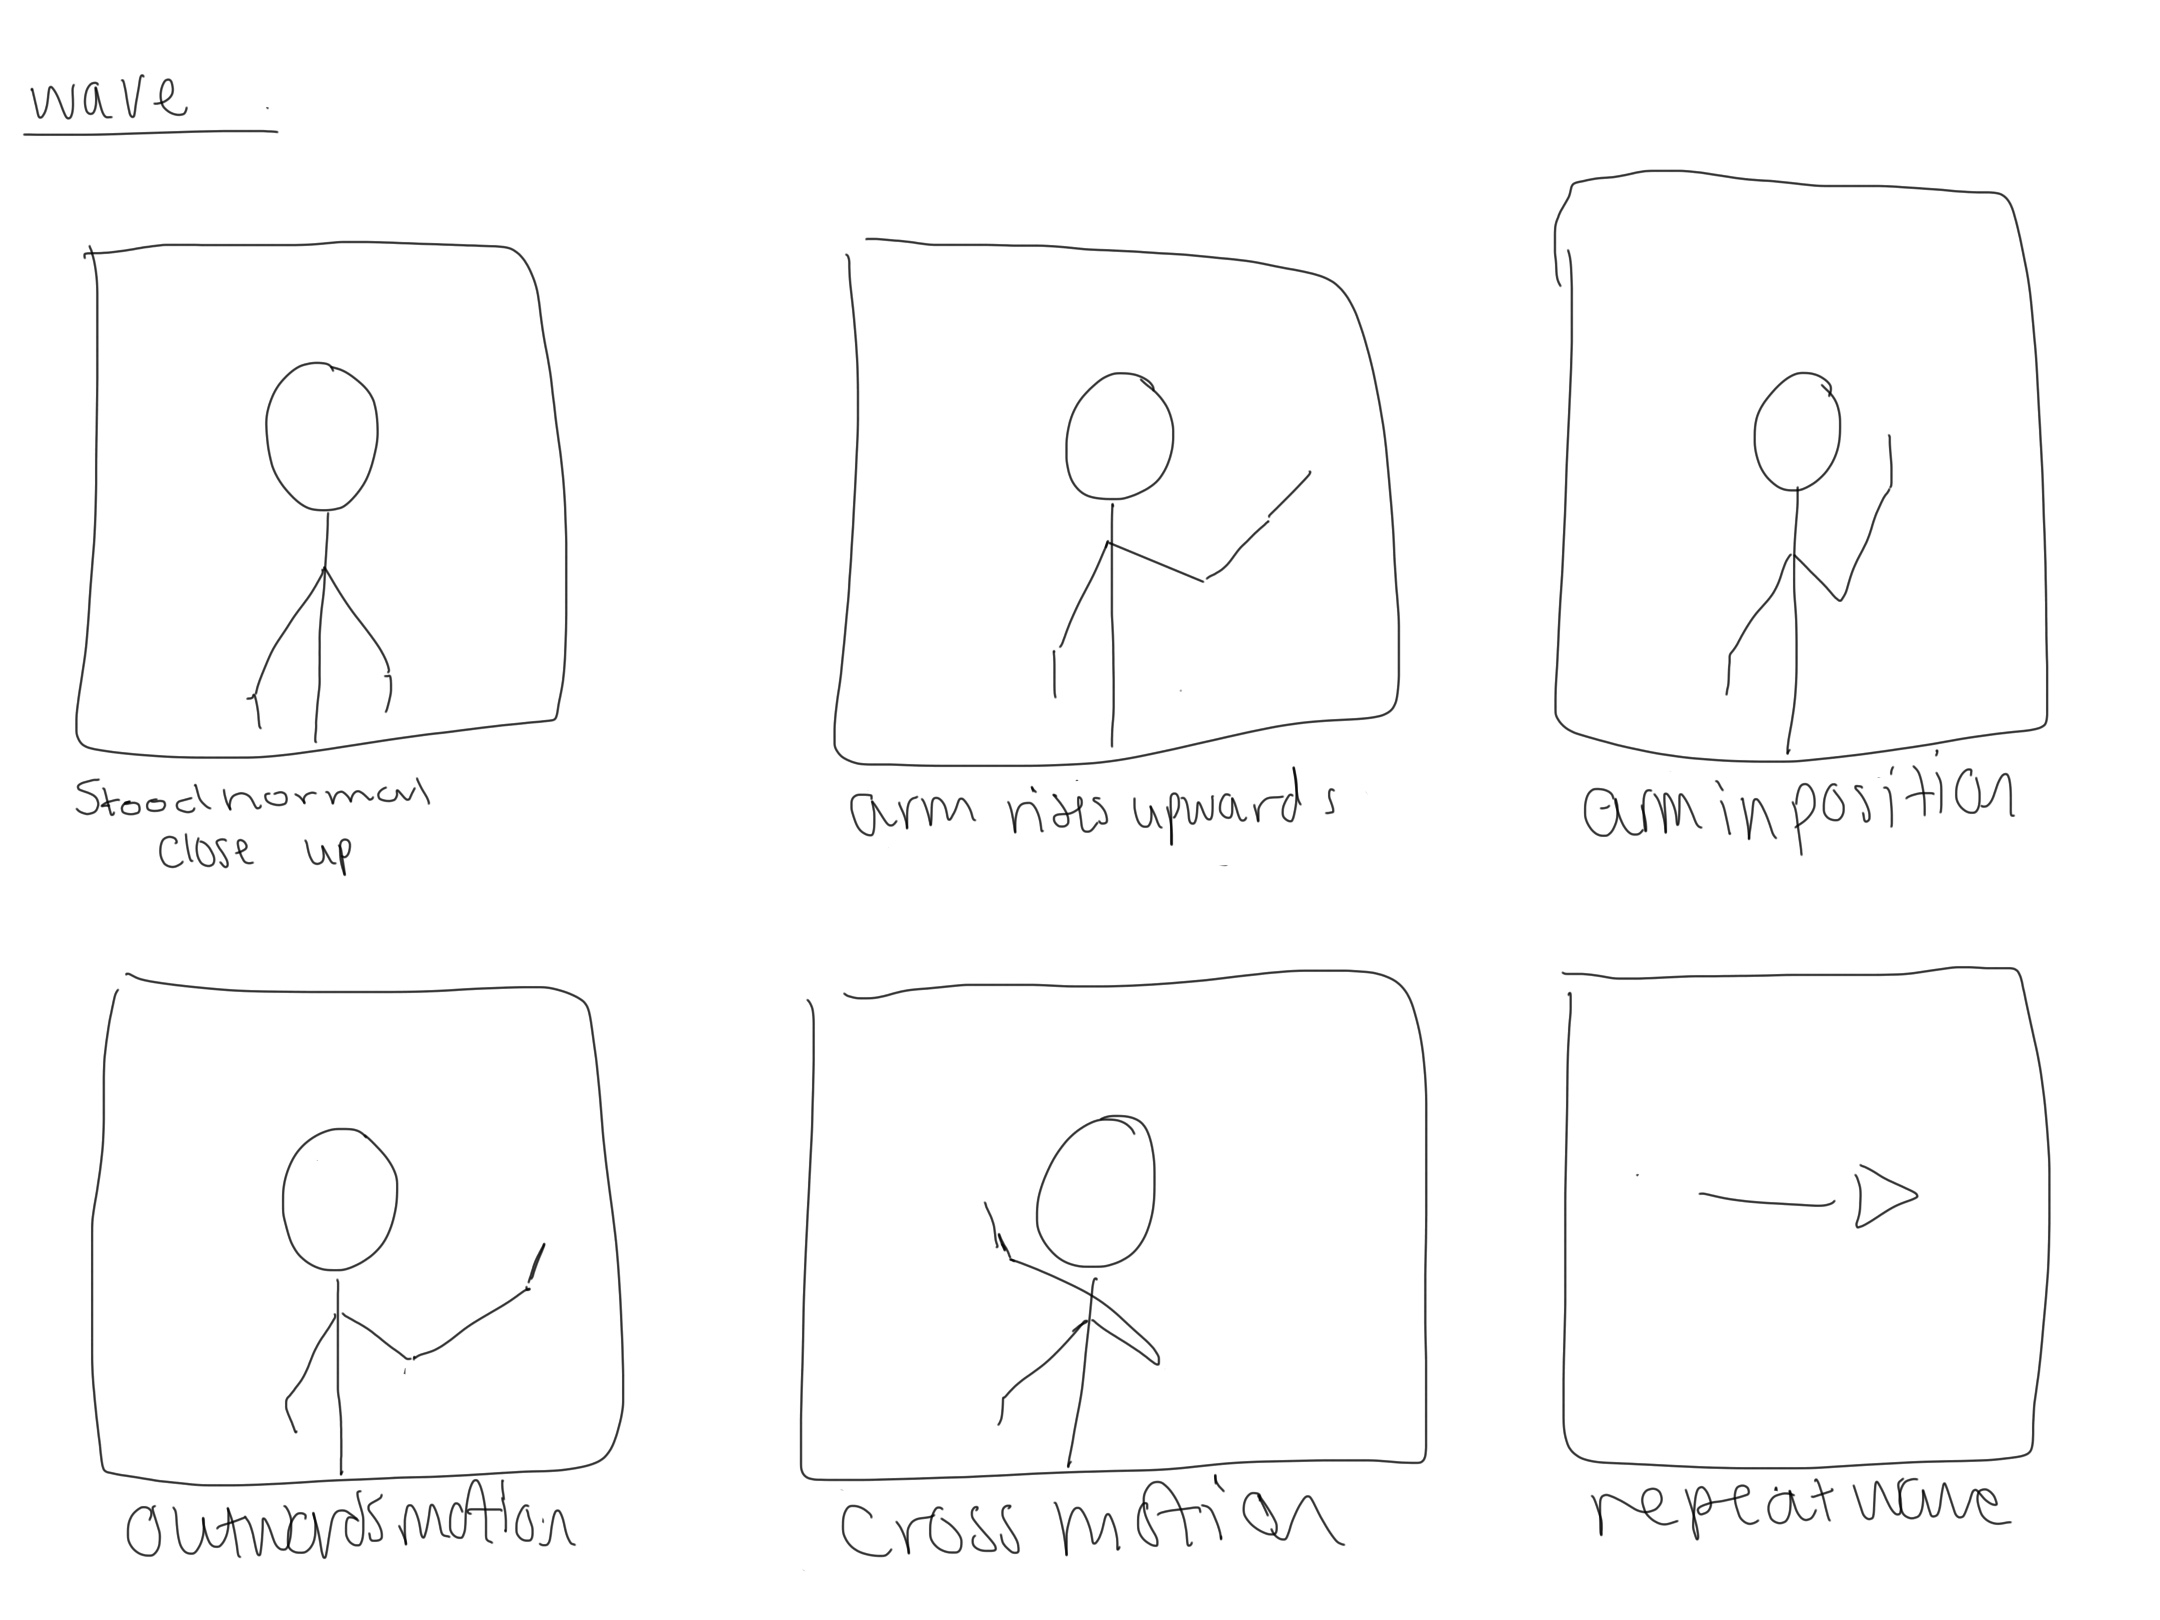
For my 3rd animation I wanted to do a wave. I thought this would be a good choice as it would allow me to think about the arcs principle in animation. Below is the timeline and my keyframes that I used for this animation.

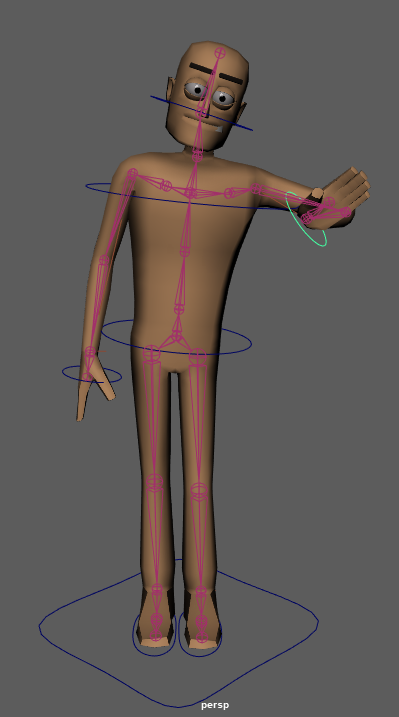
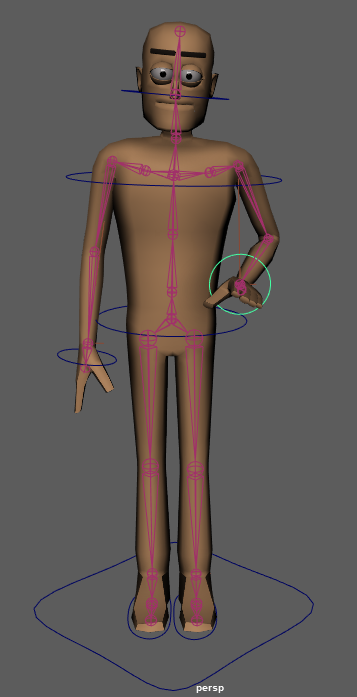
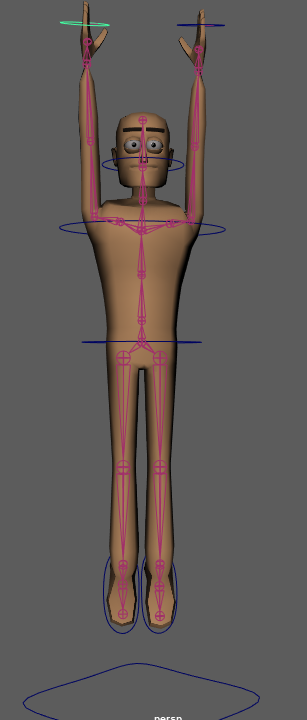
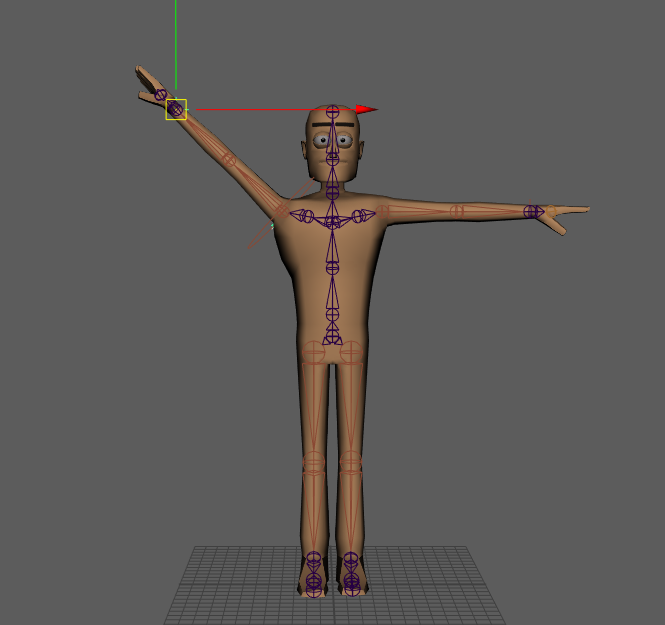
To start the animation I first started by keyframing the main parts of the arm. I used a few keyframes to get the arm up to the position I wanted it to start waving at and get the hand to be rotated naturally into the correct place. Once I had this part down I made the arm wave from right to left a few times in arcing motions to make it look smooth and natural. I rotated the controller to make the hand match the angle and added in these keyframes too. Once the arm had waved a few times i used the remaining frames on the timeline to set the arm going back down to the body so that the motion would finish in the same place the animation started.
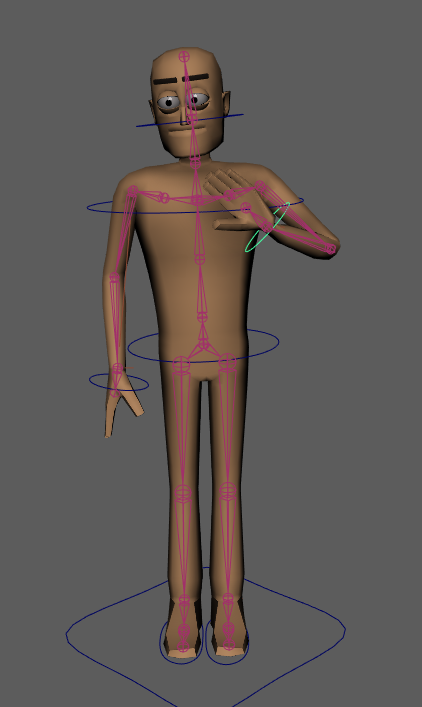
Once I had the arm completed for the character I wanted to exaggerate the motion a bit. I decided to do this by moving other elements of the body. I decided to move the torso and the head to tilt and sway with the motion and made sure to move the other arm that wasn’t waving so it looked natural. I turned and tilted the torso of the character to make the wave motion look like it had some force behind it and to exaggerate the movement. I also then added some keyframes for the head to make it tilt and look like the character was nodding at the person he was waving at. This looks smooth and I think shows some of the skills I learnt in my first and second animations as I am a beginner.
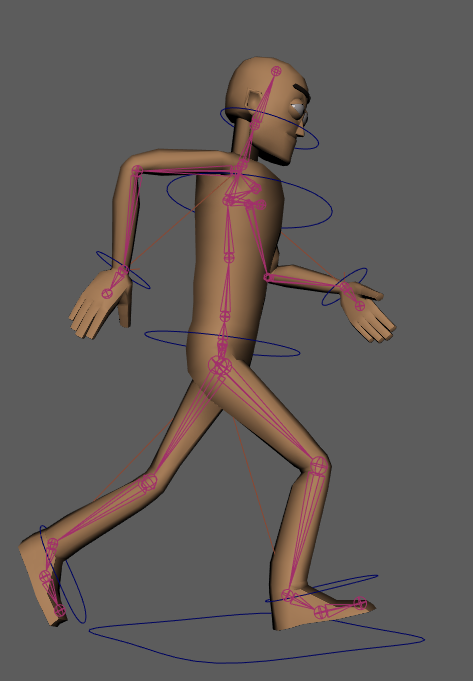
Animation 2 – Jump
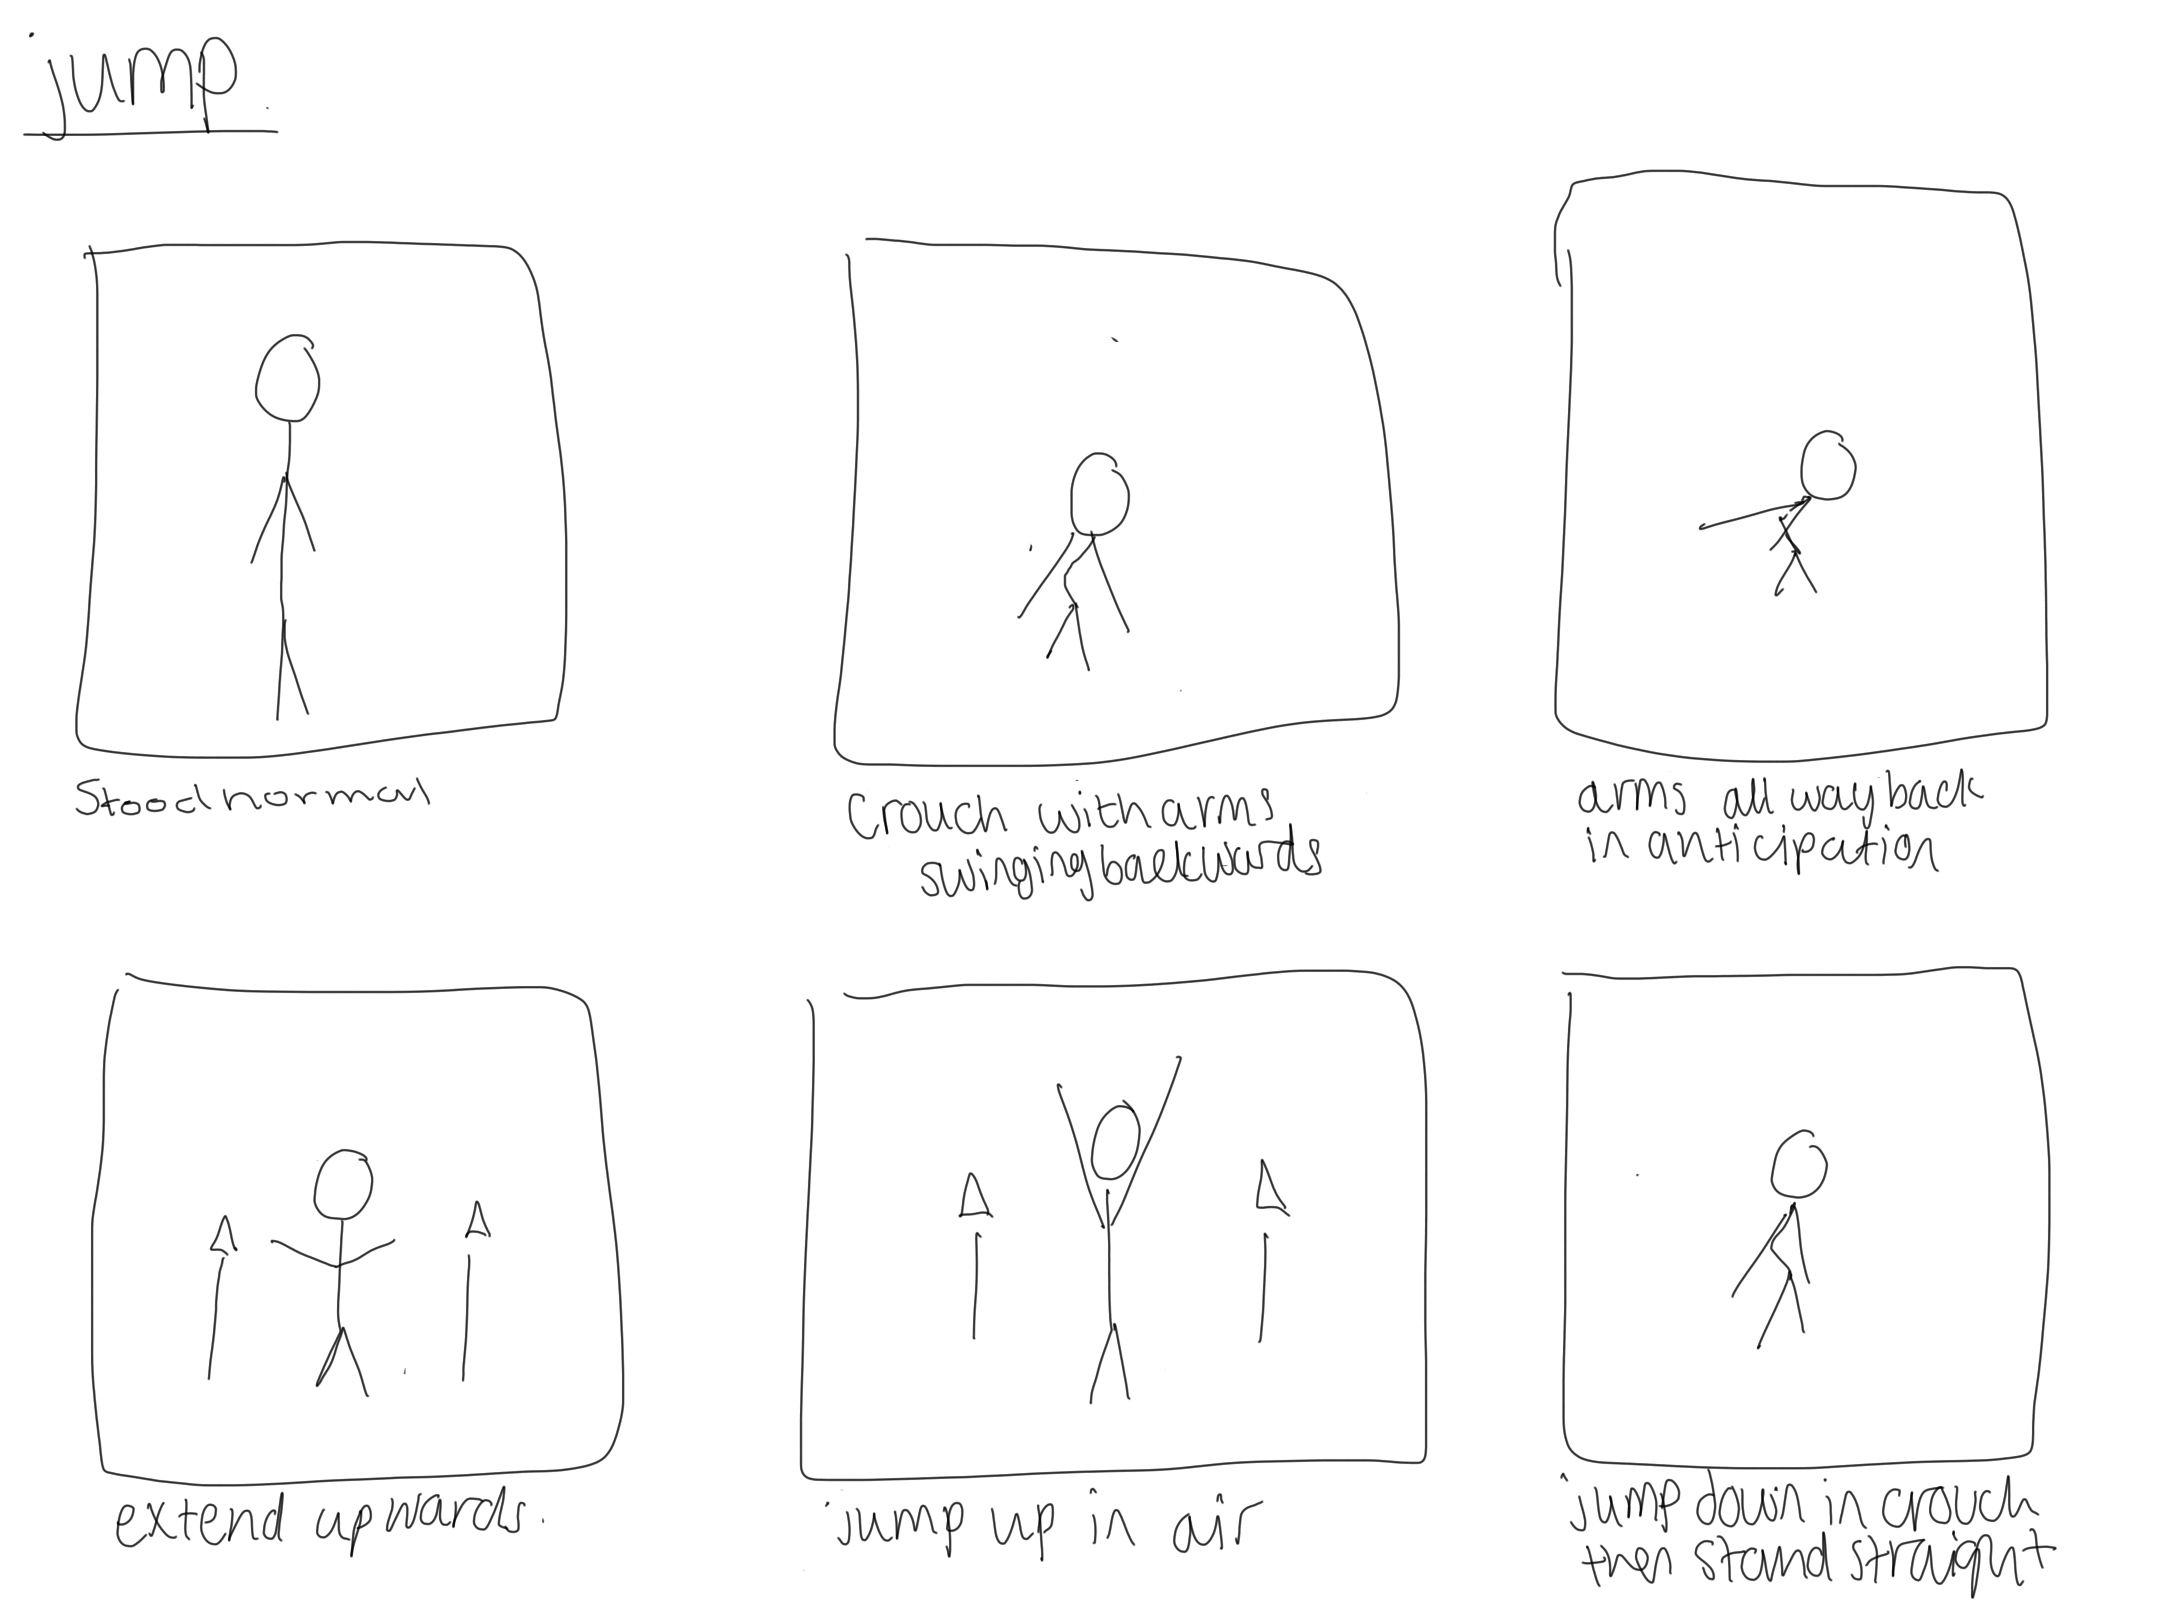
For my second animation I wanted to do something a bit more challenging to myself so I decided to make a jump. Within this jump, I considered the follow through and anticipation principles of animation to make sure that I was making something realistic with its movements.

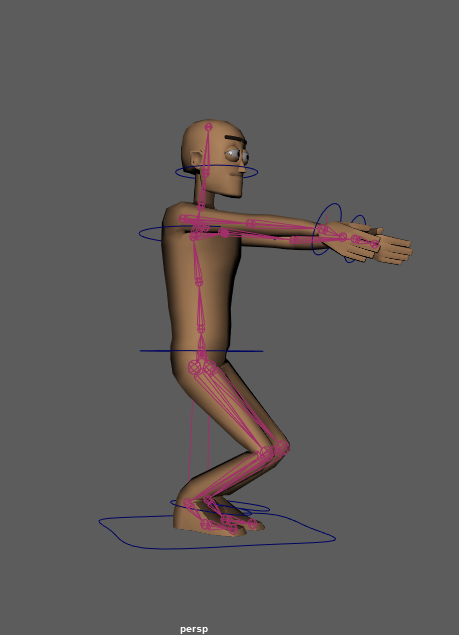
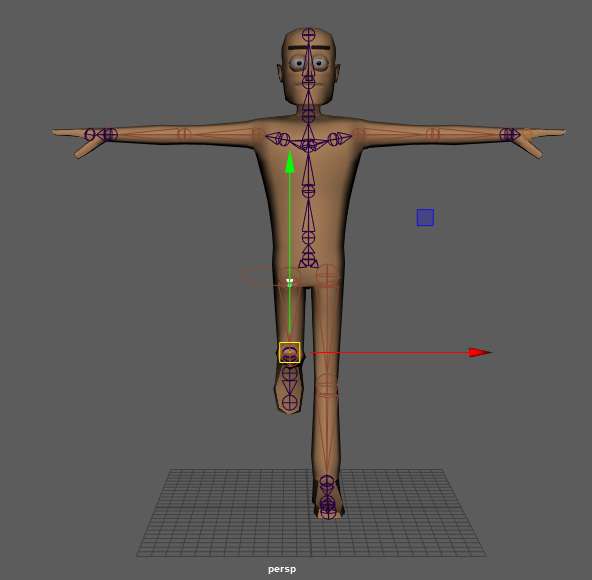
To start I set the timeline to 25 frames again to keep it manageable to work with. I then proceeded to start with working on the legs and torso. I wanted to make the character bend first before jumping to add anticipation and to make it more realistic so i started with adding keyframes of him bending and tilting himself forward. I then set keyframes in quick succession for him jumping up into the air, making sure to keyframe every controller so he would jump upwards vertically and not just on the spot. I also added follow through to the movements too so that after he jumped and landed he bent into it with force then stood back up to add more realism.
For the arms I really focused on making them swing backwards as if the character was trying to gain motion in order to jump higher. I think this adds an element of realism and complexity to my second animation. I rotated the hands at each keyframe to ensure they were parallel with the arms at all times so they looked like a natural extension of the arms and allowed the arms to swing downwards after the jump to add more follow through to the motion.
I think this animation went really well, I was able to use knowledge from making the first animation such as adding additional frames for smoothness which allowed me to create an outcome I’m proud of. I think the anticipation of the movement adds a lot to the jump.
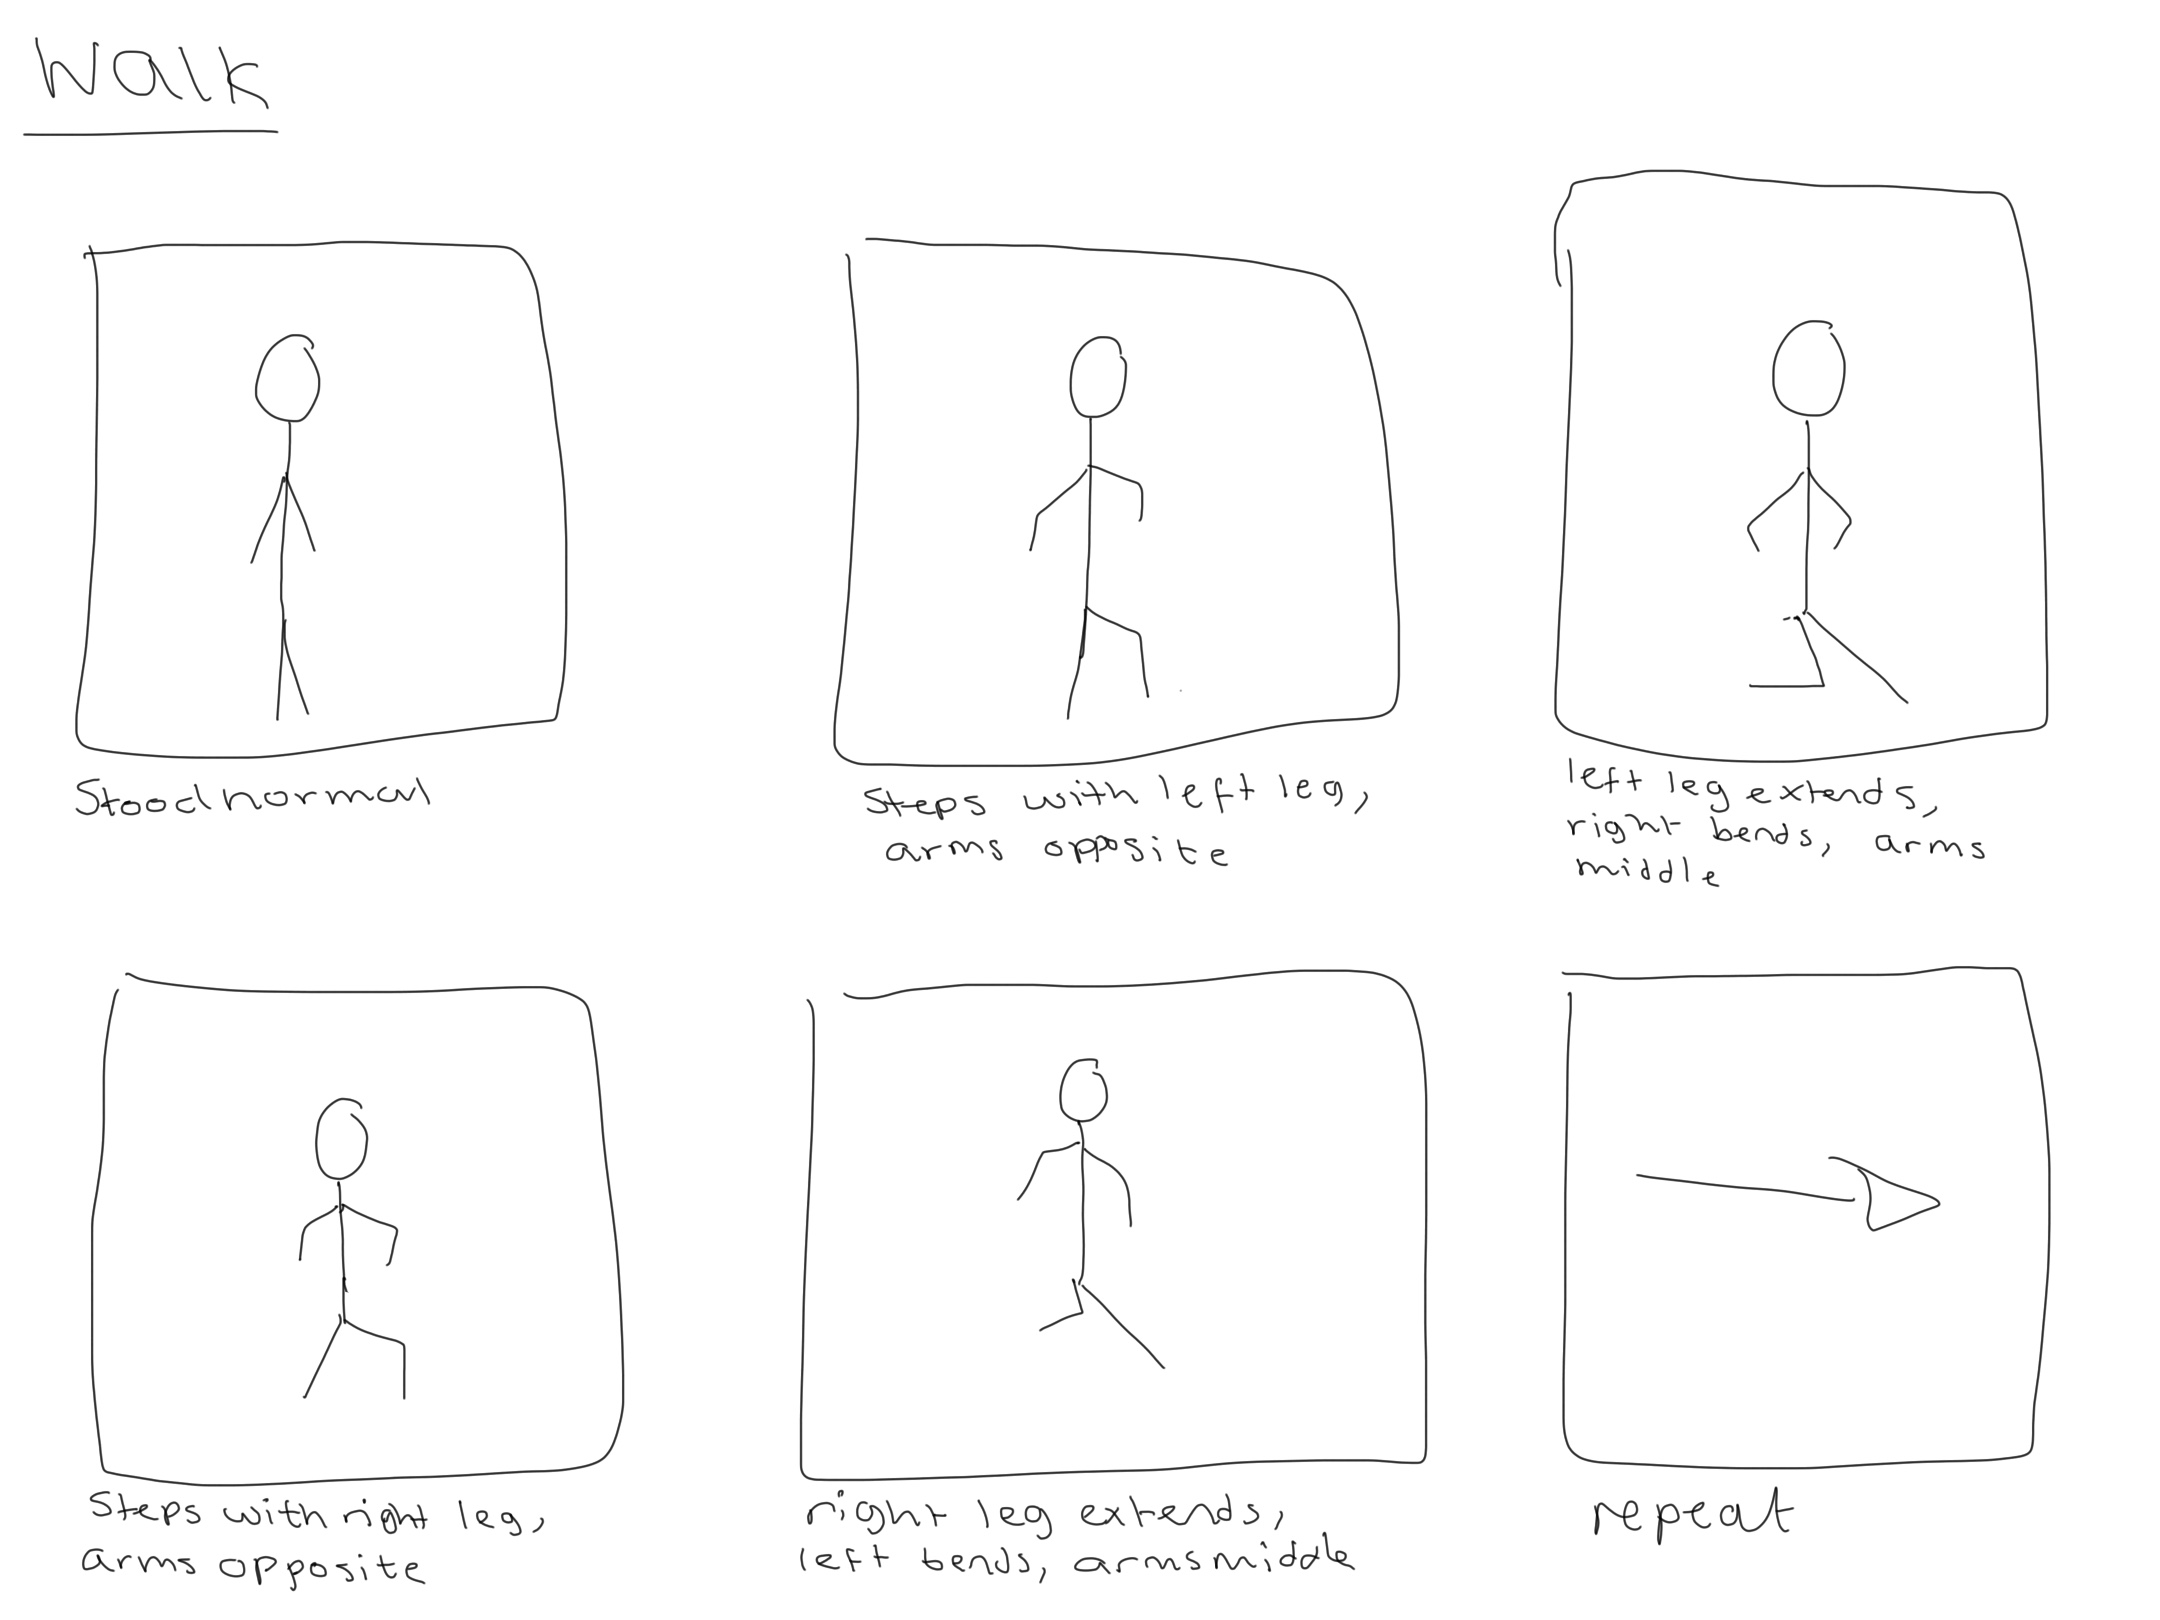
Animation 1 – Walk
To start animating my first animation I first set the timeline to 25 frames. I then begun to position the characters legs into place for the first step. I used the S key to keyframe each of the controllers into the correct position. I started with the legs for this animation as I wanted to focus on each part individually to make sure it was working smoothly.

I set keyframes every 4 frames along the timeline for the legs and made sure that it looped back to the same position at frame 25 by copying the first frame to this position. I used the rotate tool on some of the frames to make sure that the feet were angled correctly within the animation and so it looked like the feet were smoothly hitting the ground at each step.
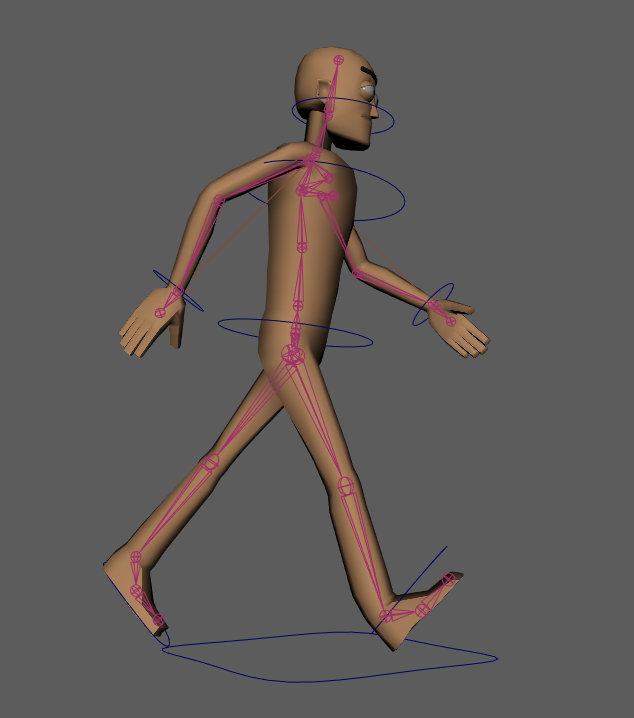
I set keyframes every 4 frames along the timeline for the legs and made sure that it looped back to the same position at frame 25 by copying the first frame to this position. I used the rotate tool on some of the frames to make sure that the feet were angled correctly within the animation and so it looked like the feet were smoothly hitting the ground at each step. I also used the hip controller to vary the height and orientation of the body to make it look like he was stepping with force. I was also making sure to watch the animation through and add any extra keyframes into the timeline where I felt the animation wasn’t smooth enough or looked a bit weird.
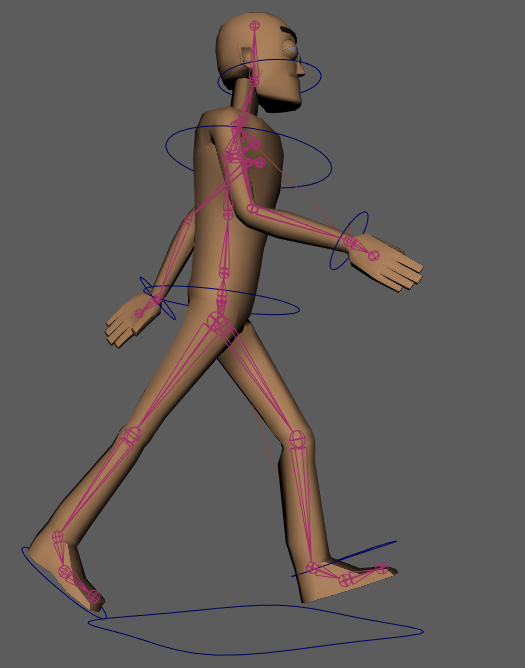
Once I had the legs and feet done for the animation I then decided to work on the arms. I made the arms have a forwards and backwards swinging motion and made the opposite arm match the legs position to have it look natural. I had to do a few more keyframes on the arms than the legs so that the cross over when they changed position would be smoother and so the hands were at the correct angles. After the arms I added some tilt to the head to make it bob up and down throughout the animation which I think added a lot of personality.
Controls and Paint Weights
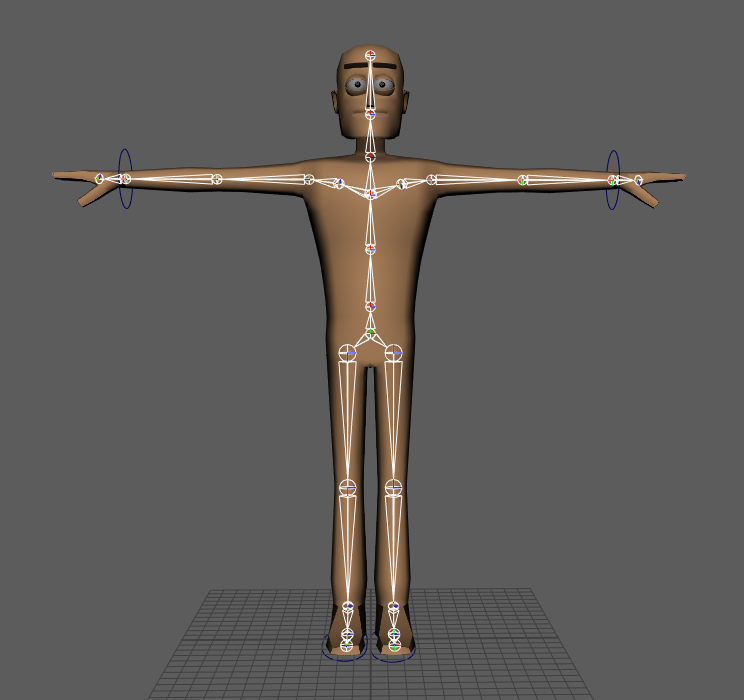
Getting to this point in the rigging process took me many hours of working over a few weeks. Once I had got the main parts of my rig down in part 1 and 2 I began to work on the controls for the rig to make posing and movement work correctly.
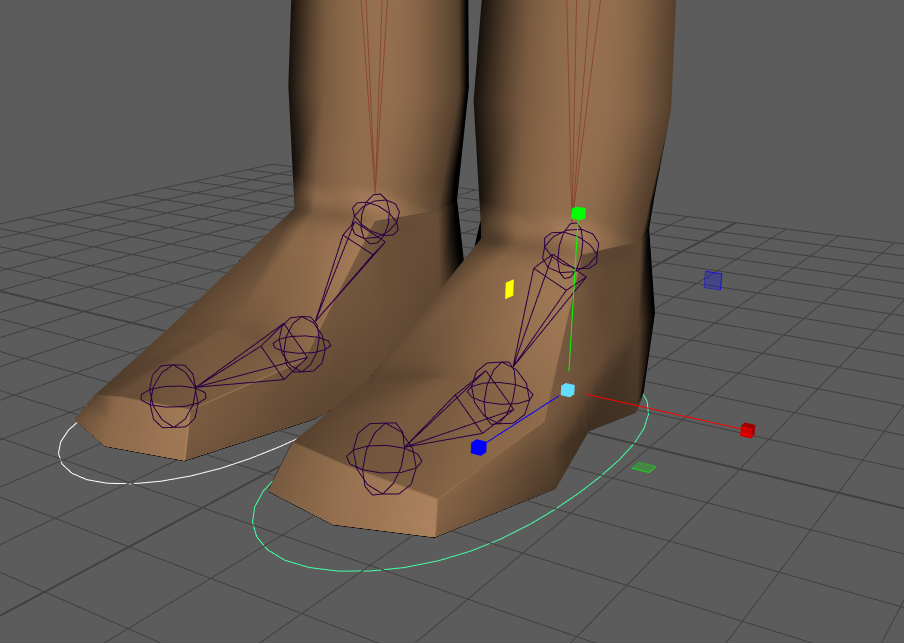
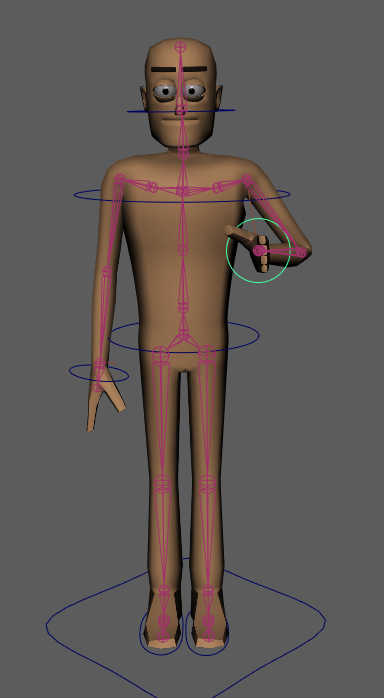
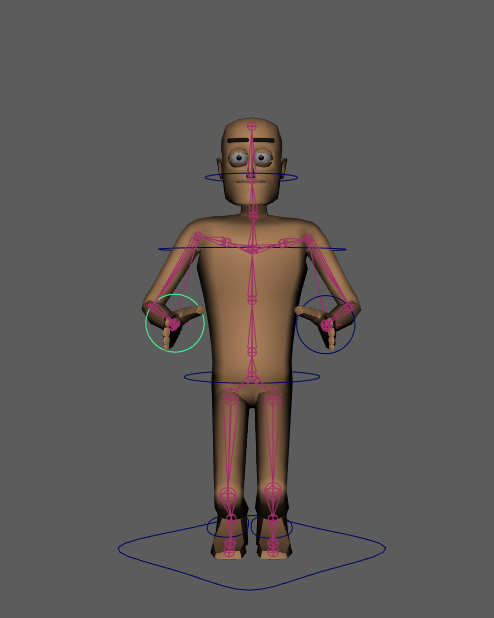
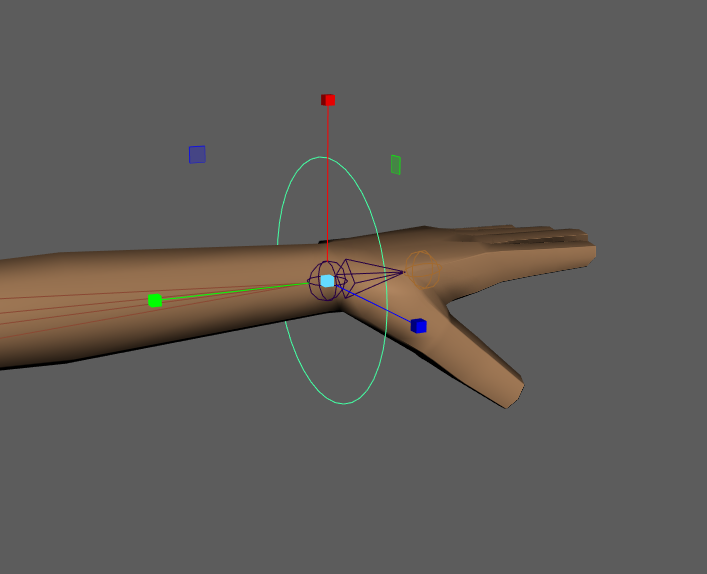
I first started by adding 2 circles around the feet and editing the shape to roughly match them. I then changed the pivot point of the circle to match up with the ankle joint. I then used point select to move the circle to the joint and then moved the circle only not the pivot point to the ground so everything was aligned correctly. I then repeated this for the other leg and named both of the controllers in preparation for further steps. I then froze transformations on these circles. I then selected the controller and the appropriate IK handle and paired them together. I then applied an orient constraint to each of these controls to make sure rotation worked. I then repeated the same process for the arms.
The next step was to make controllers for the hip, chest, neck and the master controller. I started by making a IK Spline handle and starting it at the hips and ending it at the top of the spine. I then renamed the handle and the curve created. I then selected the curve and moved the pivot point to snap at the hip joint. I then made a new circle and point snapped it to the hip and named it as the controller. I then selected the controller and the spine curve and selected constrain point and constraint orient only selecting the X and Z axis.
Once I had created the hip joint I then used a similar set of steps to create the chest and neck controllers for the model so that I could move these parts independently and have more control. I then created another circle shape. I edited the vertex to make it more of a square to differentiate it from the rest. Using the outliner display I then selected all of my other controllers and parented them into this square shape to create the master controller for the model. Once this was done I proceeded onto paint weights.
For the paint weights I focused primarily on fixing any warping issues with the main body as there was no issues with the neck area. I started with removing paint from the sides of the body to stop arm warping around the joint. I did this around the legs too to make them move smoothly. I didn’t have to do much with the paint weights as I felt it worked well already.
Rigging Part 2
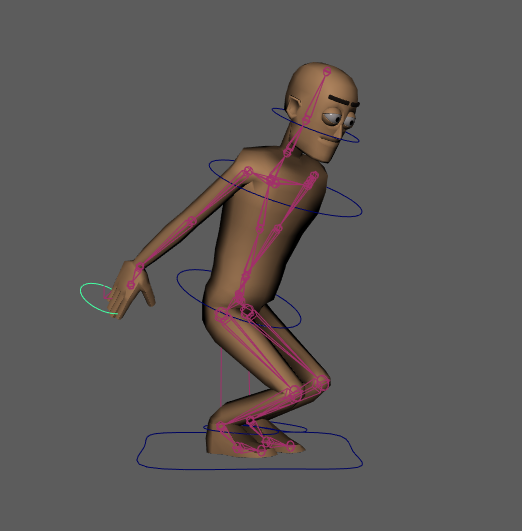
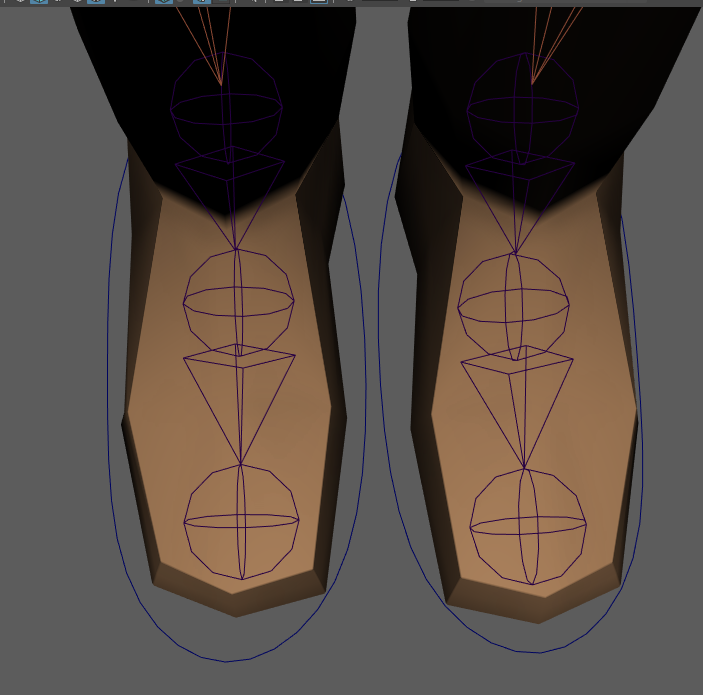
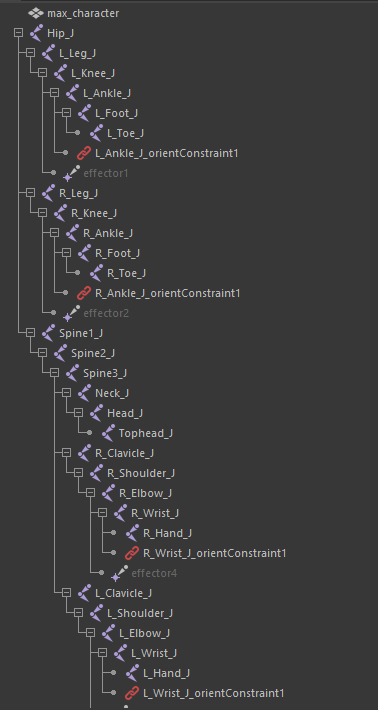
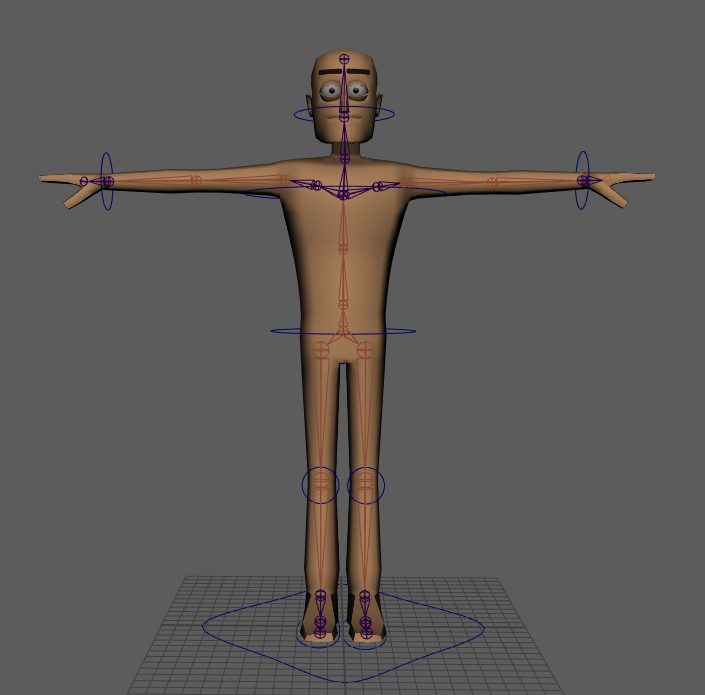
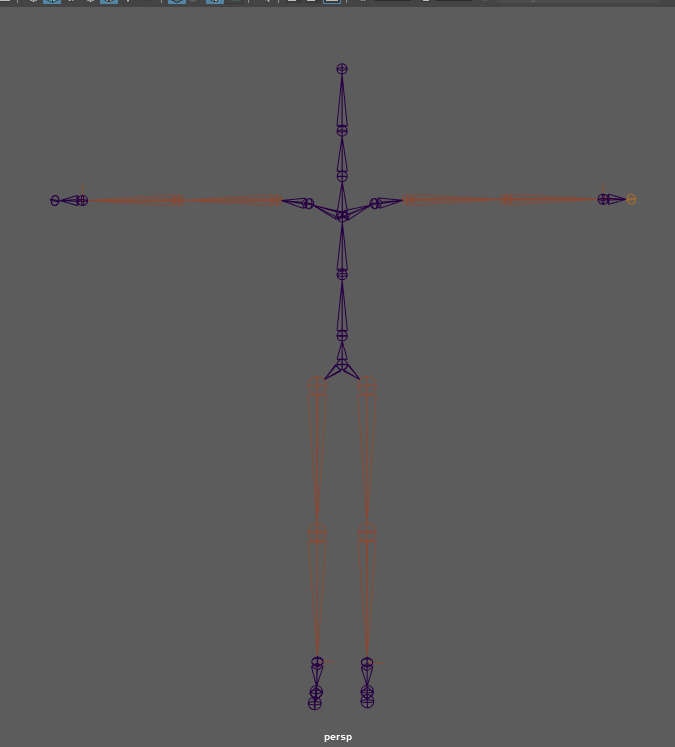
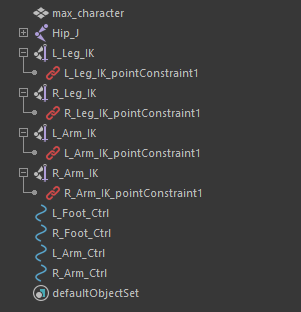
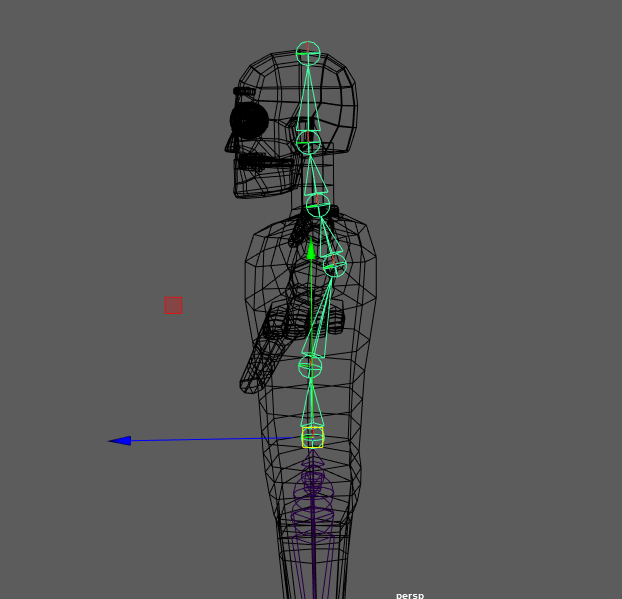
After the joints were all in place for my model and the orientation of each one was correct I then moved onto the next step of the character which was making the IK handles for the arms and legs. This was quite easy as the process only took a few steps to complete. To do this I selected “create IK handle” from the drop down menu then proceeded to select the points where I wanted the IK handle to go. I did this for the shoulder to wrist joints on each side and the leg to ankle joints. I then named each of these handles correctly according to the lab sessions I watched to learn how to do this process. Below are screenshots of my model and the IK handles that I created along with an example of how they worked when I eventually worked out some issues I was having which I will touch on next.
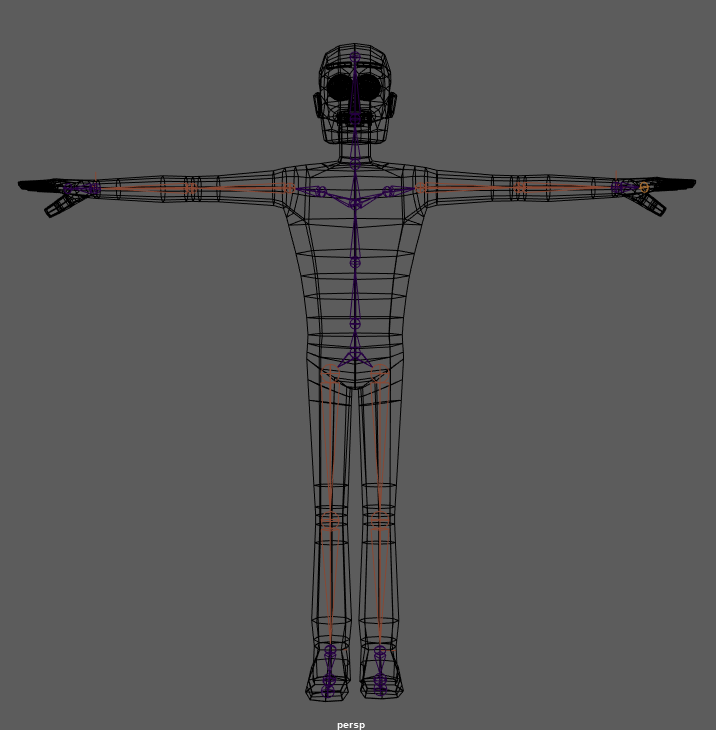
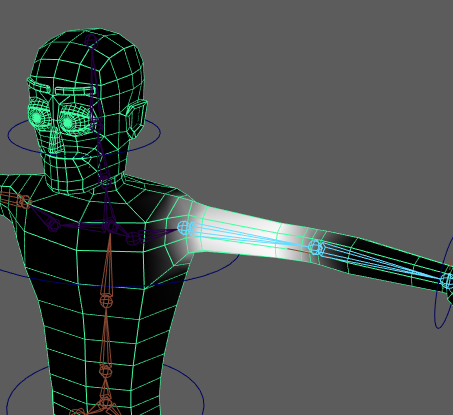
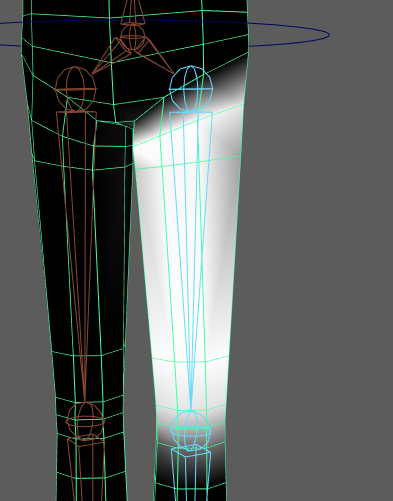
The video below shows one of the issues that I had with the IK handles once I had them in place and started to test them to see if they worked correctly. I ended up having to redo the legs for a 3rd time as something was going wrong and I couldn’t figure out what it was as everything worked fine in the previous steps. I decided to delete the leg IK’s and the leg joints and redo them all again to make sure that I followed the steps closely and everything was correct. Once I did them again they were able to work correctly as seen in the screenshots above and I was able to continue with the project. By having issues like this which caused me to redo parts of my rig multiple times and I was able to learn more about how things should look and how to do the process myself after repeating it. This really helped me with this project as it was the first time I was rigging a model so it proved helpful to run into some mistakes so I could figure out how to fix them and not have them happen again. Redoing and fixing parts of my rig and the rig itself as a whole took me a lot of time to complete and many hours of working.
Once I had everything working correctly, I then named each of the joints and handles that I had created as I had had to redo parts of it. I named them all with L & R to make later stages easier. This and my handles can be shown here the above screenshot.
Rigging Part 1
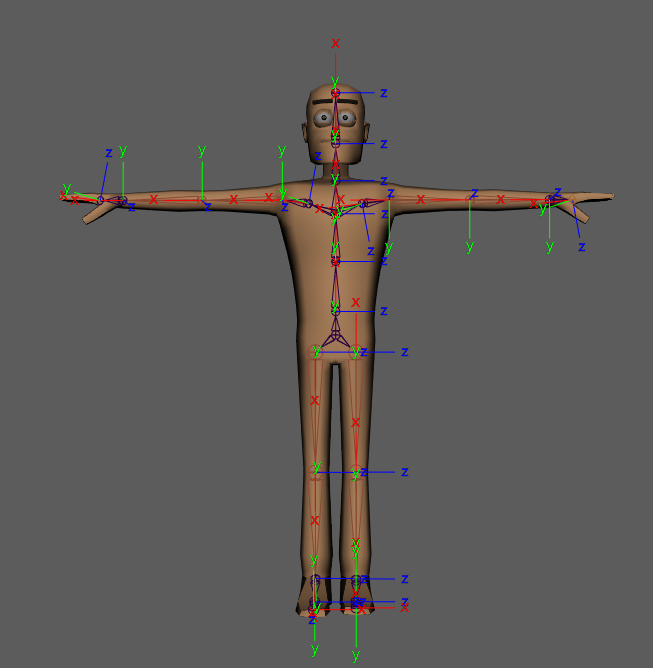
Before this project I had never done anything with rigging or 3D animation before so I had a lot of struggles along the way to create something that I could use for the animation task. For this rigging task I chose to use one of the provided unrigged models to work from as I knew that my own model from last term would not work as I don’t have experience in that area either and that if there were to be large issues with it I wouldn’t be able to fix them easily therefore I chose a model I knew I could work with easier and have less problems. I started this rigging process by creating the joints following the lab sessions provided, I followed these videos and the live sessions to learn this process. I first started by adding in all of the main joints to the model and making sure that everything was placed in the correct place and at the correct angles as seen in these example photos below. I did this by using the “add joint” option from the rigging menu and placing and moving them into place using the front and side views for reference. Once I had half of the model done I then mirrored it across so it would be symmetrical. I decided not to do the fingers on the model as if I was using my own character from last term she had mitten like hands so I wanted to still work to making animations that would have worked on my original character.
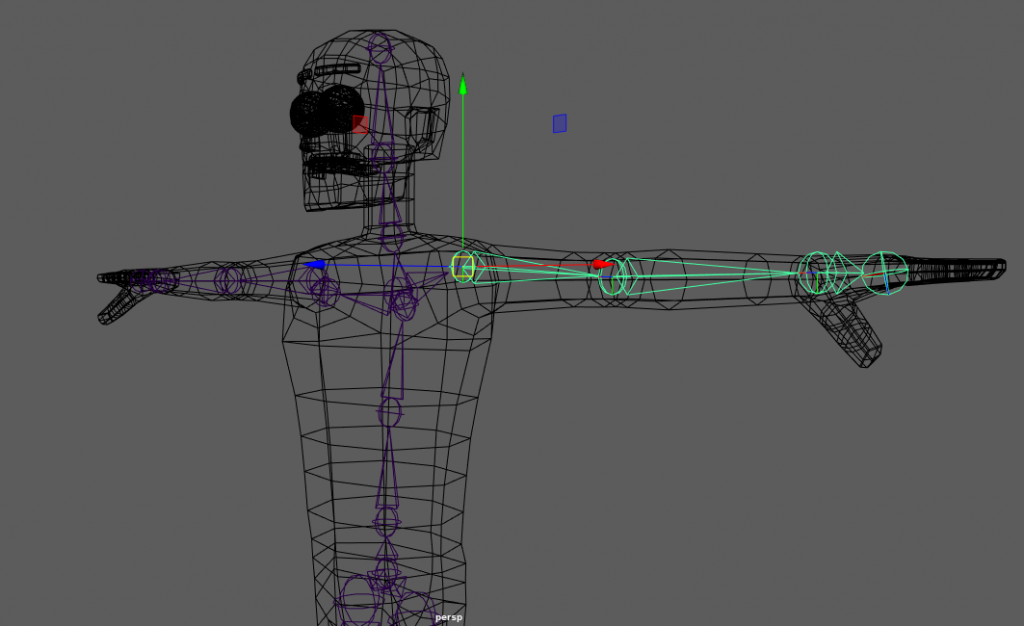
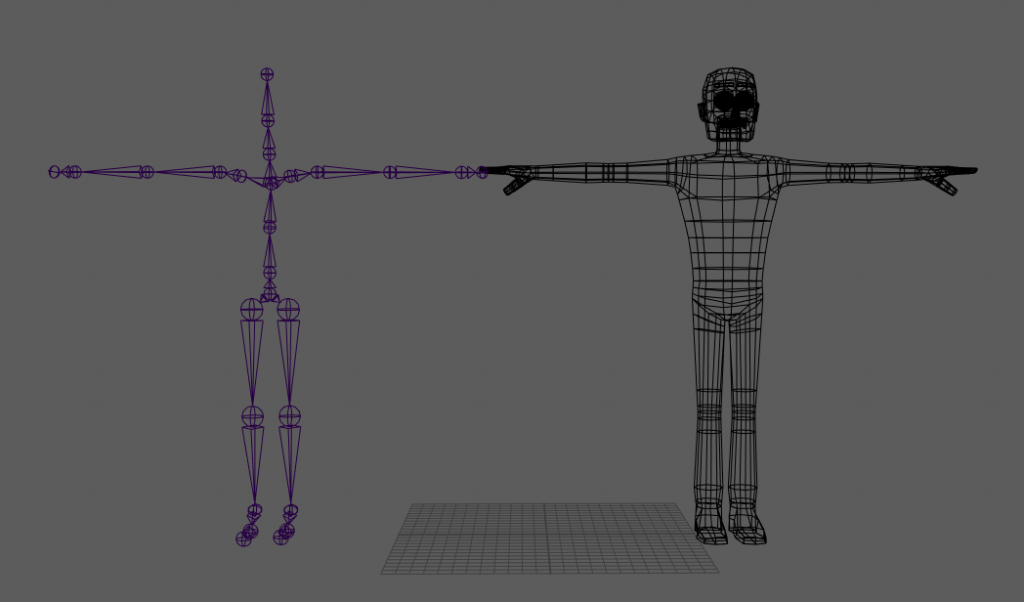
Once I had the joints done I then started to work on orientation. This part of the process took me the longest as I had learn what the proper orientation looked like. I was able to orient them correctly after some struggle. To do this I used the orient joint menu and the rotations to change the angle of them to point the right way. Once I had done this I was able to bind the skin to test my model to see if it worked correctly. Unfortunately for me it did not work correctly the first time so I unbound the skin and changed some of the arm and leg joint placements as I had not made some of them straight enough from the front or curved them enough from the side so there was some issues with the movement. Once I had the joints working correctly after 2 tries I then bound the skin again so I could continue with the rigging process which I will talk about in the second post.
Animation Planning & Research
To research animation I found some walk cycles on YouTube to study. I found this helpful to see the keyframes others had used in their animations and to get a sense of animation principles used in each one and the complexity of the sequences. It was at this point that I chose to do a walk, jump and wave for my action sequences as these were quite universal and I thought they could have also applied to my model I created last term if I would have been able to use it in this project. Here are some of the videos I watched for research into action sequences.
For each of the animations that I chose to do I first started by creating a basic storyboard of the keyframes for each of the animations to work from. I did 6 keyframes for each of these storyboard sketches to make sure I had a sufficient plan for each of my animations before I got started with creating them. This was a really effective exercise as it made making my animations much smoother and helped me to create them more efficiently as I knew what I wanted to do within them. I think the research I did into sequences on YouTube also helped me particularly on the walk cycle to add some personality and emotion to the sequence. Below are the 3 storyboard sketches that I created.