Part 3

This below is the storyboard that I created for this task. My proposed animation would be of a leaf being blown off its tree and undertaking a journey of sorts carried by the wind where it would eventually fall into a leaf pile. I felt this could be a really appealing animation sequence and I could showcase many principles within it.

As shown by my storyboard I would in the first scene be using arching motions which would show use of the arcs principle, this is a fluid motion that is used a lot in animations and I thought it could work well here. I would also use the technique of anticipation as the leaf would sway backwards and forwards first before coming off the tree, this would have people anticipating the movement before it even happened and considering what was going to happen to the leaf. I felt that this would make for an interesting first scene. In scene two the leaf would spiral across a city scape, this would be a bustling busy city and would be a start contrast to that of scene one. This spiralling movement would be exaggerated which is another principle of animation that we have learnt about. In this scene and also the previous one there would be some secondary action, scene one’s being the branches moving in the wind along with the leaf and the second it would be the cars moving in the background. Scene three is quite simple, the leaf would end up in a park/wooded area and the wind would change direction, this would then cause the leaf to stop ( a follow through motion of the leaf moving backwards a bit would be used) and then it would float slowly down to the ground into the leaf pile.

I imagine that this animation would be made digitally and using software such as Photoshop to draw the assets and After Effects to put it all together. These animations would be done with the keyframe elements in AE and the leaf would follow a set drawn out path within the software. The backgrounds would stay the same during each scene with nothing changing in them, much like cel animation and would only have to be drawn once.

Part 2

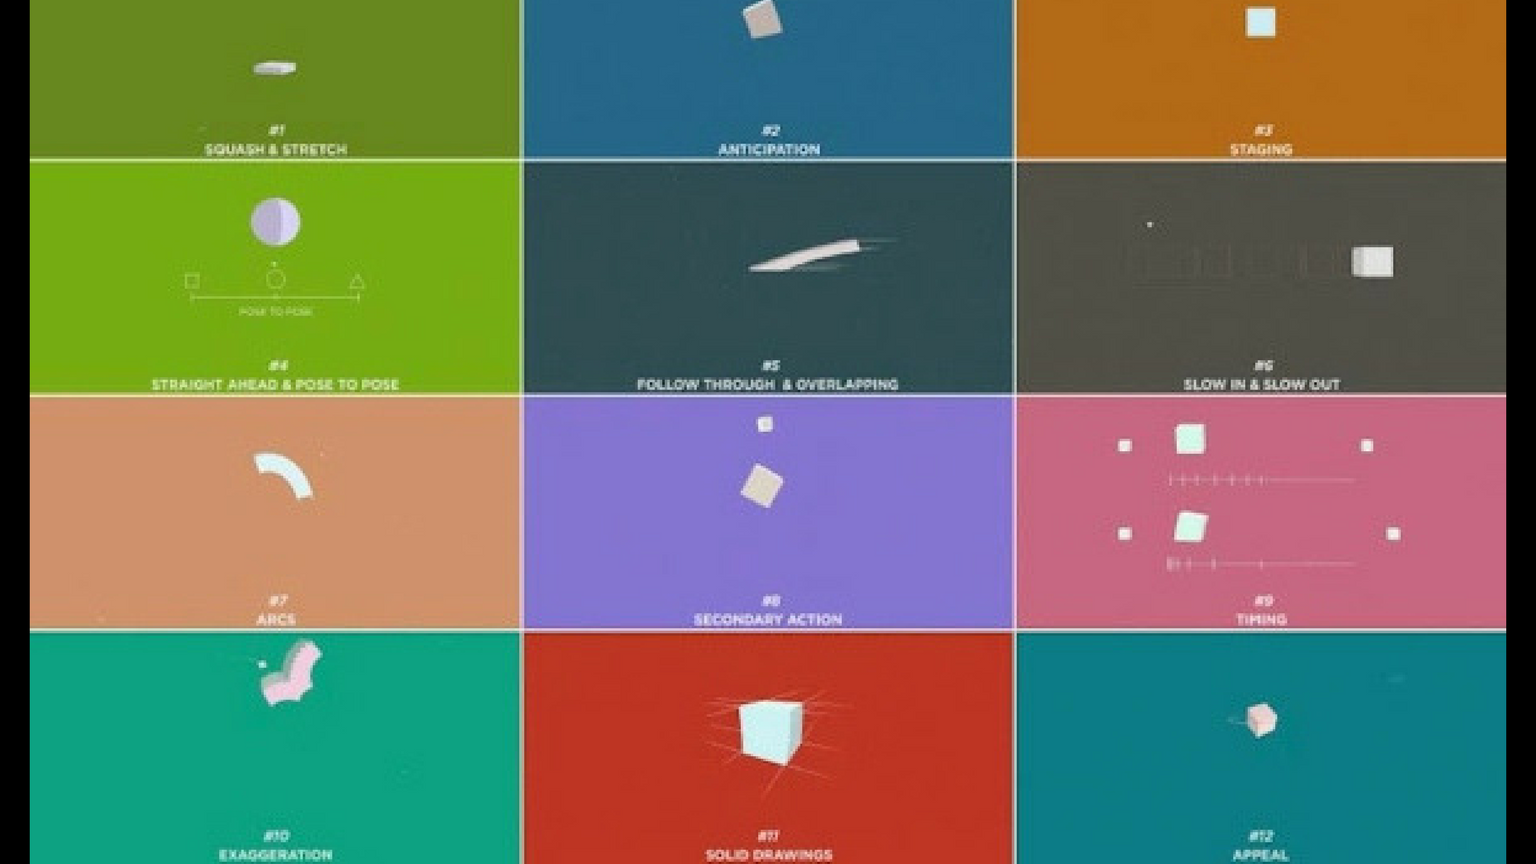
In this blog post I will be talking about the constraints and limitations of storytelling/ narrative in animation and comparing modern and traditional animation and their respective issues. Within animation I would say there are two main techniques, modern and traditional, both using the same principles just different methods of achieving them. These two techniques to making animations have some similar and different limitations which I have noticed whilst considering this topic.

Within older traditional animation techniques I have noticed a few things that could be considered constraints or limitations compared to the modern day equivalent processes. With traditional 2D animation once a mistake is made I know that it would be difficult to rectify if it is not spotted early on. All of the frames that had been created for this animation past the point of the mistake could be wrongly drawn and would possibly need to be remade, this could be considered a limitation as it means that the animation has to be pretty much perfect the first time around and it leaves no room for error. Comparatively, digital animation is much easier to change a mistake in, a lot of the work can be done by the computer as I know from experience, and the mistake could be found and corrected easily and quickly.

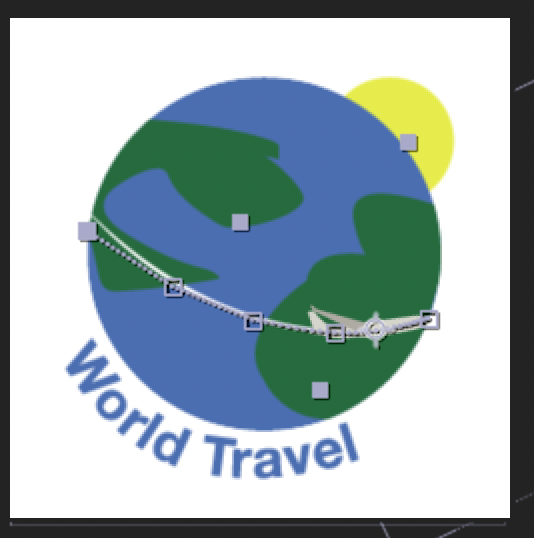
Modern digital animation offers the chance for not only rectifying mistakes easier but also offers a boost in creating an animation. Speed and ease of creating a project is increased when using digital techniques, software such as After Effects and Photoshop can be used to animate an idea and it can be easily done, traditional techniques however mean drawing everything by hand with no assistance which can be a hinderance and constraint to the time needed to complete a project, more time would need to be accounted for to make something traditionally than it would digitally. The issue with time could also inhibit the story that is being told as the maker may make it shorter or change their idea to save time.

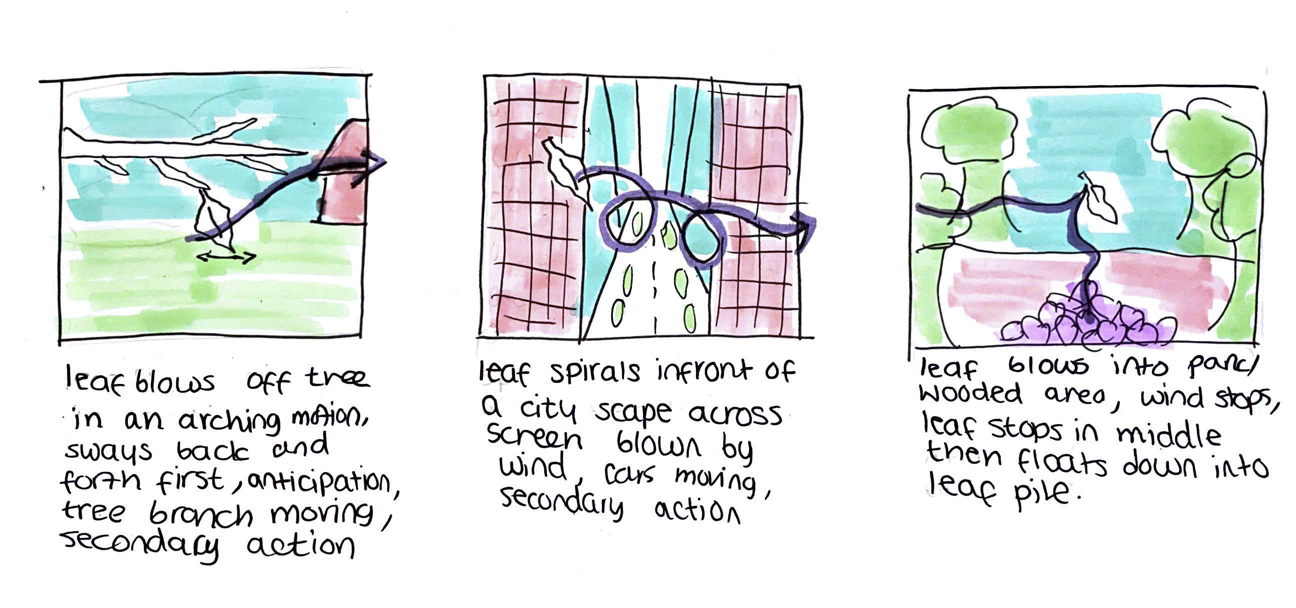
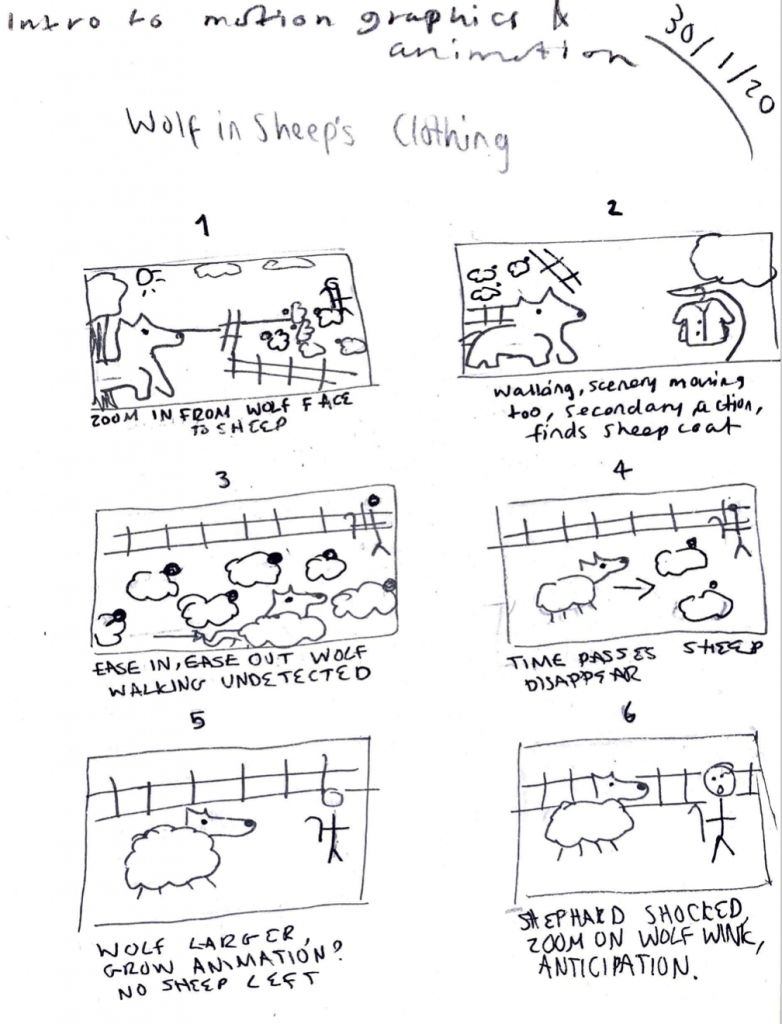
A constraint I can think of that applies to both digital and traditional animation is that of camera angles. When considering an animation I was going to create for part 3 I had to think about the angles of scenes and what I could actually achieve and what I could not in an animation. Complex shots seem harder to make than something more simple as the ‘camera angles’ or perspective are difficult to animate from my perspective. If you wanted some elaborate camera shot the scene and everything in it would have to be drawn from all the angles that you wanted to make it actually change perspective how you envisioned it. This is a constraint as it means a lot of things cannot be done easily in animation that you want to make as the angle is restricted and has to be redrawn. This also means some storytelling could not be achieved as desired.

In digital animation I would say that a limitation would be the device and software that is being used. Many animators will have different budgets for their animations and access to different things. For example I would not have been able to complete choice 1 of this project due to my Macbook not having enough processing power to use After Effects and such for long periods of time without crashing, this paired with the small amount of storage on the device meant that I could not have created an animation unless I had access to better technology therefore I was limited with what I could do. Along with considering devices and software and such, there is also the chance for loss of data or software errors when making digital animations which is a restriction in my view. It restricts the amount someone can work at a time and means that being careful and keeping backups of data regularly have to be done, this could pull someone out of the creative process and hinder ideas.

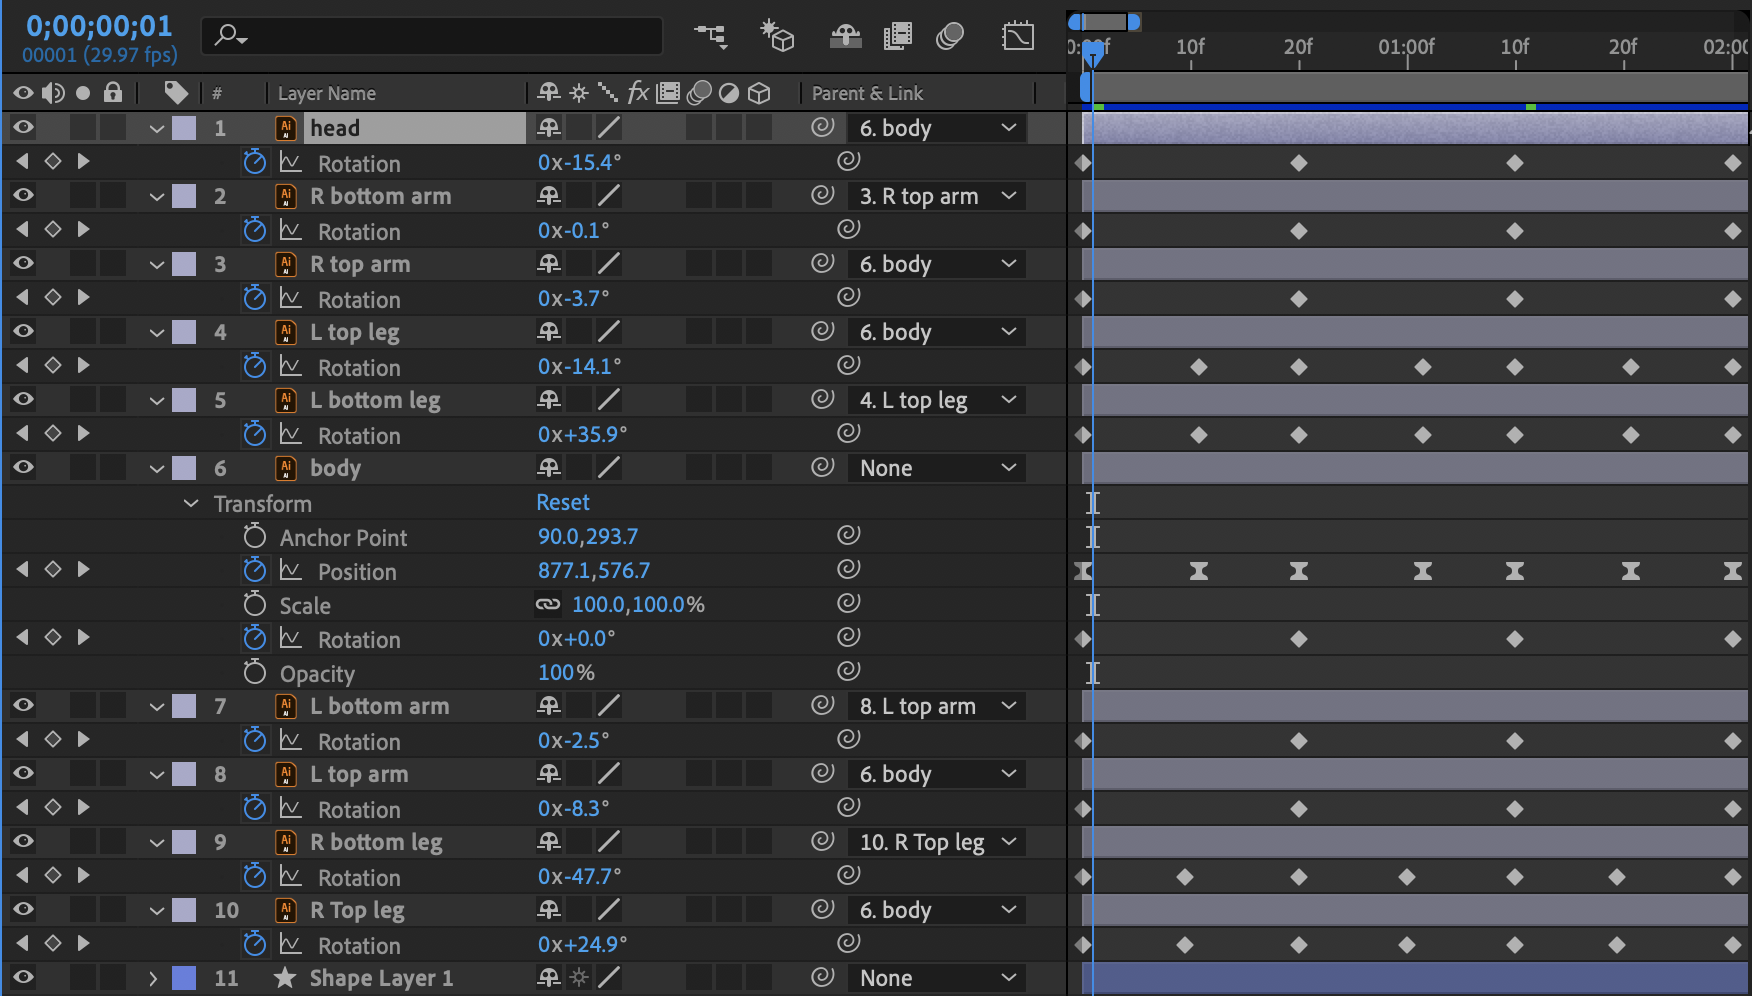
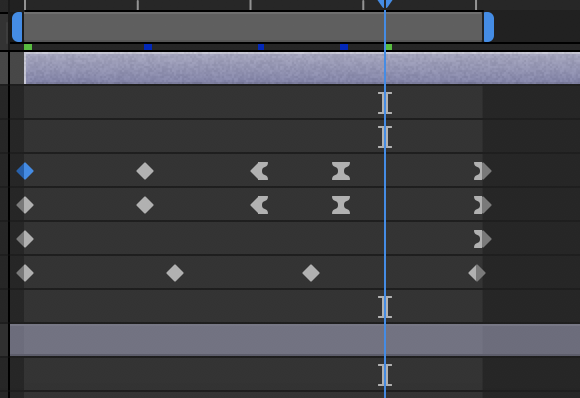
In my opinion despite some of the limitations and constraints with digital and traditional animation, modern techniques mostly help creators rather than hinder them. Modern techniques from my experience help the animation in creating something that in the end is smoother and more precise along with being easier to create due to the conveniences of technology. A lot of things can be automated, for example in after effects the software can move things for you if you set key frames and it fills in the points in-between, which can be massively time saving.

Part 1

Within the field of animation there are many rules and techniques that need to be considered and used within an animation. These fundamentals are important, almost essential, to making a successful piece of animation. There are 12 basic principles in animation that are usually used as a basis and starting point for creating an interesting piece of work. These principles were consolidated by some animators from Disney and are widely recognised as vital to creating animations and are something everyone must learn. These principles are usually used in 2D animation but can sometimes be seen within 3D animation also. They are also used in traditional and modern animation techniques to help with the animation process and making an effective outcome.

Ritchie. J (2017) The 12 Principles of Animation (With Examples). Available online: https://idearocketanimation.com/13721-12-principles-of-animation-gifs/ [Accessed 6/5/20].

The principles are as follows in this image:

Within my work on the first part of this module I used many of these principles myself to complete the tasks that were set. I found that many of the principles were easy to add into an animation and usually came naturally to add into an idea as a lot of them seem logical to add to an animation to make it effective. I added in things like squash & stretch and slow in & slow out to add fluid movement and smoothness to the animations I was creating. My use of squash & stretch was prevalent when I was creating an animation of a bouncing ball, to make a convincing motion I implemented this principle to make the ball look like it was impacting the ground and a reaction of the ball was caused by the action I was animating. A lot of the principles are things that really take an animation to the next level and make it visually appealing, these are things such as follow through and arcs (both of which I think are important for making something for the eye to follow and that is interesting to watch).

Within the Disney movie, Tangled, many examples of these principles can be seen. One that is most often used is the principle of Follow Through. It can be seen clearly in the GIF below when she is twirling to show off her new hairstyle. Animation techniques like this bring more realism to an animation and help the scene flow. You can see below that her skirt and hair continue to move and twirl after her body stops moving, this is the follow through of the action and really adds to the scene, giving it life.

Below is another example of one of the principles, this one is the straight ahead principle. This is also an example of a technique in action in traditional animation. The straight ahead principle involves drawing every frame as you go to create the animation, this allows the animator to make the scene flow exactly how they want to. It helps to make an animation look more fluid and realistic and is used really effectively in the scene below of Cinderella changing into a princess gown. In contrast if Pose to Pose was used the animation would not have looked as smooth as Pose to Pose involves drawing almost a start and end point for each action of a character and then filling in some animations in between, this means that the action can’t be as carefully crafted as it can with the Straight Ahead technique.

Task 4 – Character Walk Cycle

Please right click and loop the video to see the continuous walk cycle.

This is the character walk style animation that I made in after effects. This animation was easier than I anticipated to create and I was able to make something that I was satisfied with on the first attempt. I made the person itself in Adobe Illustrator then imported this as a composition into After Effects making sure each part of they body was on a separate layer so could be manipulated separately. I then parented the pieces together as shown in the screenshot below so that elements would move together and smoothly, I then mainly used rotation keyframes with some position keyframes to move the person to create the walk cycle making sure to make the beginning and end keyframes the same. I didn’t really have much issue when creating this animation, only in the process of rendering it. The issue that I had was once it was rendered and uploaded to Youtube it looked a lot slower than what it had looked like in After Effects so I went back into After Effects and moved in the timeline so that the space between keyframes was shorter and the end result was quicker. My whole animation is 2 seconds long but since the start and end frame are the same it can be looped infinitely. I really like the outcome of this animation and think it looks quite good for a first attempt at anything like this.

Task 3 – Bouncing Ball Animation

This is the bouncing ball animation that I created for task 3. To make this I followed the tutorial suggested as I have never used After Effects before and am lacking in experience. I had a few first attempts before this one which did not look as good or the bounces were too pointed and not curved enough that I didn’t know how to solve easily, so this is actually the 3rd one that I made. I decided to start over each time as I could use what I made in each attempt as a test run and improve my skills by doing it again. I think it turned out well for a first attempt and even-though it is quite simple you can see it rotating as it bounces and the squash and stretch effect well. i think by doing this task and leaning how to animate something basic like a ball in the software it made me more aware of how to do other things with it. Once I had made the ball animation I then uploaded it to youtube. Below are some progress screenshots.

Task 2 – Animated Logo

Below is the logo that I created for Task 2. I decided that I was going to make a travel company logo as I had an idea of an animation I could make for one like that. I decided that I was going to make a logo that featured the world and a plane going around it, I felt like this would be a cool logo and something that was easy to make with my limited skill set. I picked World Travel for the company name as this summed up what the company did and I didn’t feel like the name was the biggest element for the logo, it was the animation itself. The customers would be families and holidaymakers looking for travel and air fairs across the world. I picked blue, green and yellow and shades of white and grey for the main colours of this logo as these were the colours that made sense for the design. I wanted my logo’s animation to be simple so I think the idea of having the plane fly around it was good and also illustrated what the company did better than the still logo would itself.

Below are some screenshots of my progress and how I animated the logo. I used the scale, rotate, and x and y position settings to achieve my animation. I decided that I wanted it to follow the line on the logo so this is the path that I animated it to take. To create this animation I used Adobe After Effects and the key frame system within it.

Below is the gif of the animated logo that I created. To make the gif I first had to render the animation as a video, I did this by adding it to the render queue and saving it as a .mov file. Once I had this video I used an online converter to make it into a .gif file.

Task 1 – Traditional to Digital Animation

This is the animation of a scene that I created. I produced this in photoshop. I had never really made animations before so I did keep it relatively simple but tried to use some of the principles of animation within my work. The principles that I used in this animation that I made include arcs (how the wolf travels across the screen from right to left) and ease in (how the wolf slowly moves in from the left of the screen at the beginning).

I’d say my animation is closest in style to a cel animation but also could be close to stop motion in a way. I would say this because the background itself is stationary and used within every single frame of the animation and is on a separate layer. The wolf, the clouds and the sheep are then on individual layers placed on top of the scenery This is similar to cel animation as these foreground layers are placed on top of the background layers and are able to be moved separately and are mostly transparent so the underneath layers are not effected by their addition or subtraction. It is however quite similar to stop motion however as not every single frame is redrawn they are simply shifted along as you would move things in stop motion.

I think that this animation, despite the look of it being simple looks okay for a first attempt at a more traditional looking animation technique.

Above are screenshots of how I layered all my pieces together to make the scene. This is how all my layers worked together in photoshop. I created everything on separate layers so I could move things at their own speeds and make things flow how I wanted them too. I wasn’t sure how to make a complicated animation so I wanted to do something simple such as objects just moving across the screen showing some animation principles.

Below is a screenshot of my timeline in photoshop showing some of my frames and how the ones next to each other are quite similar as some objects moved more and some less than others.

Aesop’s Fable Storyboard

For this exercise I decided to chose a fable that I already knew to make the process of creating a storyboard easier. I first went onto the website we were provided with with the fables on and selected ‘The Wolf in Sheep’s Clothing’ as my story. I then refreshed my memory and re read this fable. Once I had re read this I then took the key points and sketched up the storyboard below of the key events. I tried to add some short scene explanation underneath each one and to kind of list what my plan with that scene would be. I think this was a useful exercise as it helped me to think more about the 12 principles of animation and how I could use these in work that I produce.