
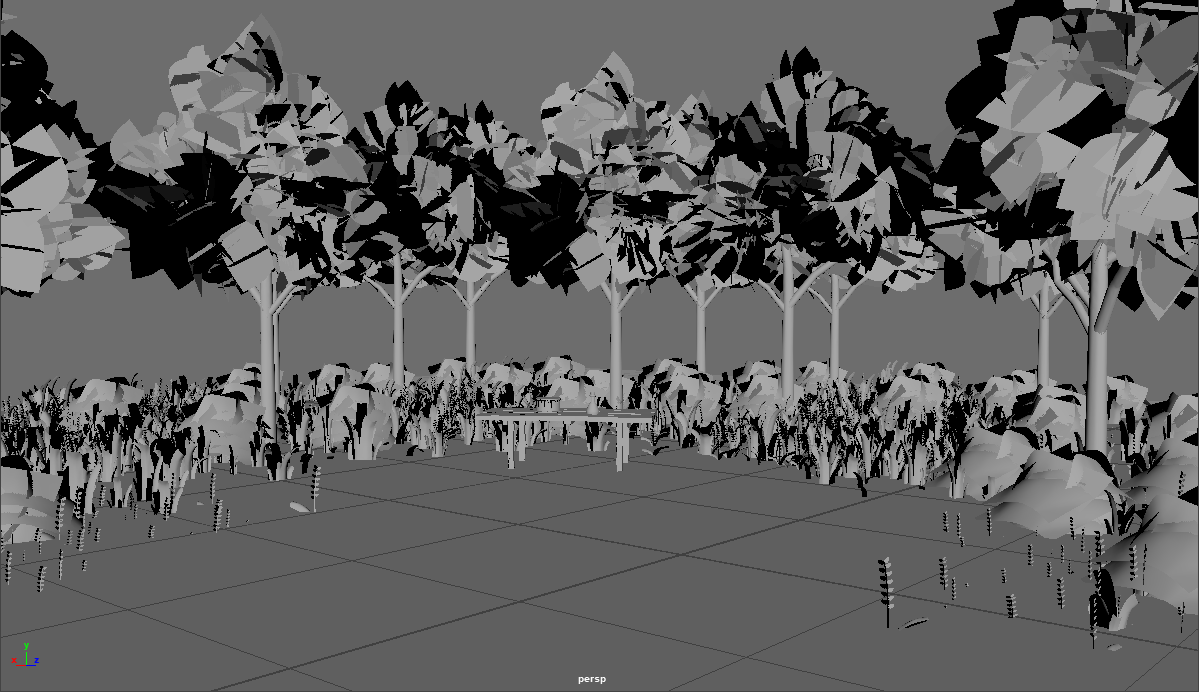
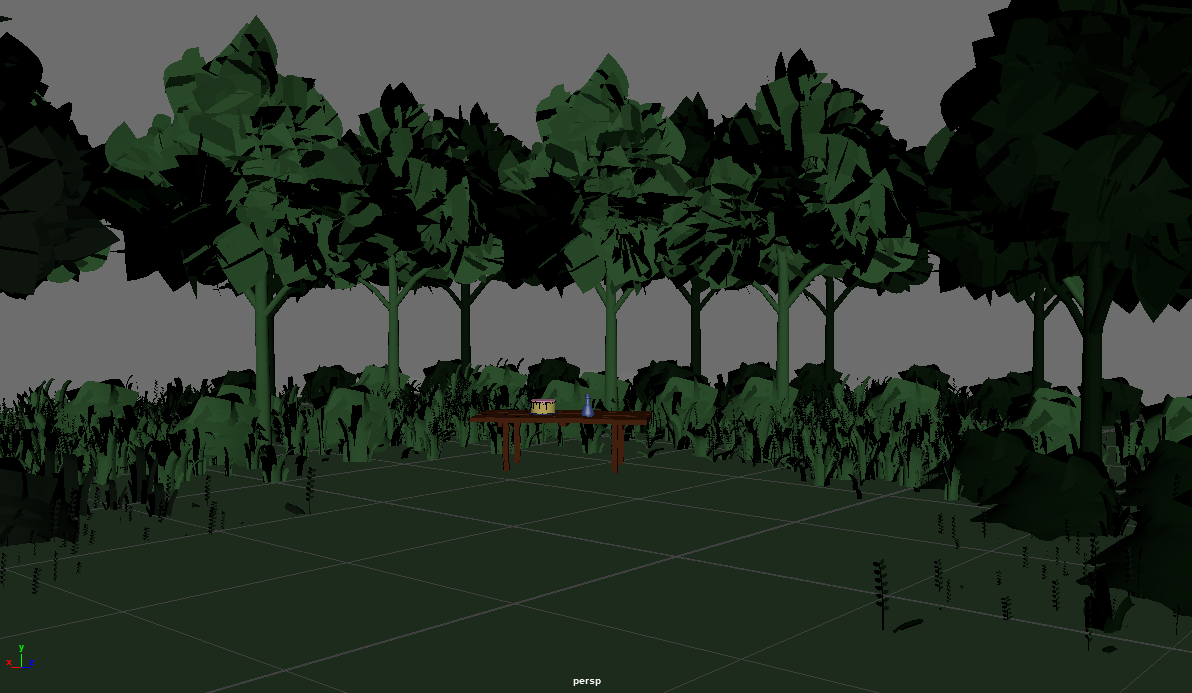
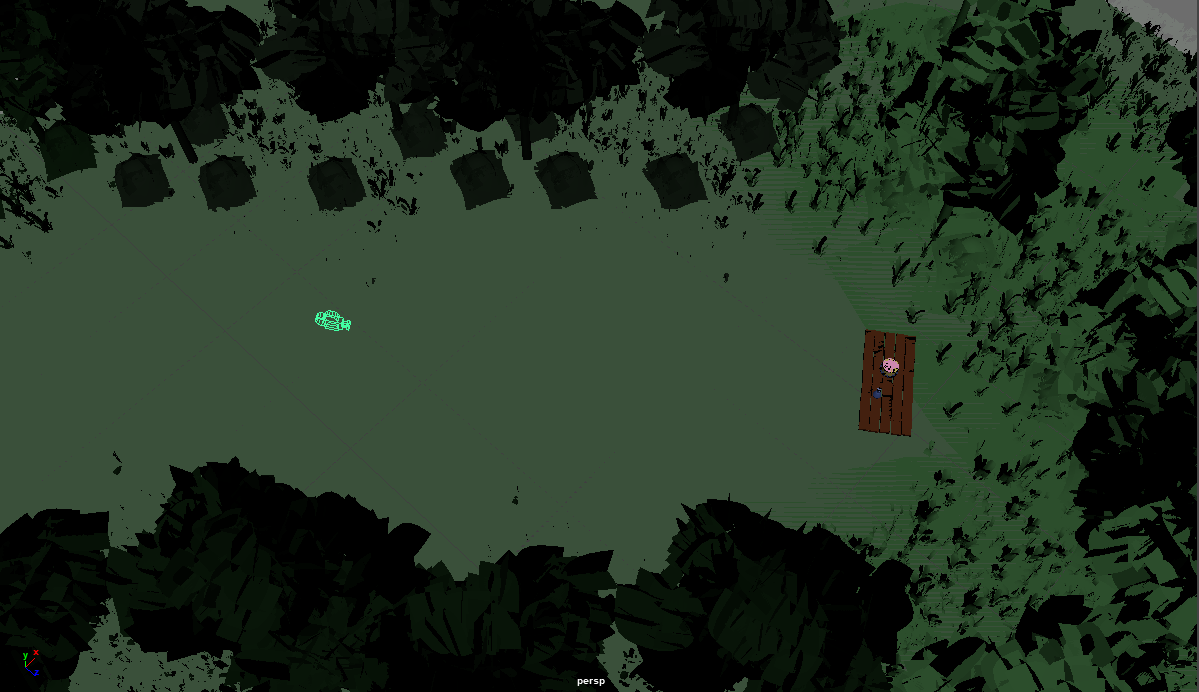
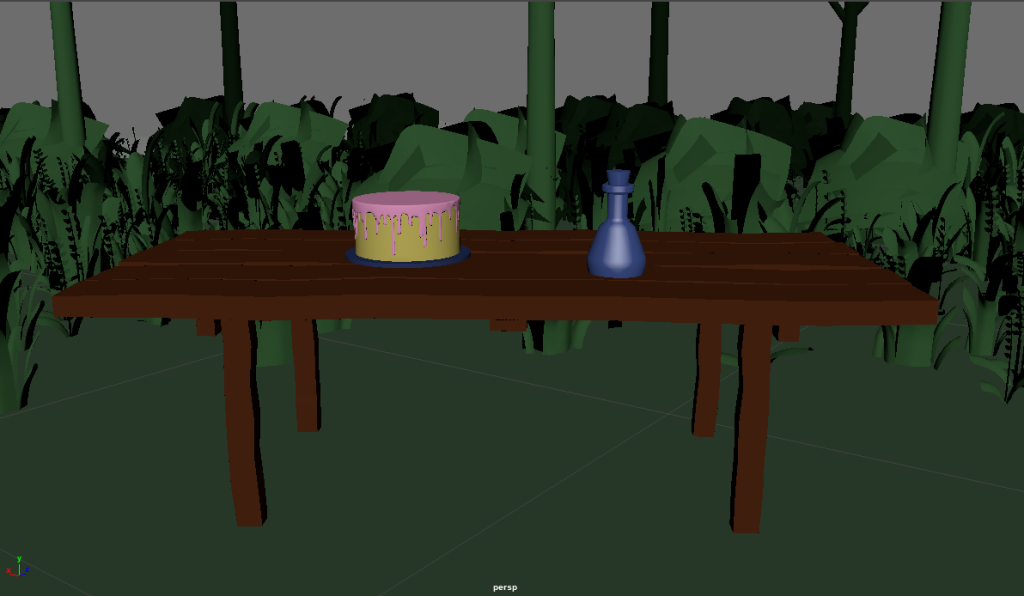
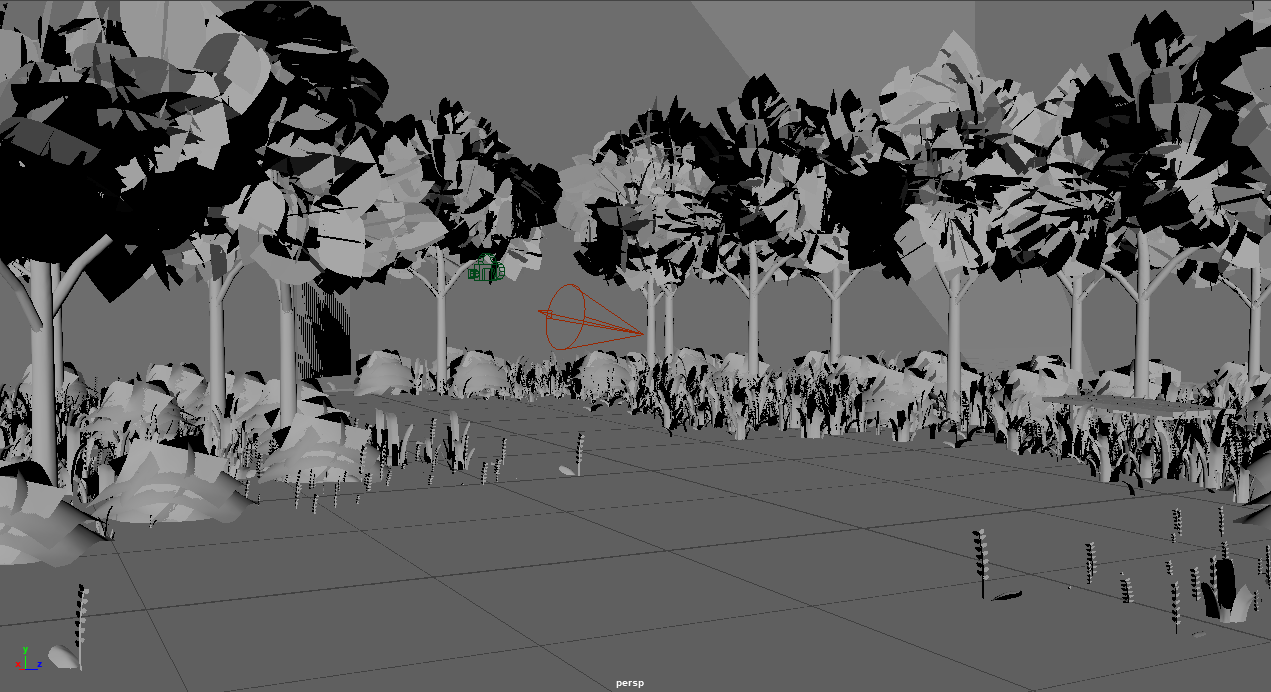
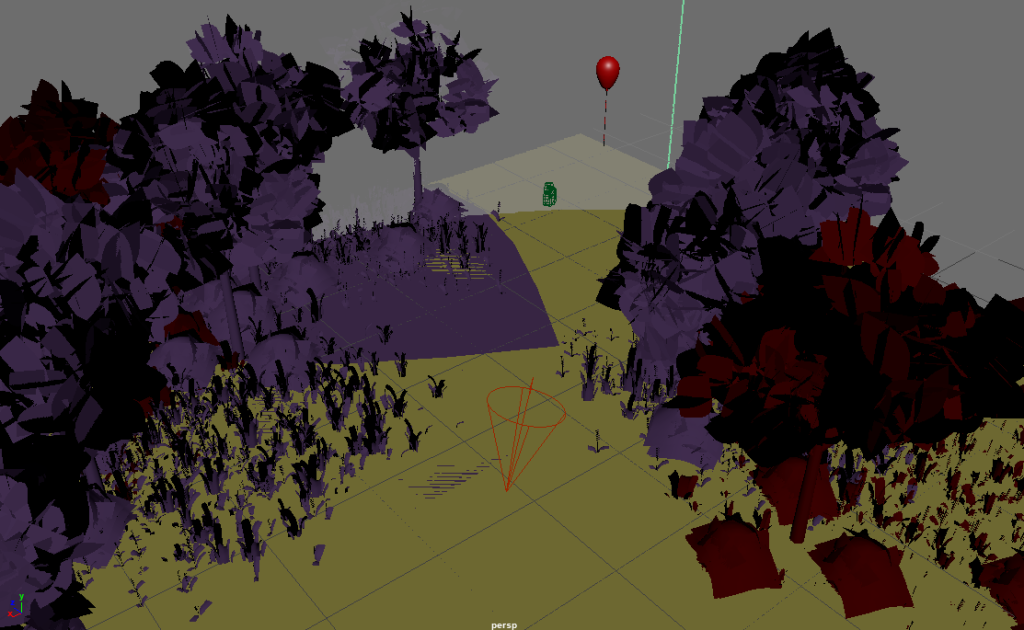
To begin my scene creation I first took all of the models I gathered from Sketchfab into Maya. I started by adding a cube to the scene to create the perimeter and the floor for the scene. I then added the items I collected into the file and started to duplicate the trees to make a path and suggest the presence of a forest. I then added the table and the bottle/cake. I had to edit the cake to be more simplistic to fit the rest of the scene and how I wanted to look. Once I had all of the pieces in place I then added textures to them. I opted for simplistic textures within my piece as I liked the style it gave my piece and made it also a lot easier to change them between scenes for different effects. I then added a simple sky dome light to the scene to add lighting. After I had the basis of the scene all set up I got to work creating the camera. I would be having my scenes follow simple paths through the worlds so I set the camera going through the clearing within the 30 second scene. As I had planned to have my world I created loop through the scenes with different routes this meant that once scene 1 was made the rest of the modelling was relatively easy to complete as all the assets were already present.
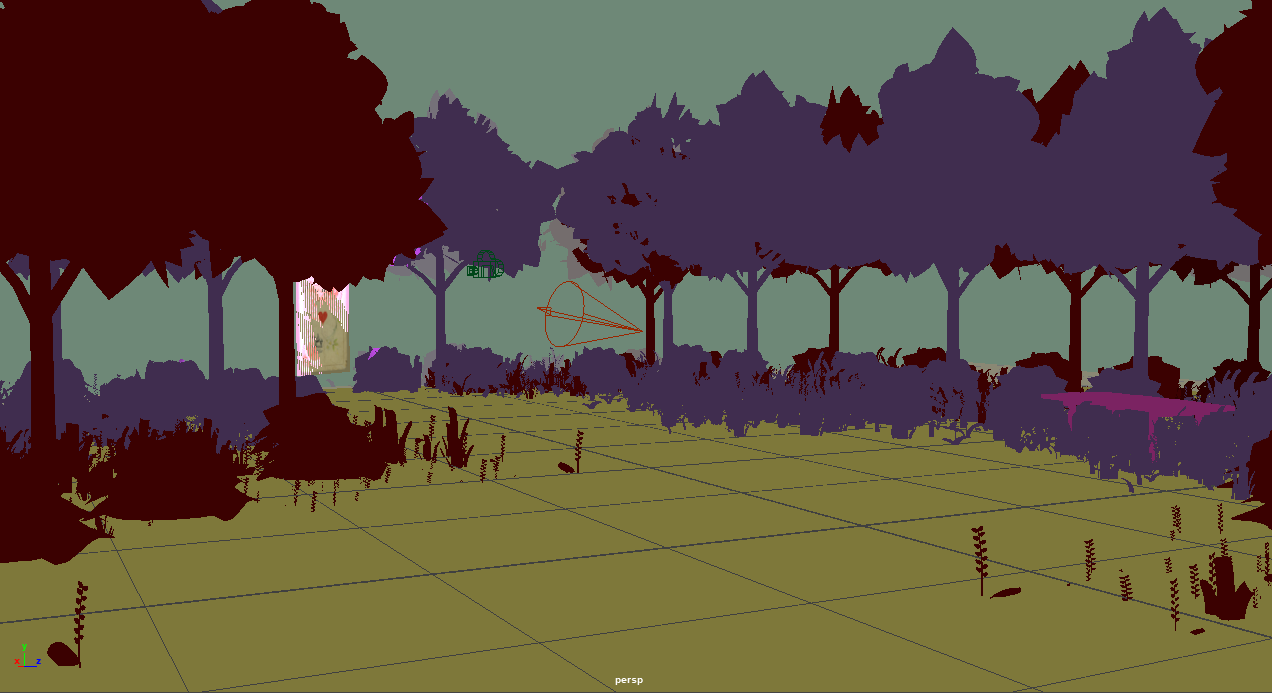
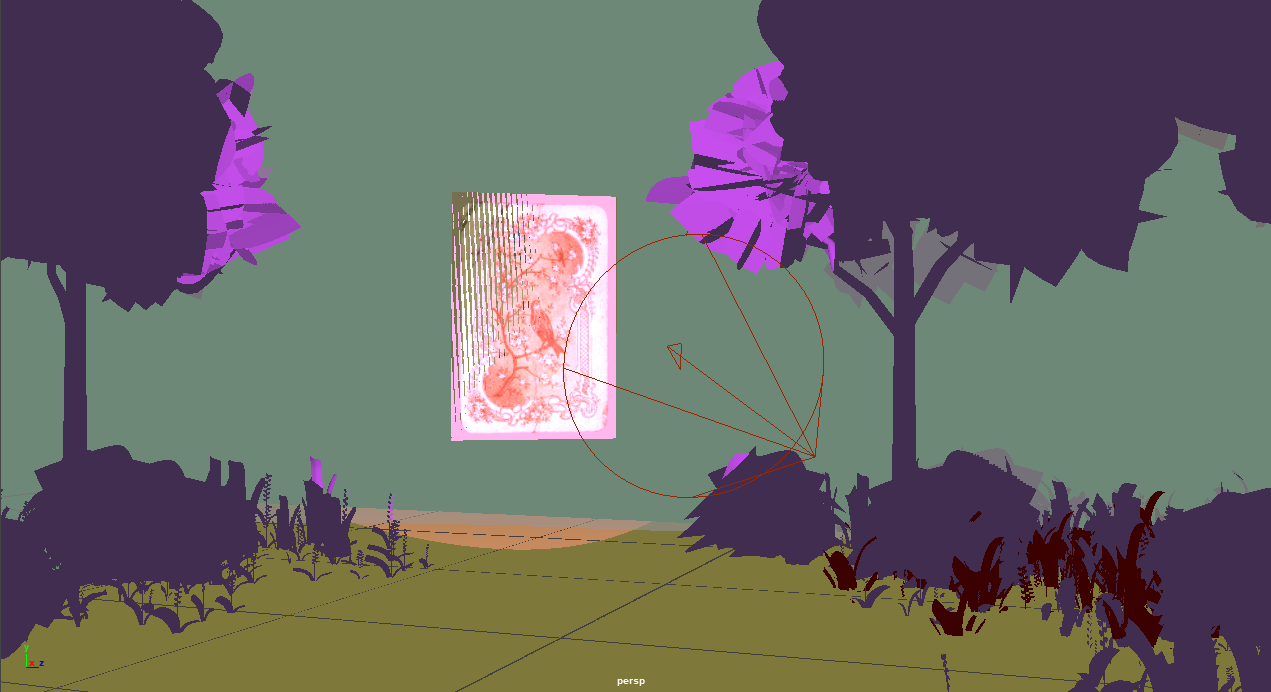
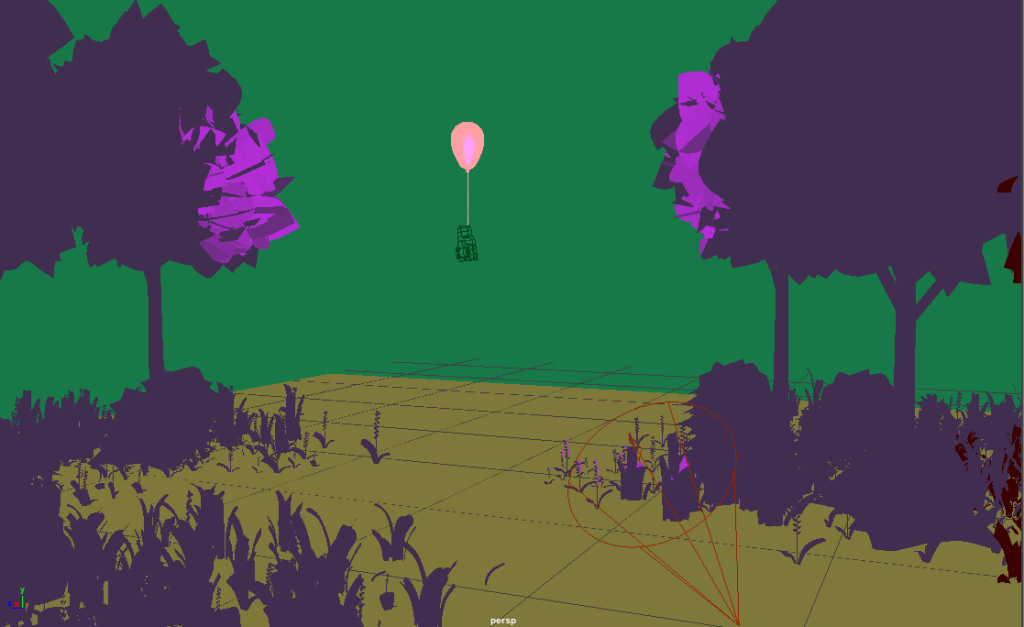
For scene 2 I first began by copying my first file and removing the textures from the assets. Once I had done this I was able to move the pieces around as I needed for scene 2. I was following my storyboard for a lot of this but wanted to create the forests as I went to have them have a more natural and organic look to them. Once I had the path to the left planned out I then added in a new item, the card that I also collected off Sketchfab. After everything was in place within the scene I added the textures which can be seen in scene 2 and changed up the colours to be something more strange and unusual. After this I added a sky dome light and an Arnold spotlight ,which I set to a bright pink colour to draw user attention. Scene 2 was also the first scene that I added more animation to, I added some keyframes to the card in the scene to make it look like it was magically floating up and down. I then finally added the camera going a similar path to scene 1 but skewed to the left and the scene was complete and ready to render.
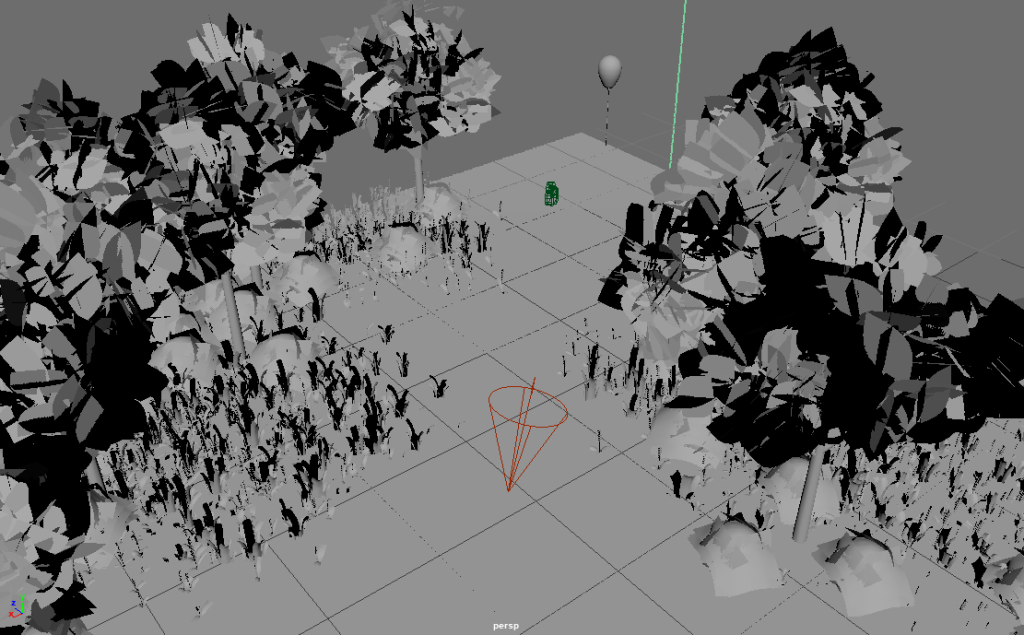
To create scene 3 I followed a similar pattern to the creation of scene 2. I knew the textures and colours within this scene had to be the same as scene 2 so I began by duplicating this file to have the objects already set up with the desired textures. From here I then assembled the scene with the path to the right and added a new object, the balloon, to the end of the new path. I then added some animations to this object to make the balloon appear as if it was floating as the user approached. This item was also lit with a pink spotlight to draw the users eye and attention to the area of the scene they are being walked to, which is the newly created path in the scene to the right.

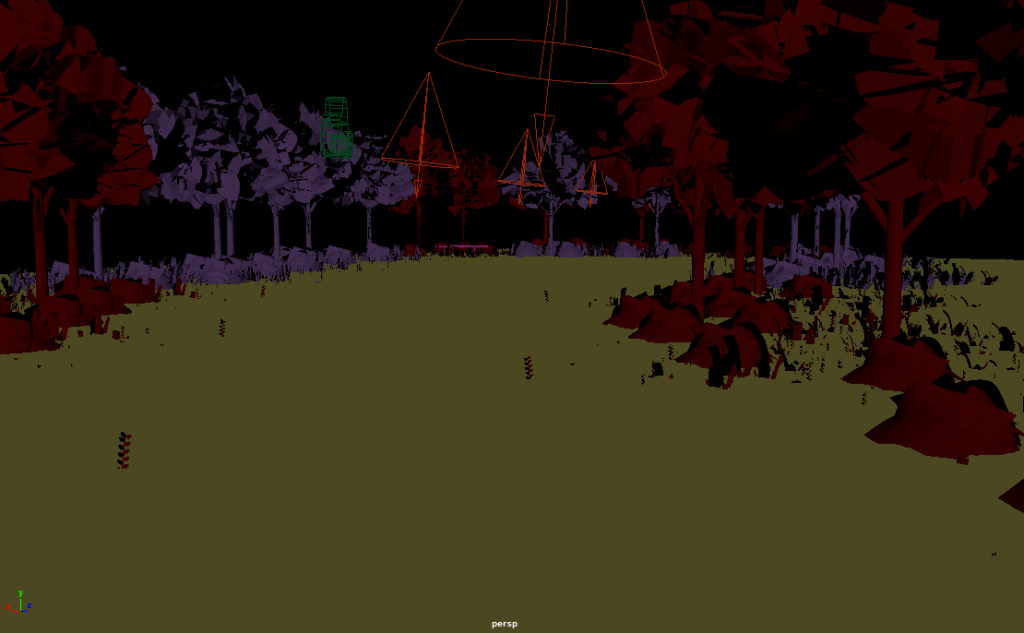
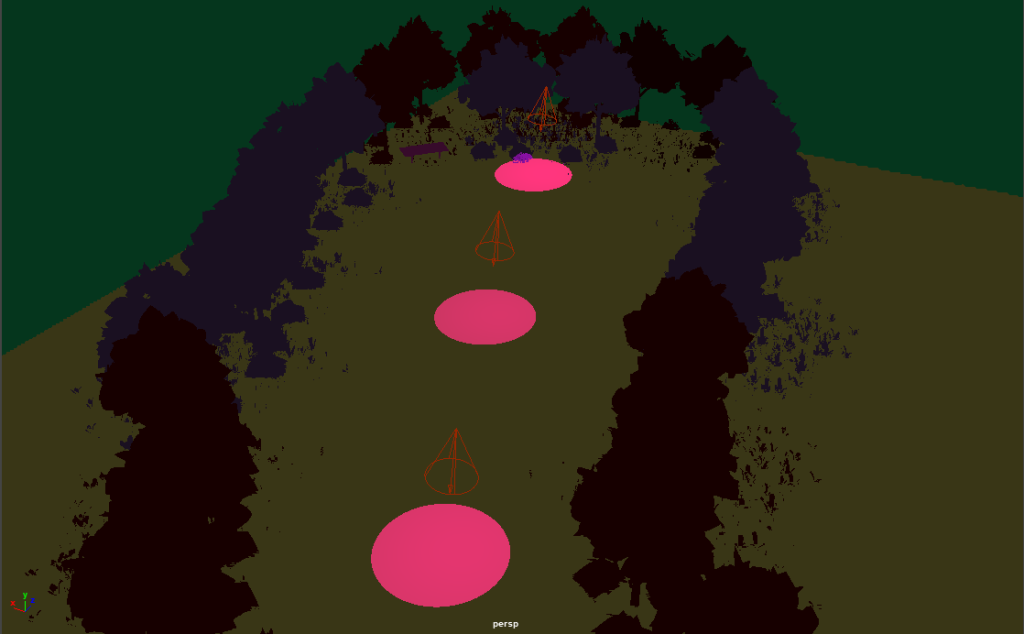
The final scene was a bit different than the last 2 as it involved more lights within the scene and a darker atmosphere. I wanted it to feel like the user’s final chance to pick a route, the central one. I added some intense spotlights though the dark scene to be a guide of the direction and I think its really atmospheric. Once I had this scene created I rendered each 600 frame scene individually at 1080p quality and then assembled them together in premiere pro to create my video. I then took this video, added the fade to white/black transitions to the appropriate areas between scenes and finally added my chosen soundtrack to the completed video. Once I had done the simple assembly process I uploaded the scene to YouTube and checked through it to make sure it was all correct with no issues. I did not have really any technical issues within this project and was able to complete the video smoothly and think my concept worked out ideally. Some elements from my storyboard I did not add as I didn’t want to overwhelm the scene (such as the orb of light guiding the user and instead opted for interesting coloured lights as a guide on where to look) but I think the final outcome is still true to the original idea I had and that I executed it to the best of my ability.