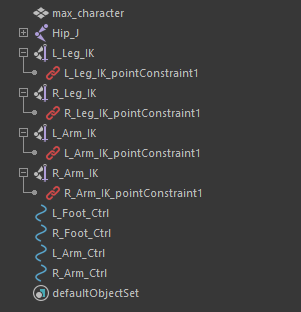
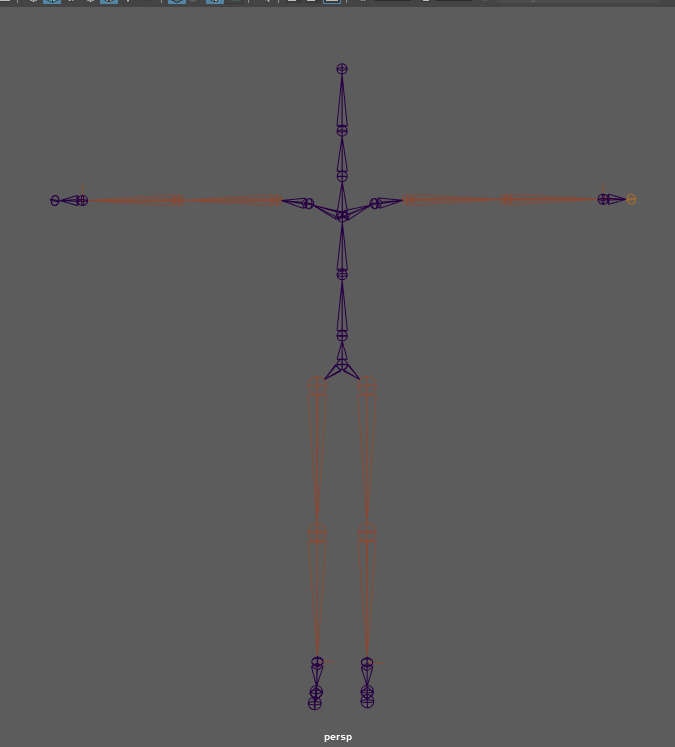
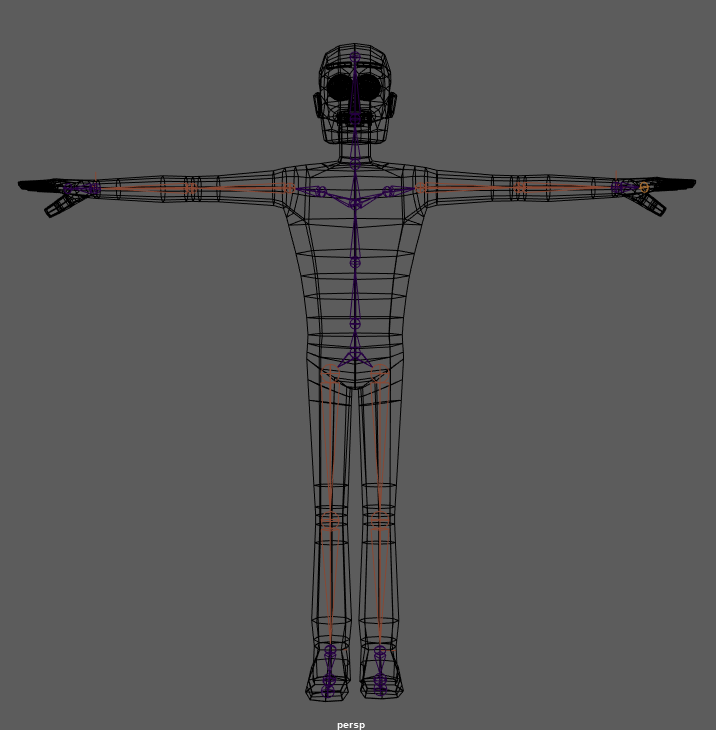
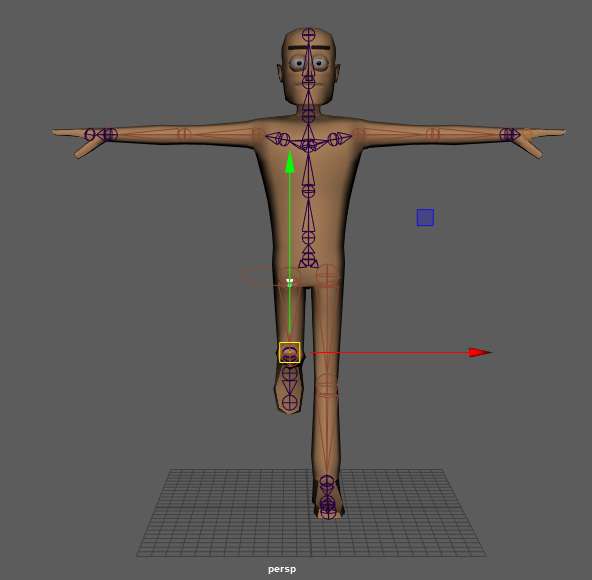
After the joints were all in place for my model and the orientation of each one was correct I then moved onto the next step of the character which was making the IK handles for the arms and legs. This was quite easy as the process only took a few steps to complete. To do this I selected “create IK handle” from the drop down menu then proceeded to select the points where I wanted the IK handle to go. I did this for the shoulder to wrist joints on each side and the leg to ankle joints. I then named each of these handles correctly according to the lab sessions I watched to learn how to do this process. Below are screenshots of my model and the IK handles that I created along with an example of how they worked when I eventually worked out some issues I was having which I will touch on next.
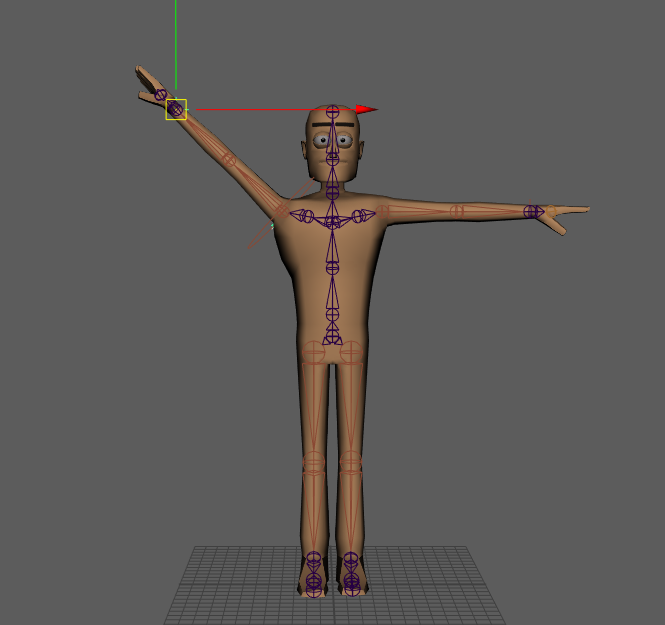
The video below shows one of the issues that I had with the IK handles once I had them in place and started to test them to see if they worked correctly. I ended up having to redo the legs for a 3rd time as something was going wrong and I couldn’t figure out what it was as everything worked fine in the previous steps. I decided to delete the leg IK’s and the leg joints and redo them all again to make sure that I followed the steps closely and everything was correct. Once I did them again they were able to work correctly as seen in the screenshots above and I was able to continue with the project. By having issues like this which caused me to redo parts of my rig multiple times and I was able to learn more about how things should look and how to do the process myself after repeating it. This really helped me with this project as it was the first time I was rigging a model so it proved helpful to run into some mistakes so I could figure out how to fix them and not have them happen again. Redoing and fixing parts of my rig and the rig itself as a whole took me a lot of time to complete and many hours of working.
Once I had everything working correctly, I then named each of the joints and handles that I had created as I had had to redo parts of it. I named them all with L & R to make later stages easier. This and my handles can be shown here the above screenshot.