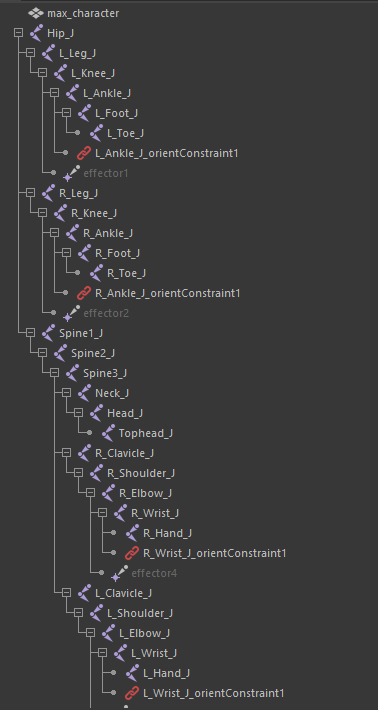
Getting to this point in the rigging process took me many hours of working over a few weeks. Once I had got the main parts of my rig down in part 1 and 2 I began to work on the controls for the rig to make posing and movement work correctly.
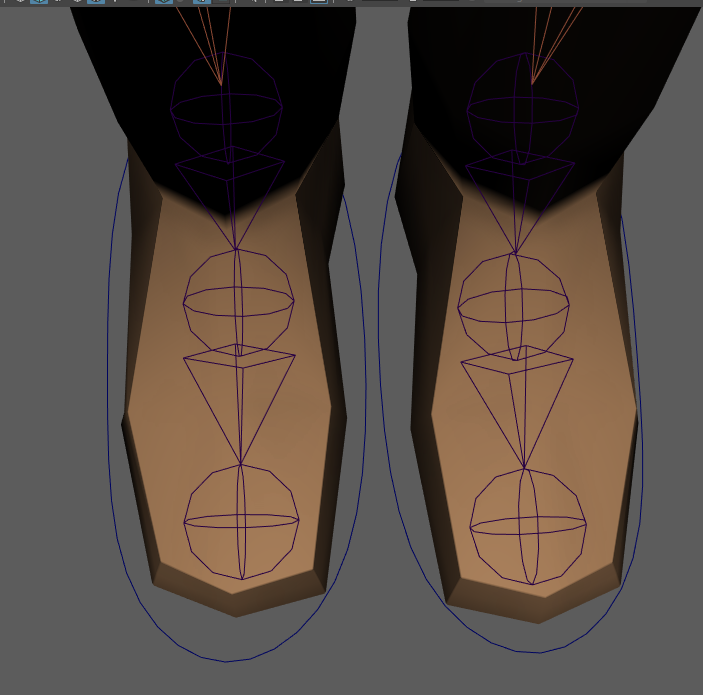
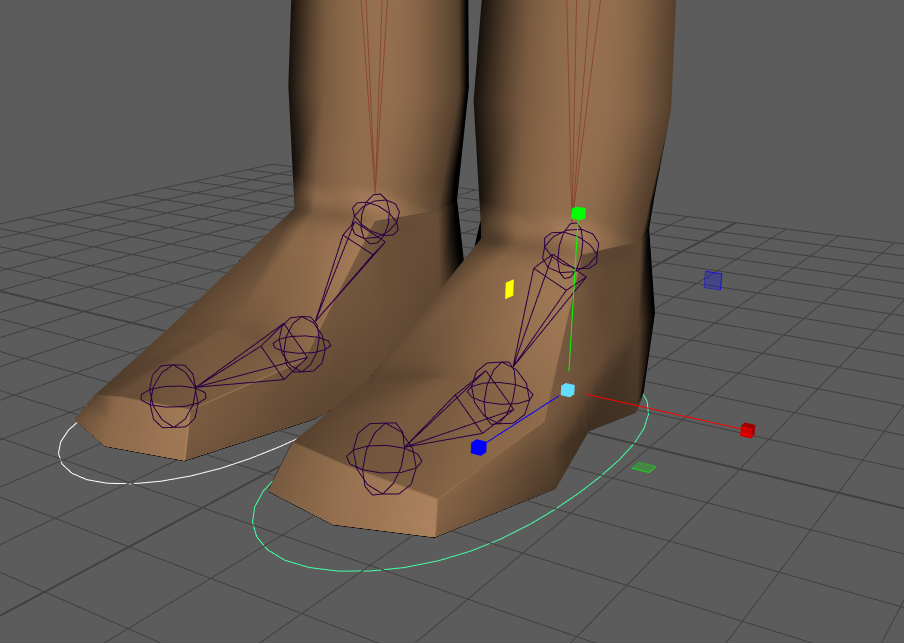
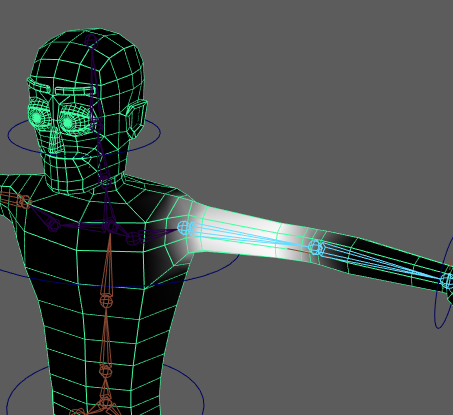
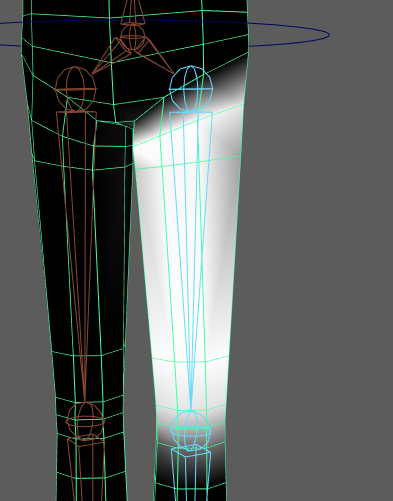
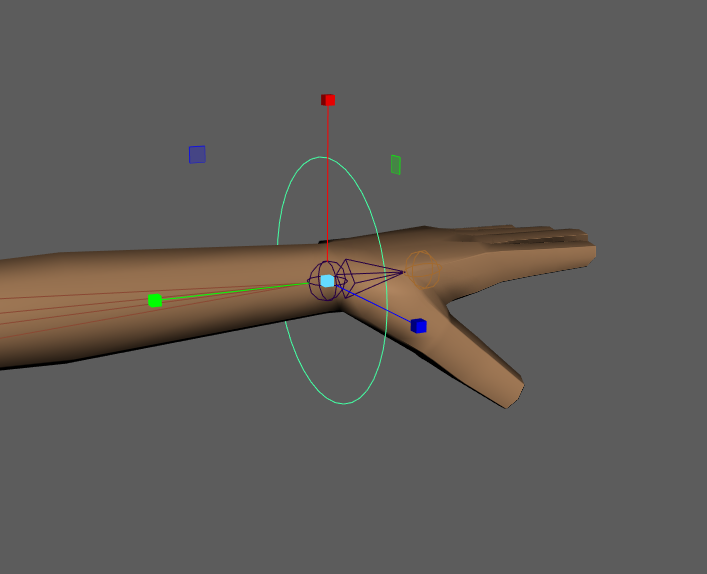
I first started by adding 2 circles around the feet and editing the shape to roughly match them. I then changed the pivot point of the circle to match up with the ankle joint. I then used point select to move the circle to the joint and then moved the circle only not the pivot point to the ground so everything was aligned correctly. I then repeated this for the other leg and named both of the controllers in preparation for further steps. I then froze transformations on these circles. I then selected the controller and the appropriate IK handle and paired them together. I then applied an orient constraint to each of these controls to make sure rotation worked. I then repeated the same process for the arms.
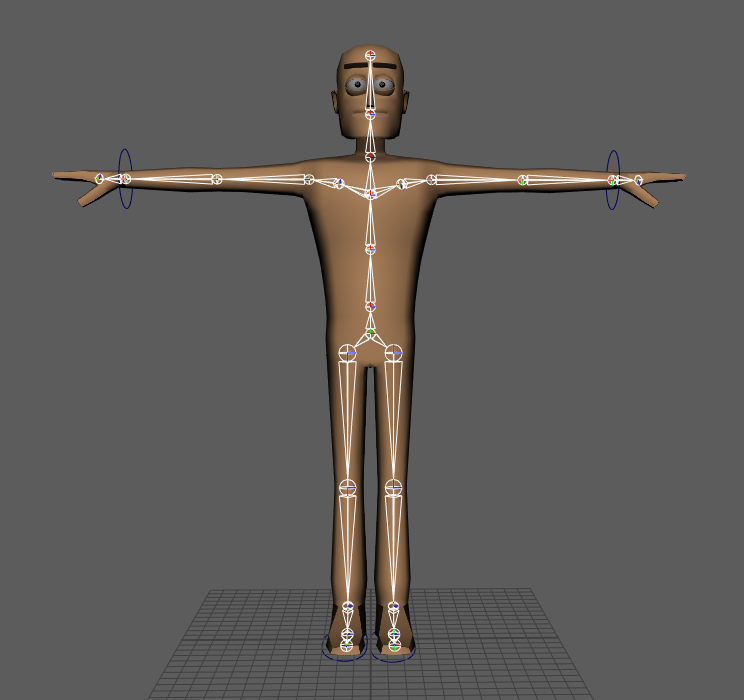
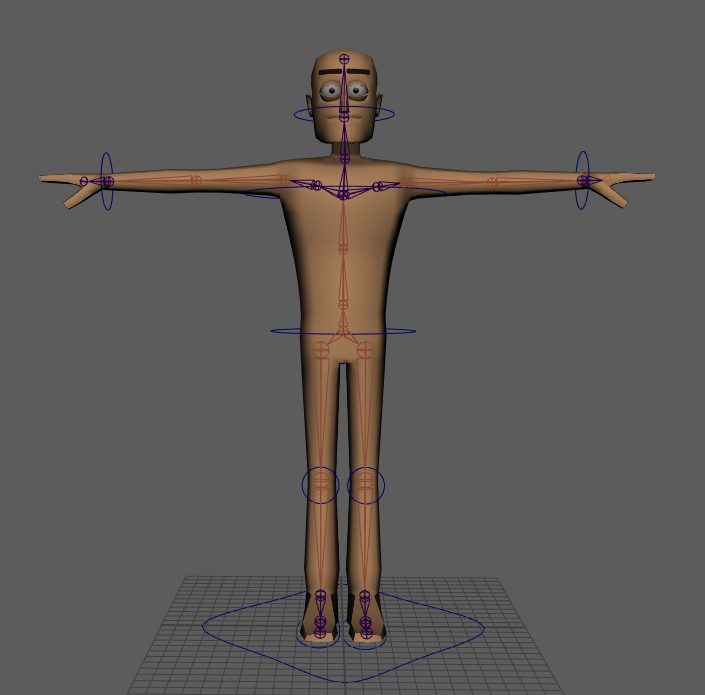
The next step was to make controllers for the hip, chest, neck and the master controller. I started by making a IK Spline handle and starting it at the hips and ending it at the top of the spine. I then renamed the handle and the curve created. I then selected the curve and moved the pivot point to snap at the hip joint. I then made a new circle and point snapped it to the hip and named it as the controller. I then selected the controller and the spine curve and selected constrain point and constraint orient only selecting the X and Z axis.
Once I had created the hip joint I then used a similar set of steps to create the chest and neck controllers for the model so that I could move these parts independently and have more control. I then created another circle shape. I edited the vertex to make it more of a square to differentiate it from the rest. Using the outliner display I then selected all of my other controllers and parented them into this square shape to create the master controller for the model. Once this was done I proceeded onto paint weights.
For the paint weights I focused primarily on fixing any warping issues with the main body as there was no issues with the neck area. I started with removing paint from the sides of the body to stop arm warping around the joint. I did this around the legs too to make them move smoothly. I didn’t have to do much with the paint weights as I felt it worked well already.