
To start off the development of this project I first refreshed my understanding of the first part of the project I created, going through all the research and planning that I had undertaken to have the design style I wanted to work for in my mind. Using the fonts that I found, the graphic colour palette I had chosen and the graphic vectors I had been working on to use within any designs I began trying to create my first design. At the beginning of this project I gathered a large amount of free use stock images that I thought were interesting or cool and I used this store of images within my work. I looked through all of the images that I had amassed and saved the ones that I was feeling most drawn to and which I thought would combine well together. Once I had these few images selected I began to start editing them, this process is documented below.
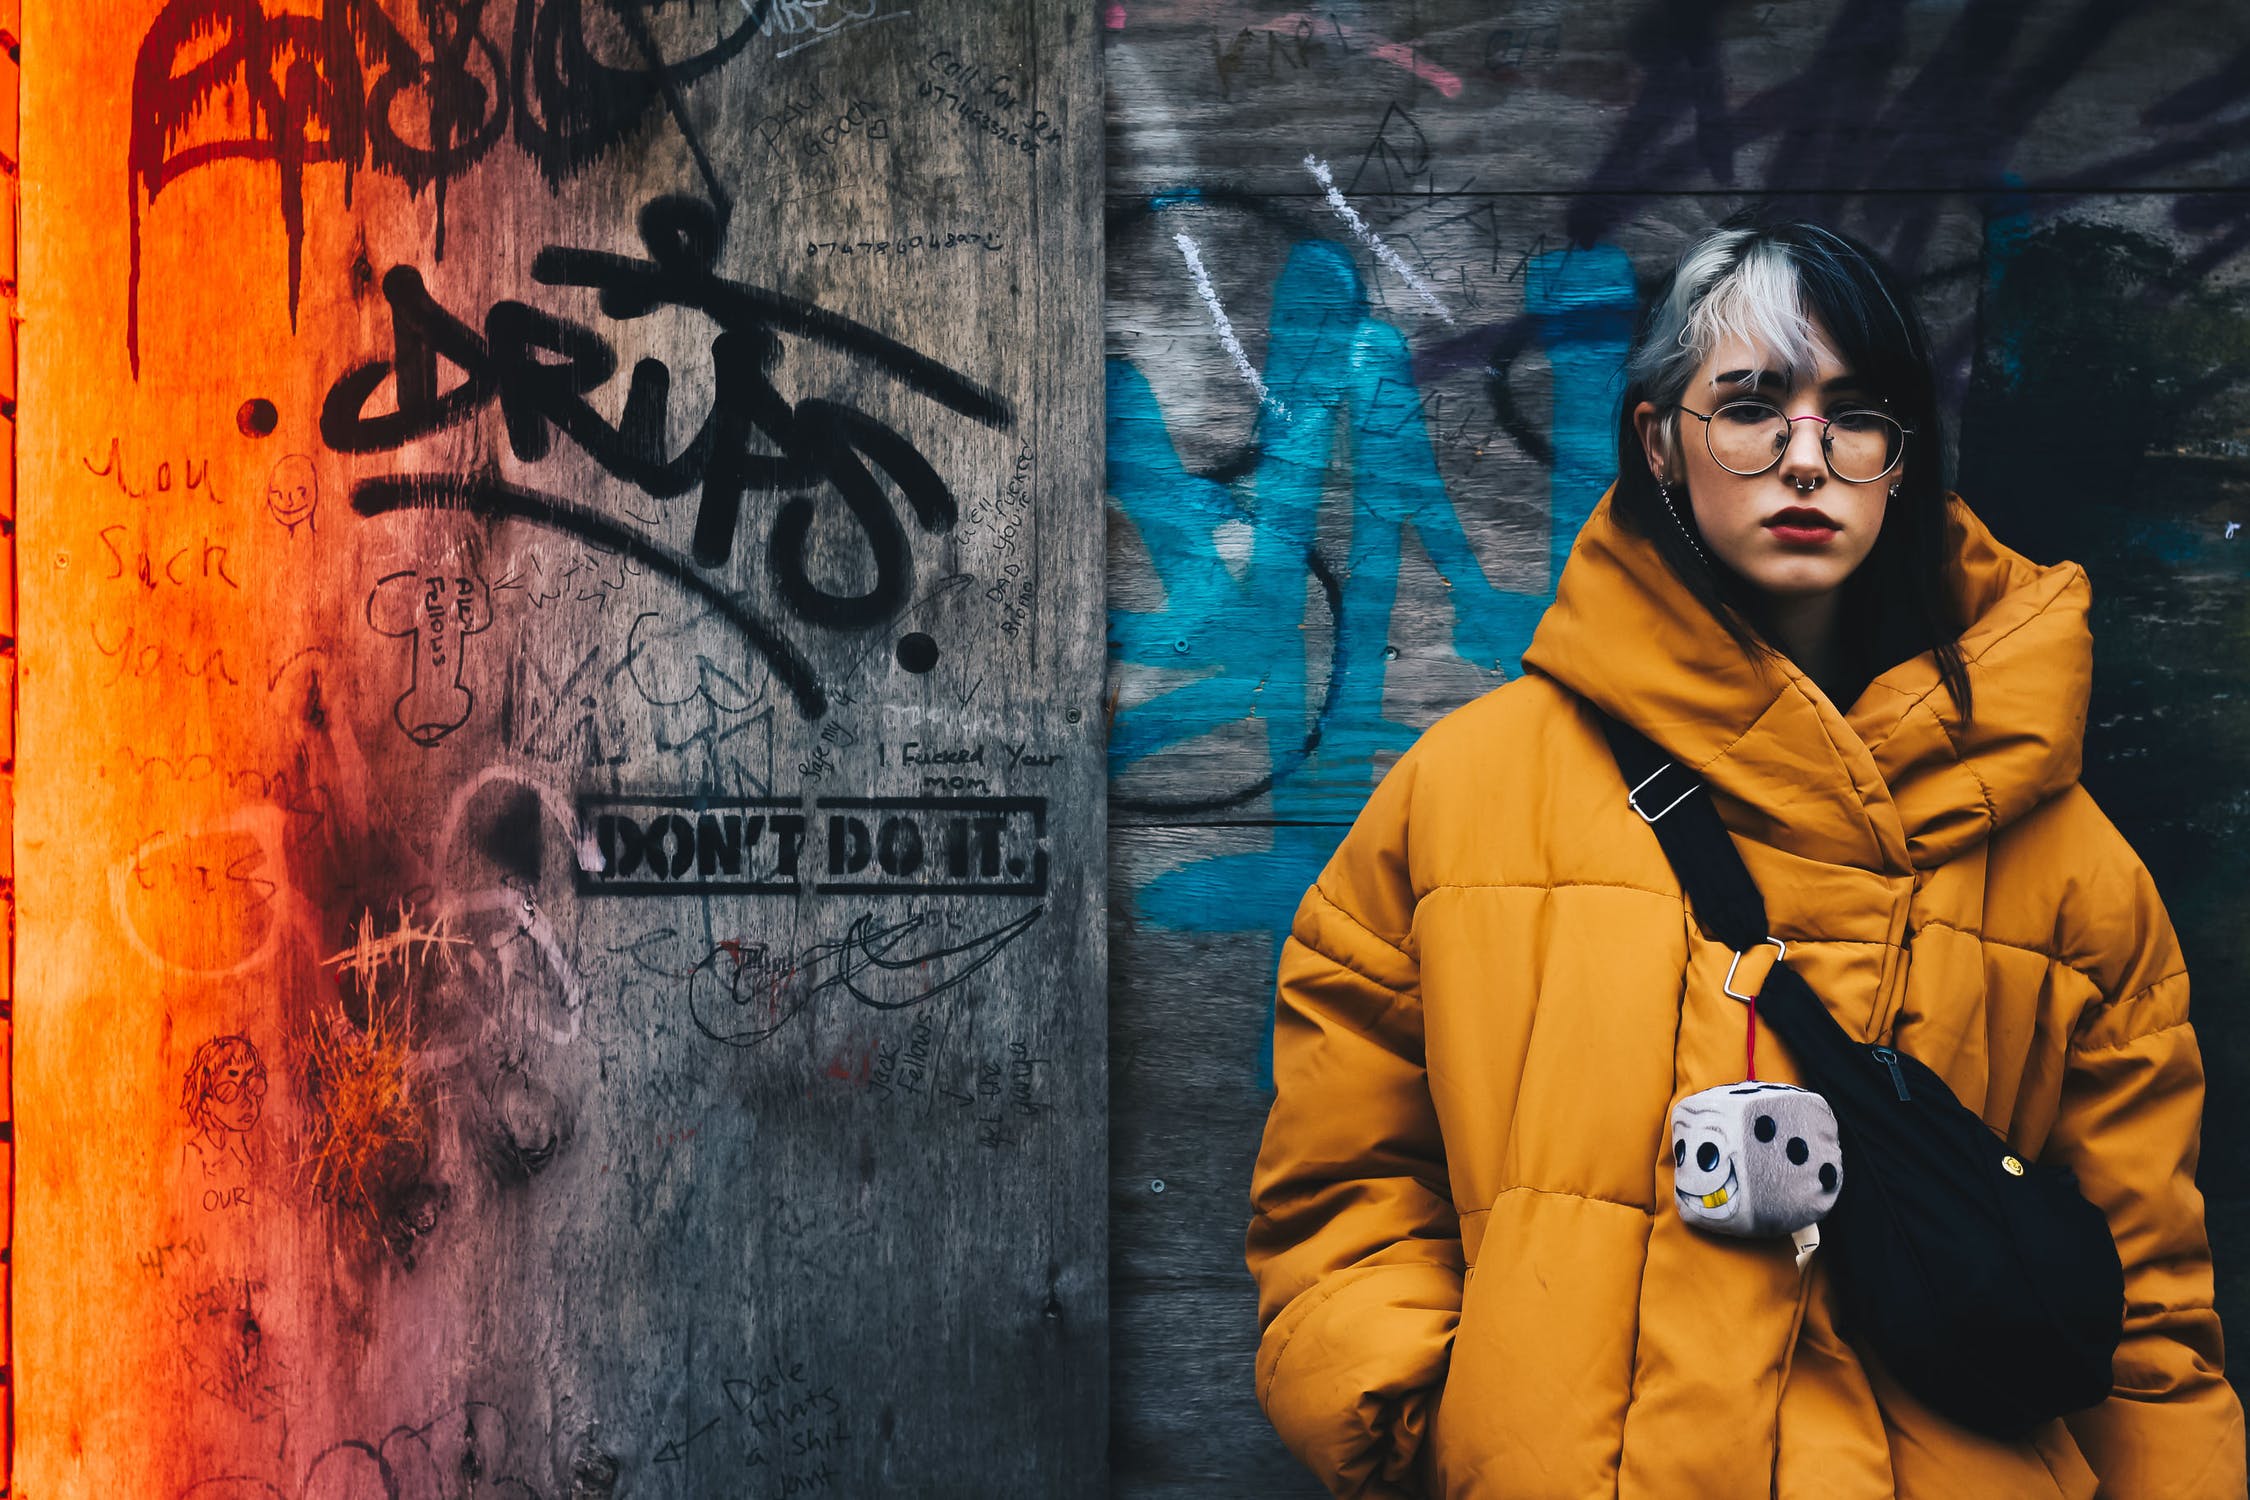
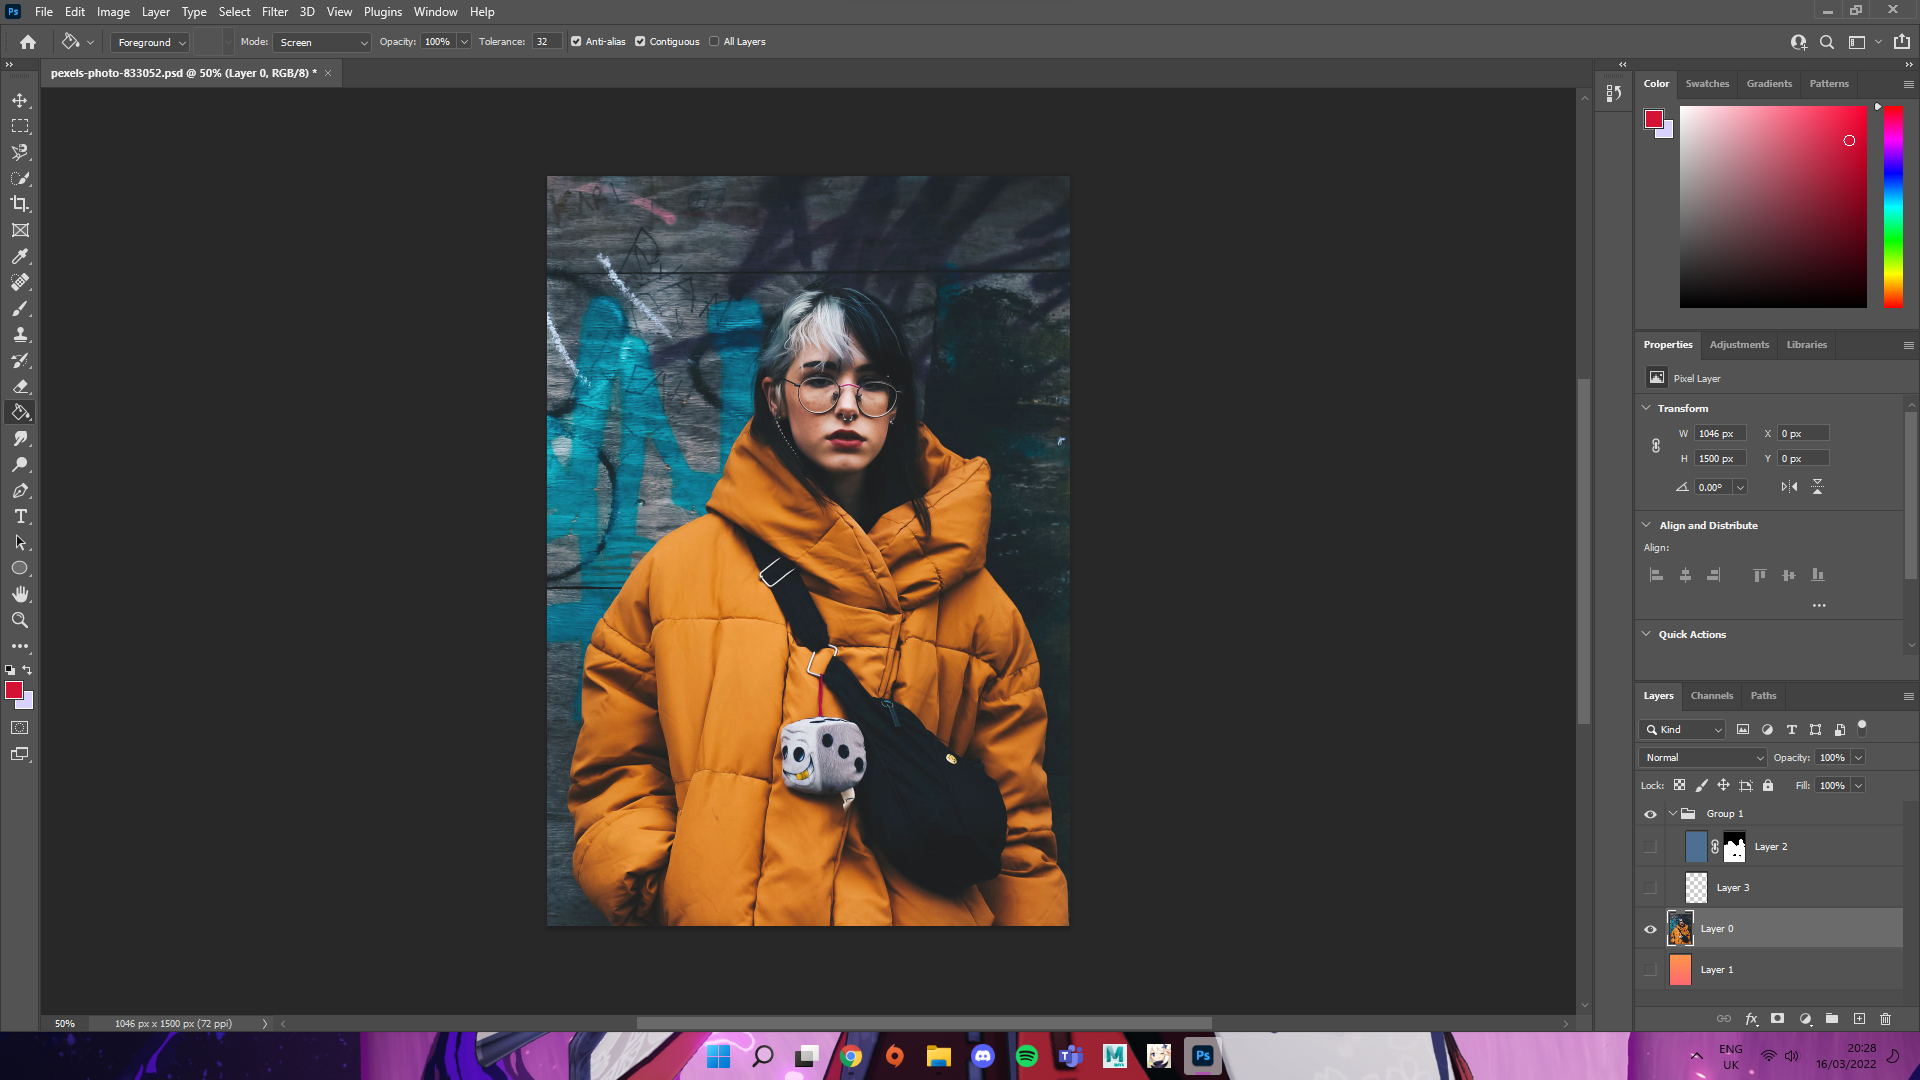
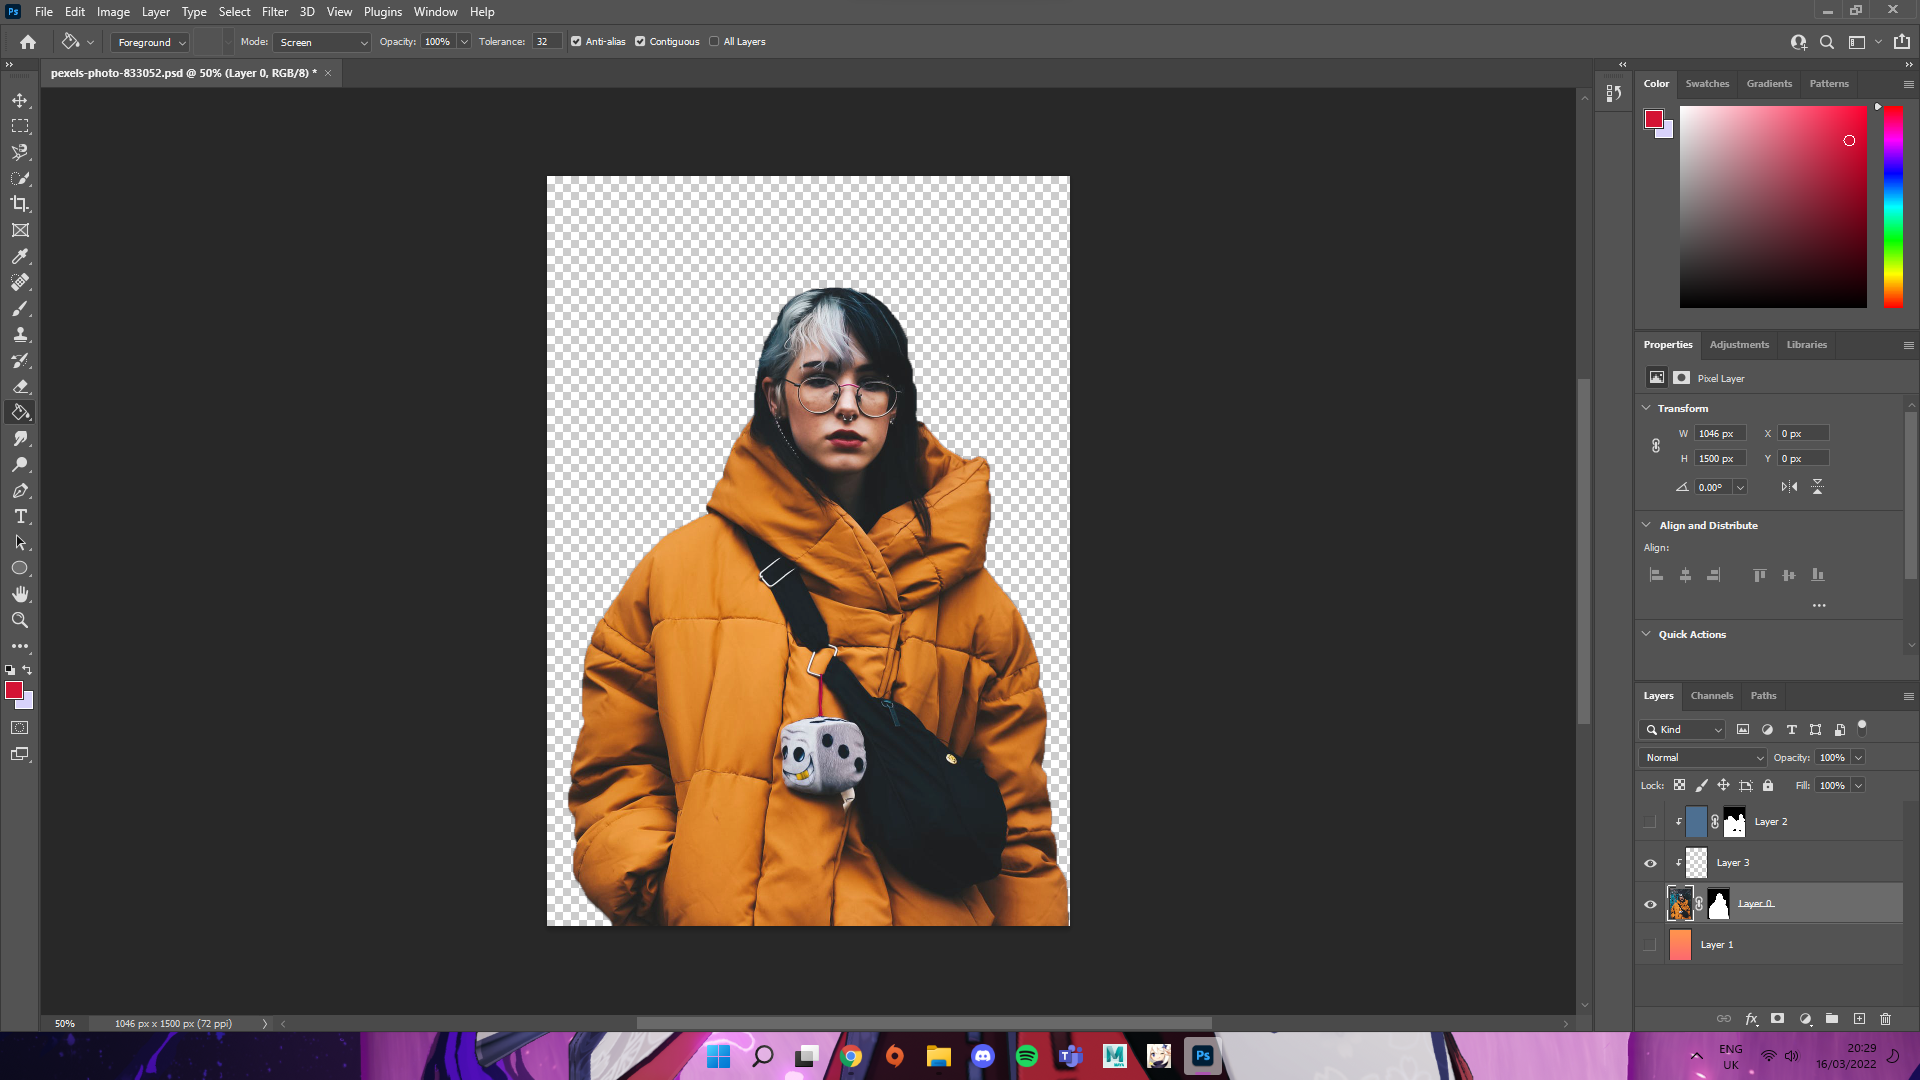
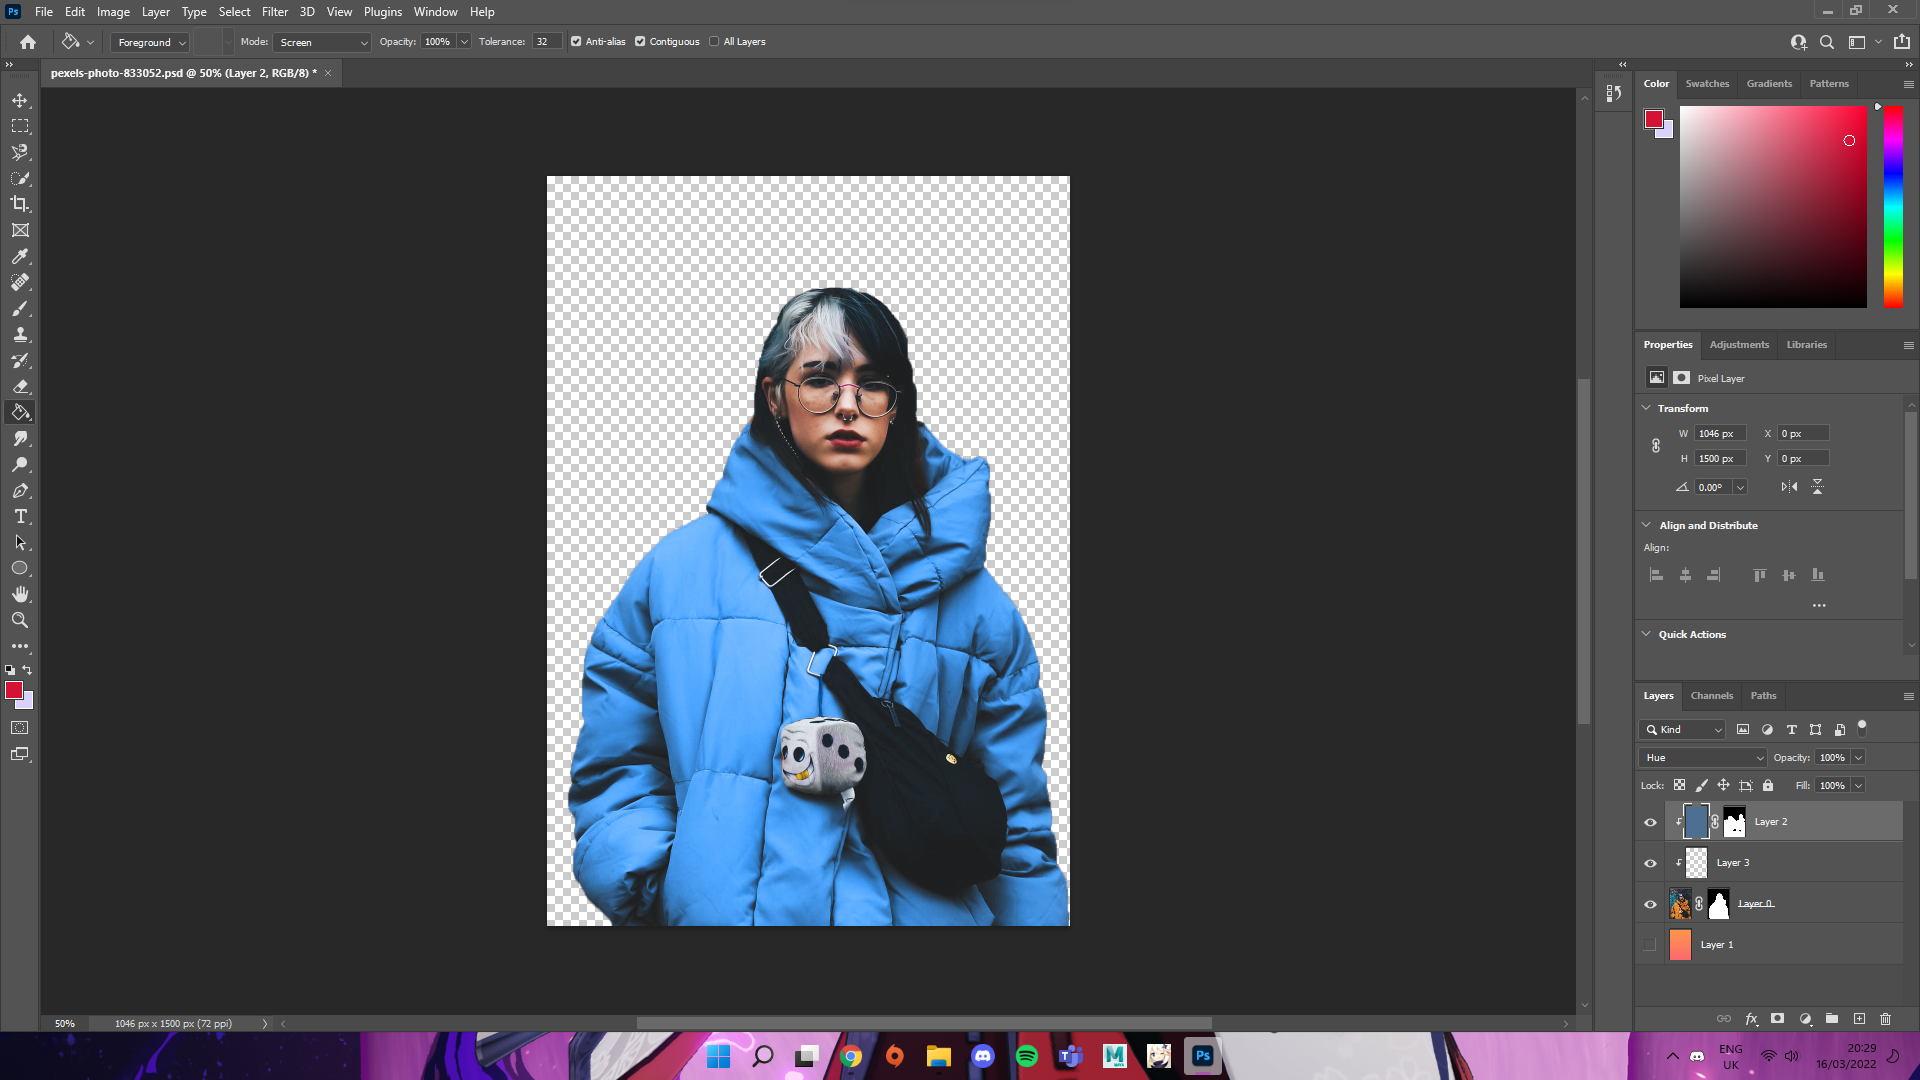
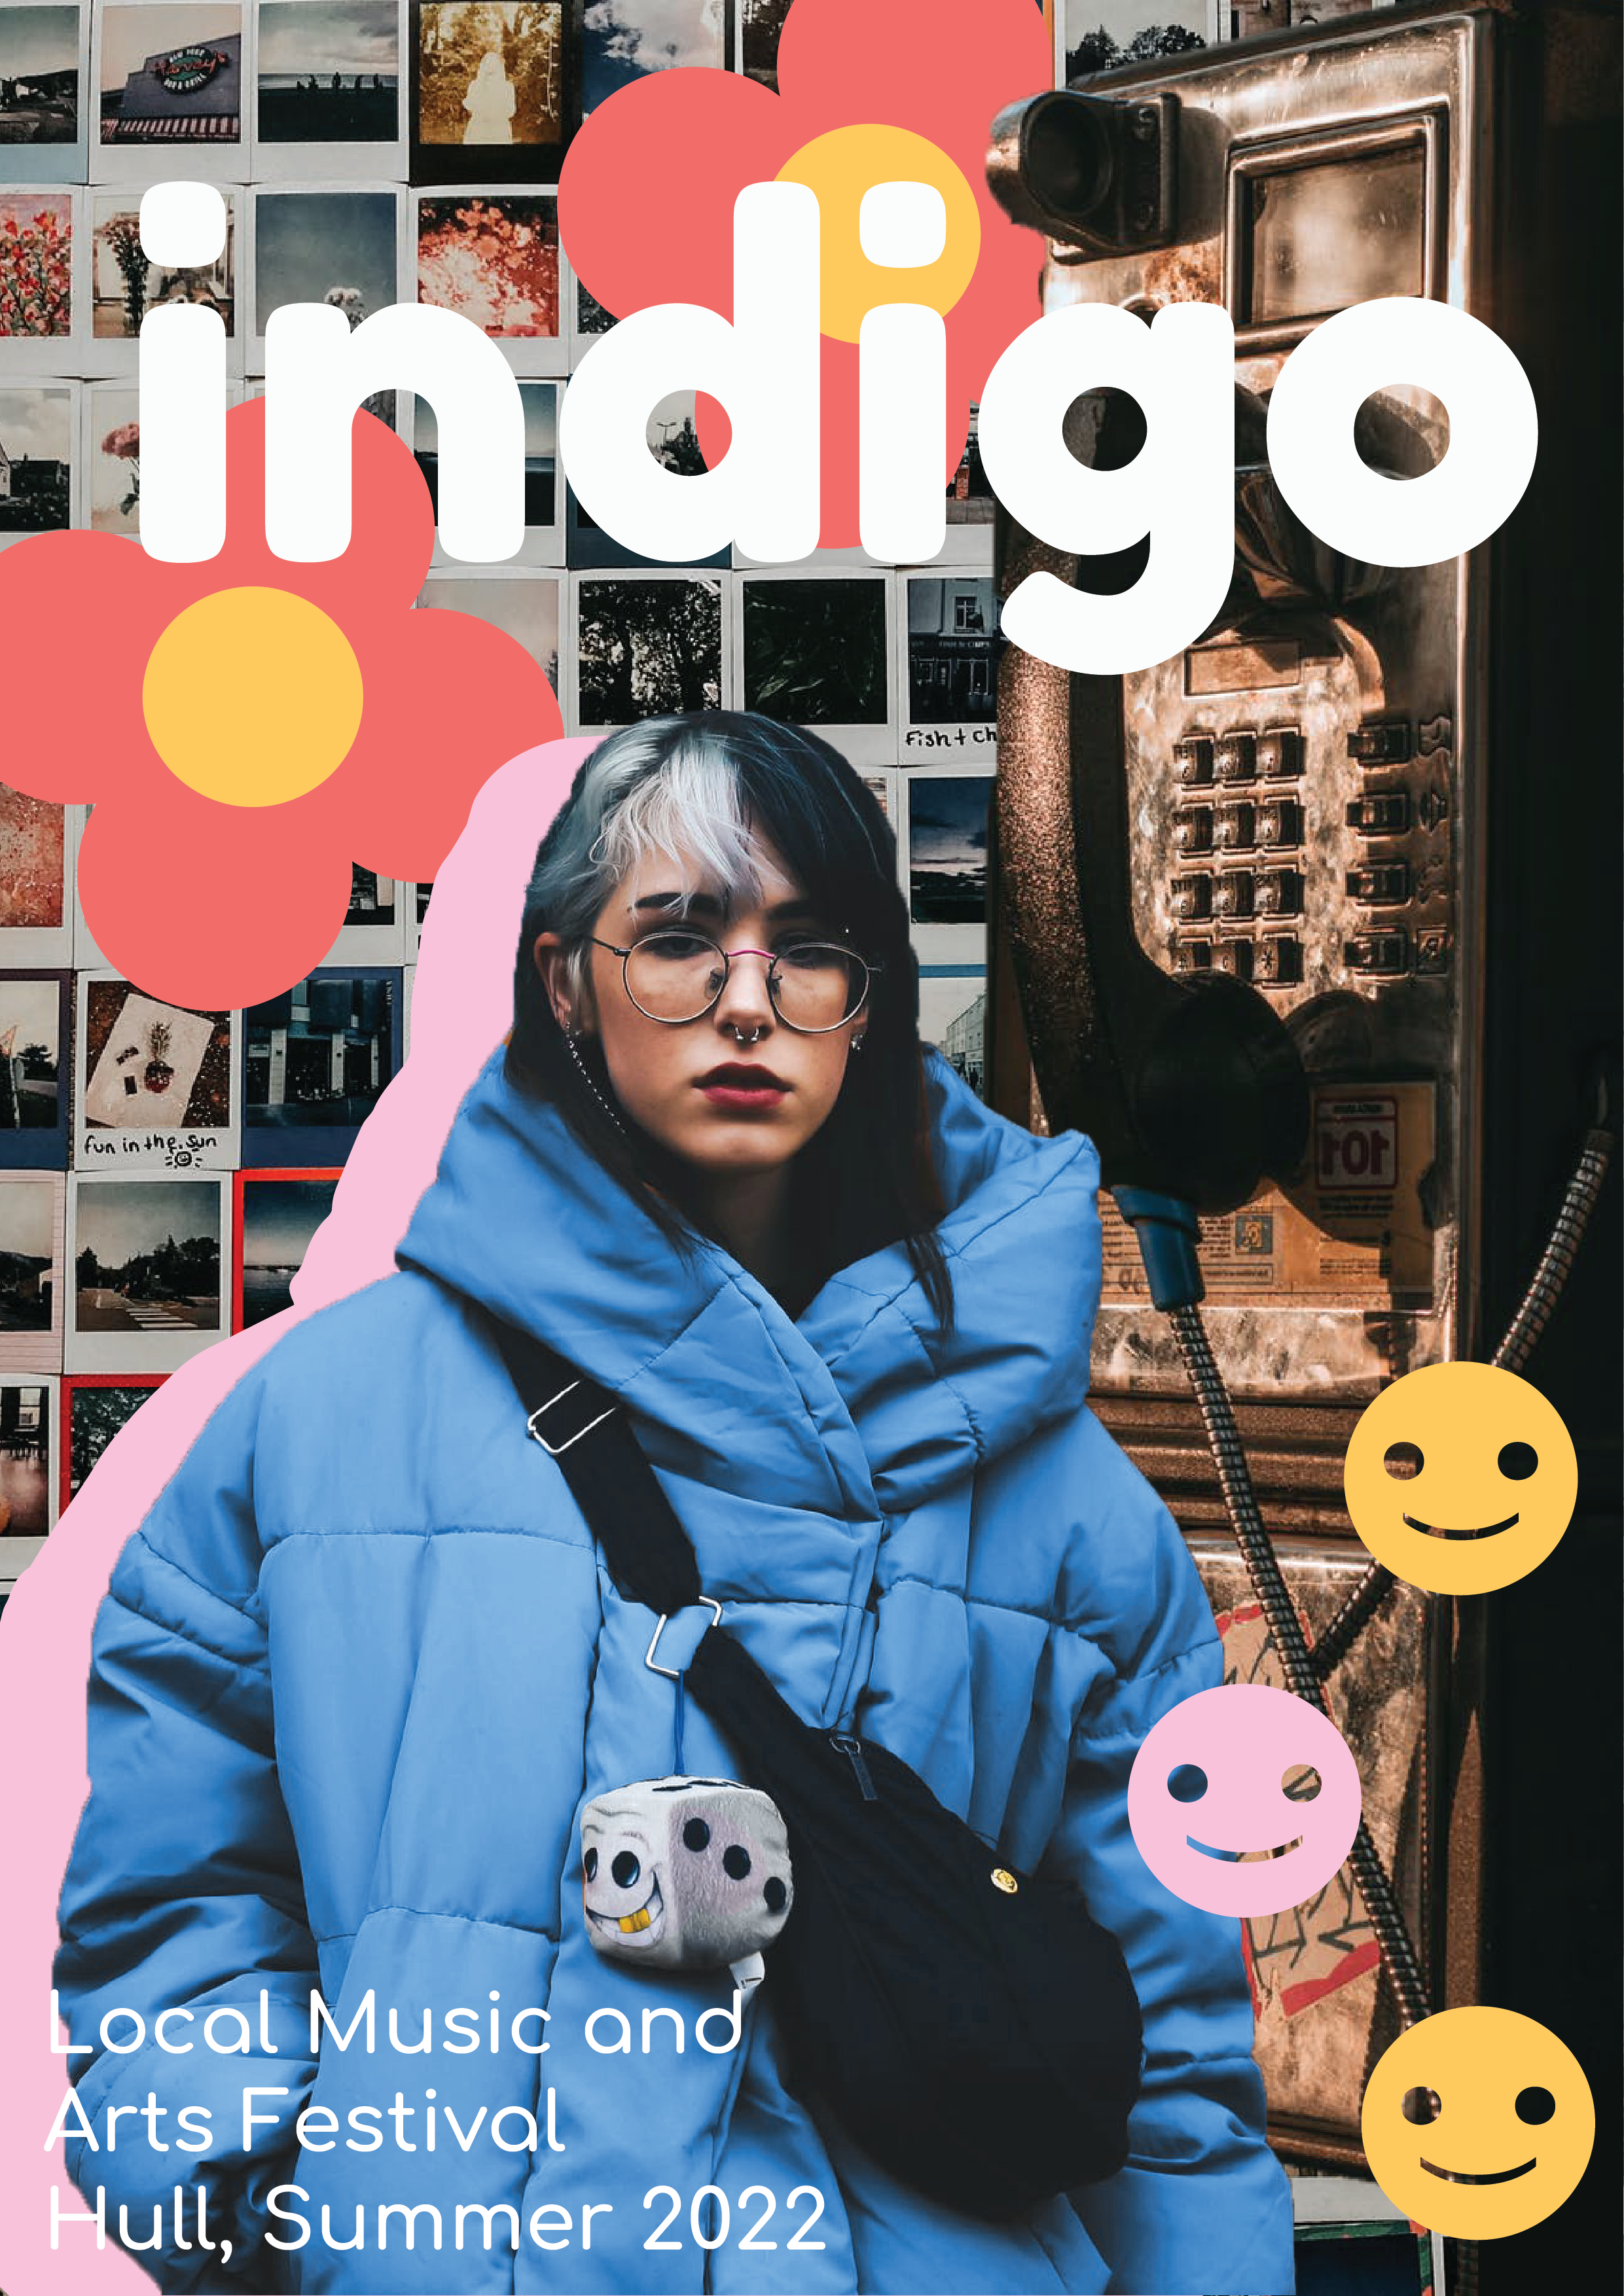
This image is the first one I started to edit and the image I wanted to be the focus of my design so I spent the most time on it. I first took the image into photoshop and cropped out the extra background I did not want to use. Once I had done this I then took the quick selection tool and started to select the parts of the image I wanted, removing and adding to the selection to get a clean selection around the figure in the image. After I had my selection correct, I inverted this selection and made a mask to hide the unwanted background. Once I had done this I played with the brightness and contrast a little to get the image to look more like I wanted. As I was looking at the original image and the one without the background I decided I really liked the use of blue in the background and I wanted to bring this to the figure in the image. Using a mask and a fill layer I used a blue colour and coloured over only the jacket within the image, I then set this layer to Hue and left the opacity on full. This gave the jacket the look of being blue instead of yellow and I liked this a lot better for what I had in mind.
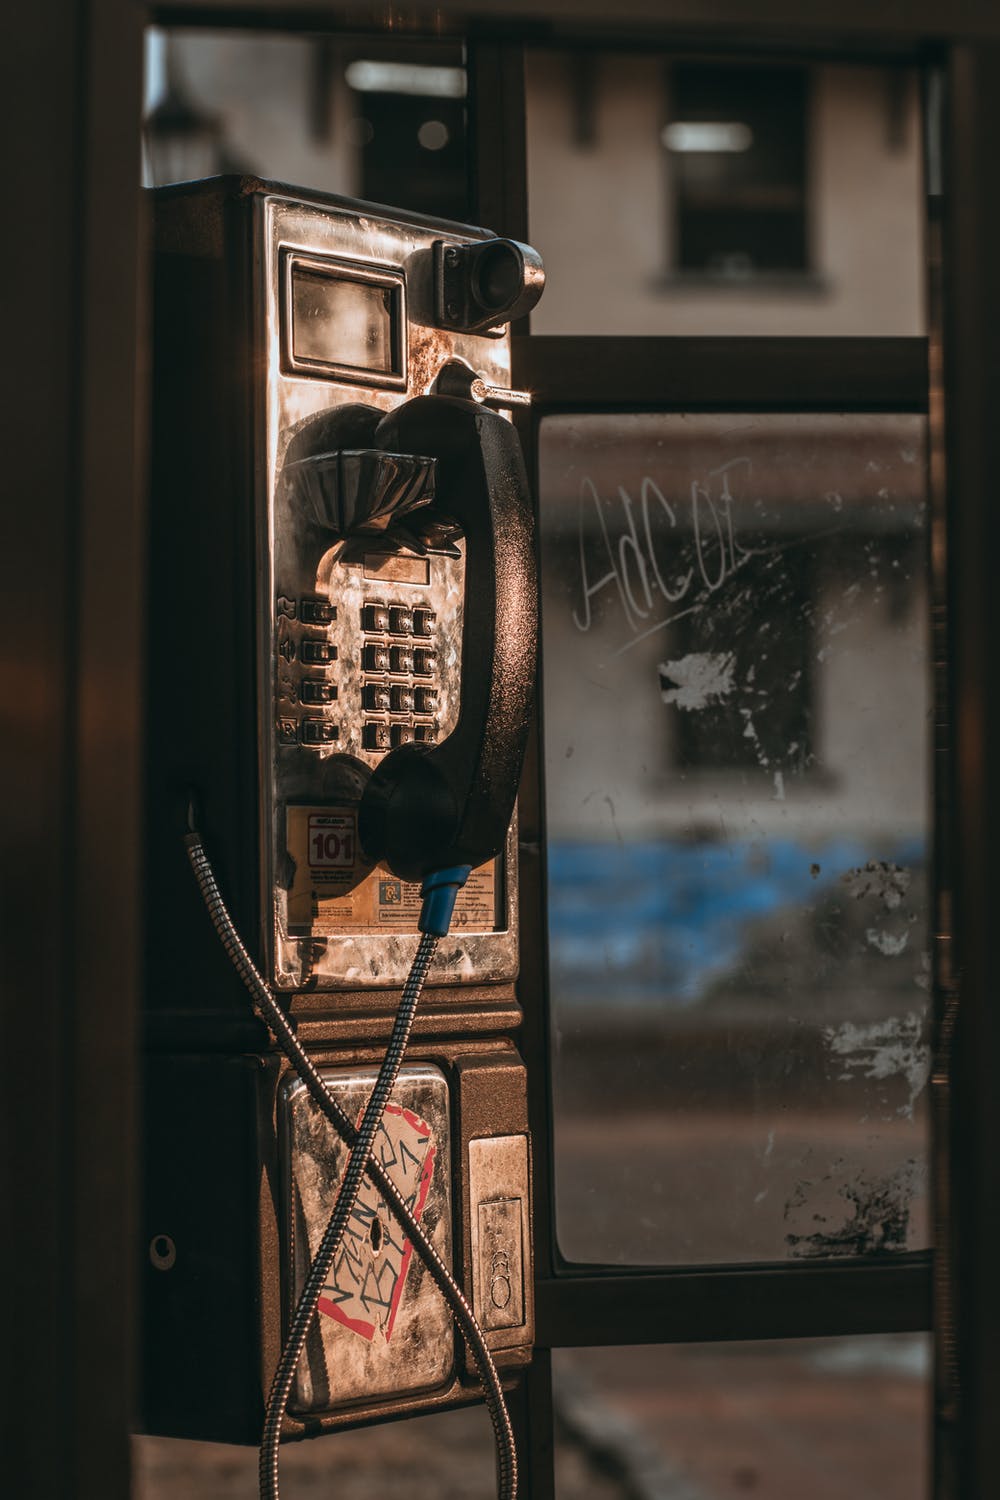
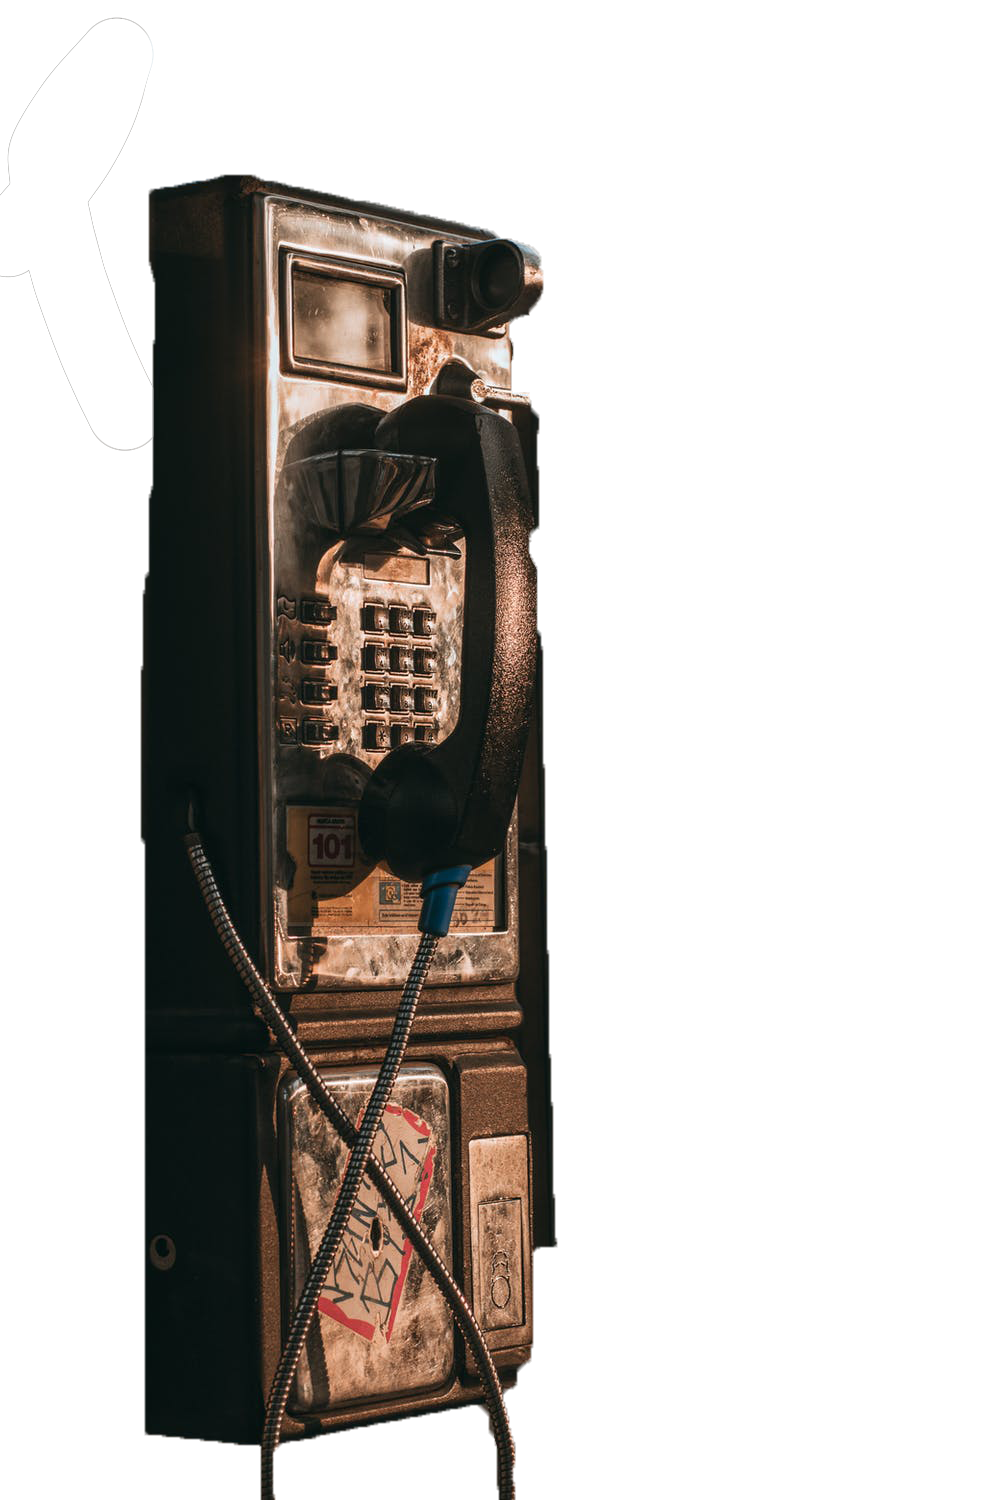
I then proceeded to edit the telephone box image that I also had. I did the same thing with masking the layers and removing the background elements I didn’t want within the image. The final image I chose was a wall of polaroids that I didn’t edit at all as it was going to be the background that all my other images were layered on top of. I really love how all of my image editing turned out and think that my choice to really play with colour on the figure that was to be the lead of the collage helped to really give the design some life and cohesiveness.

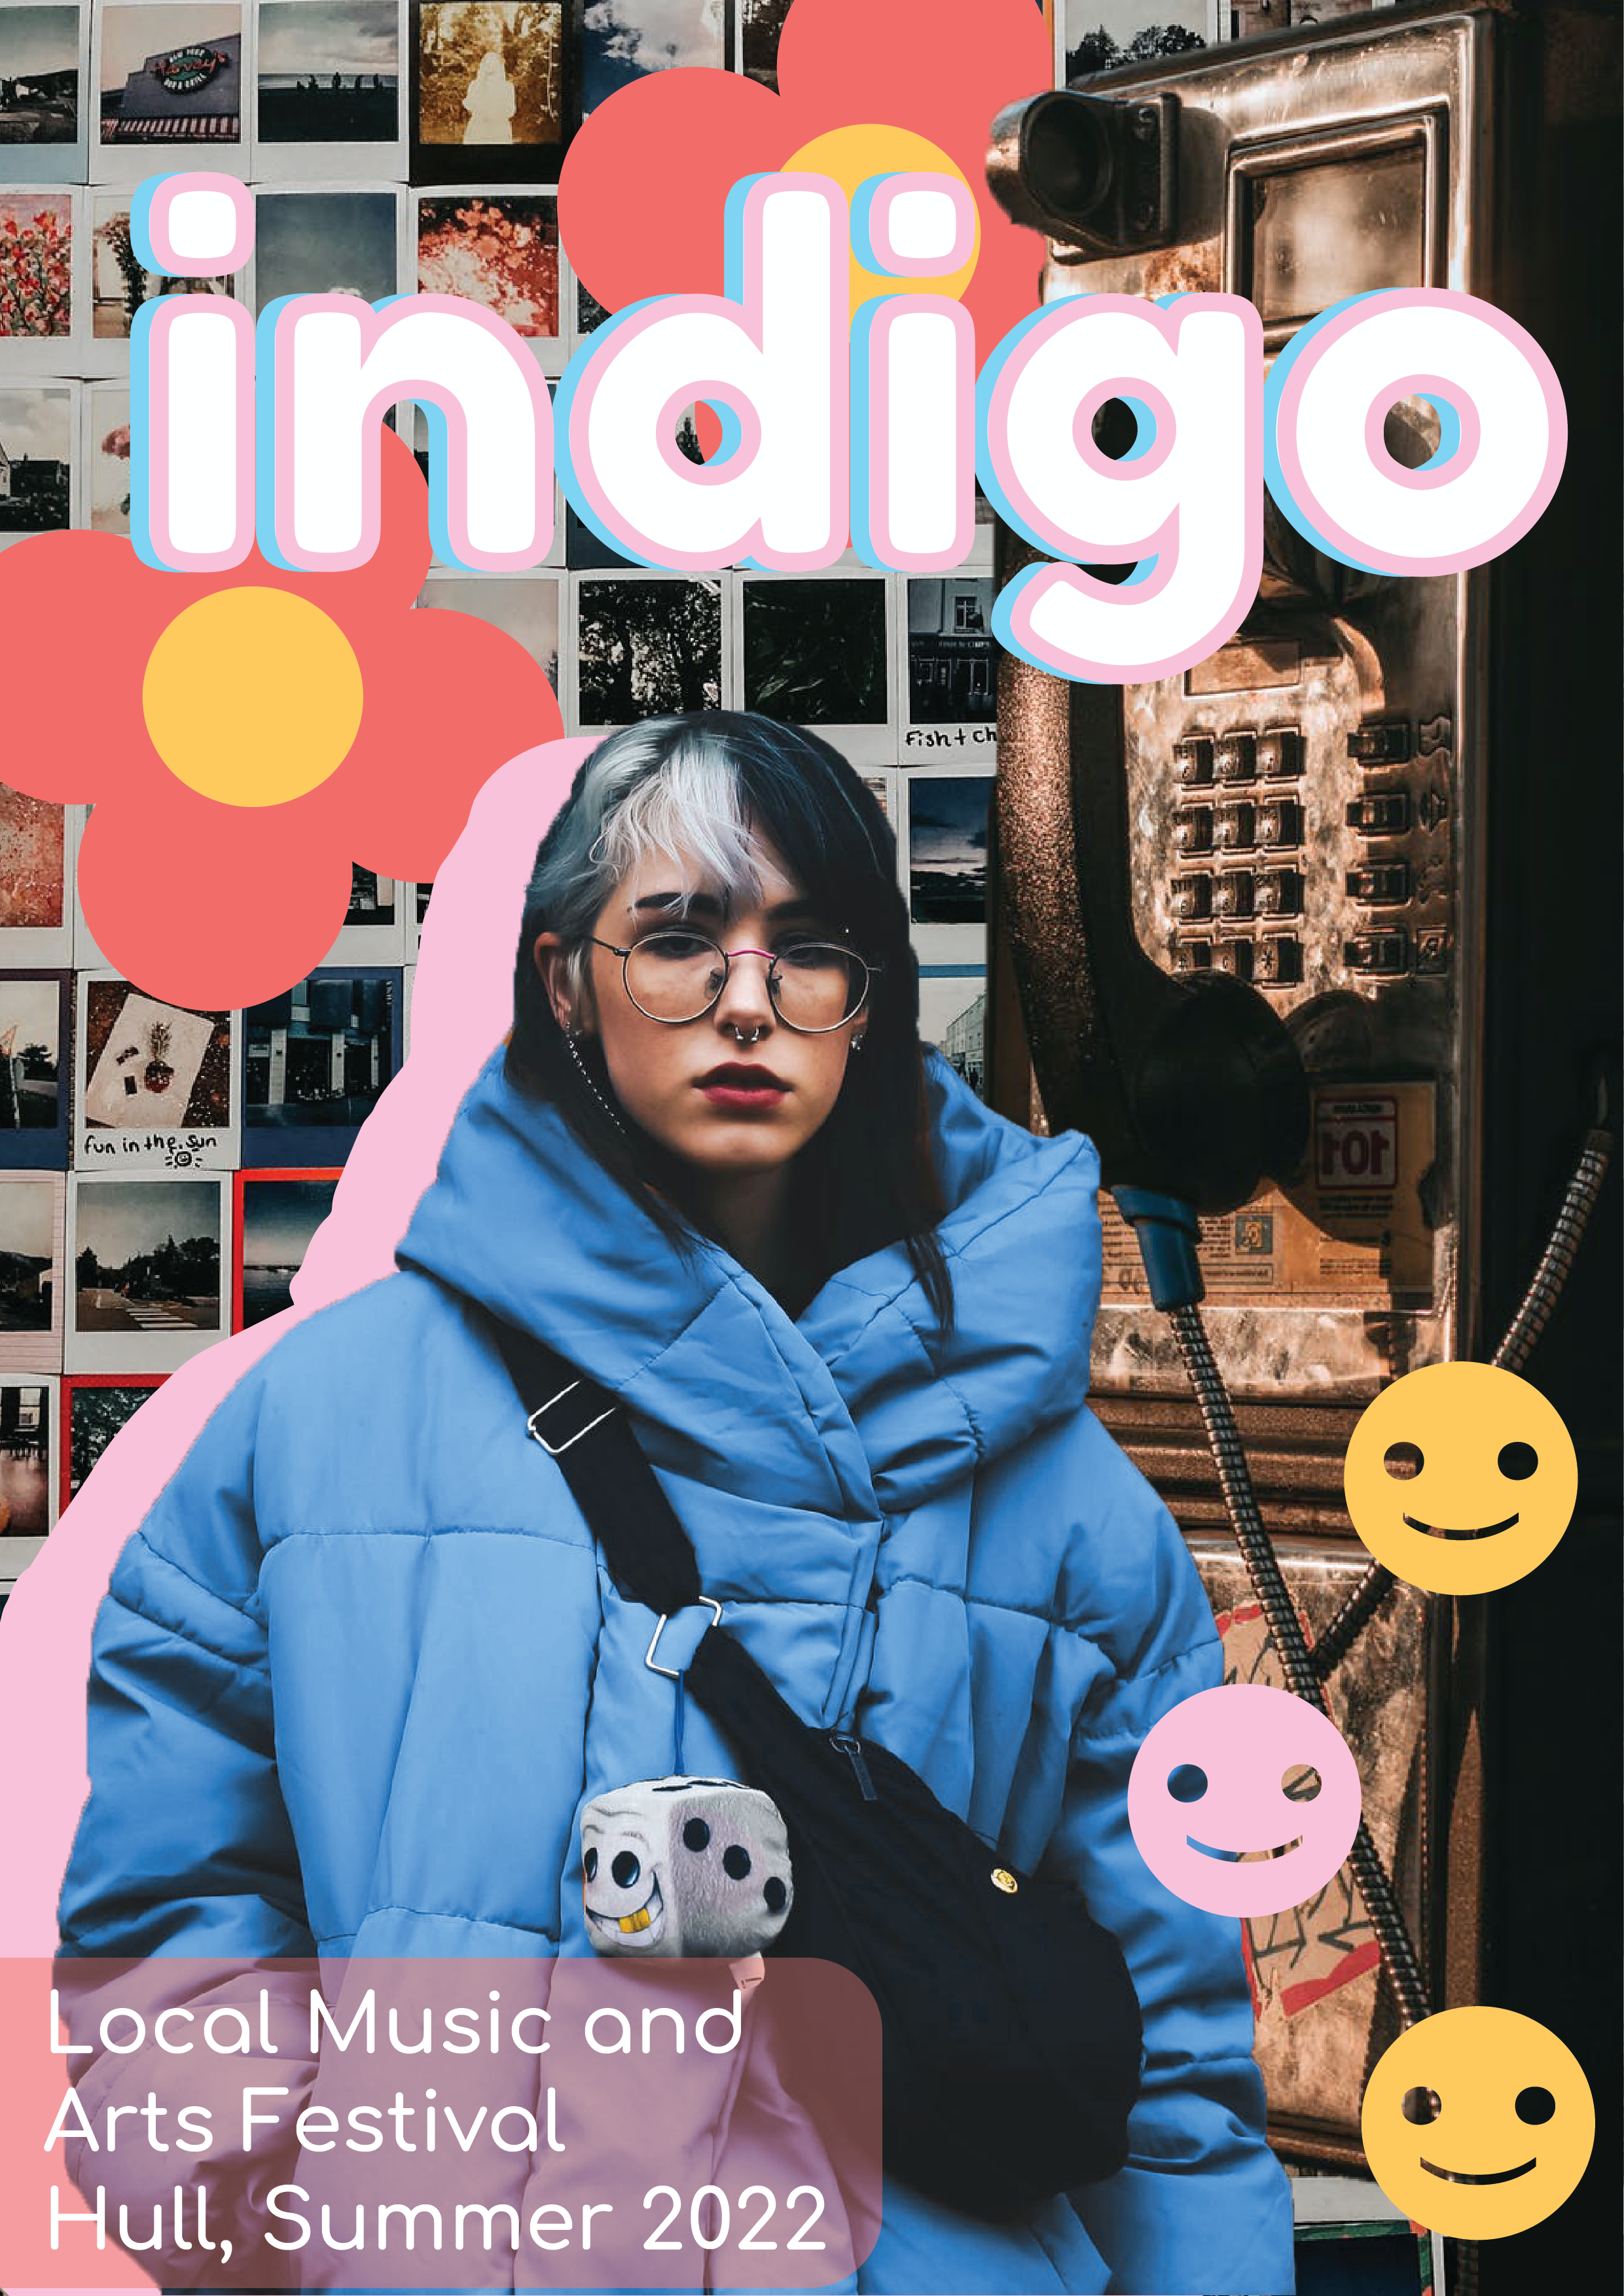
Now that all my assets were prepared I started to play with them all and move things around, experimenting with the sticker vector graphics I created and with the font that I had chosen. I kept referring to my colour palette for colours to use on the piece. I chose pink, yellow and the orange tone to be the accent colours of this design for all of the stickers. I chose these as I felt it tied in with the warmness of the background images whilst also contrasting really well with the foreground image of the woman that I had edited. I think the blue in the image really feels like a statement and draws the eye to the design really effectively. Below I was experimenting with the font stroke and how the bottom text could be layered with shapes to provide more visibility. As this was all experimentation it really helped me to see what would work and what wouldn’t for my designs.
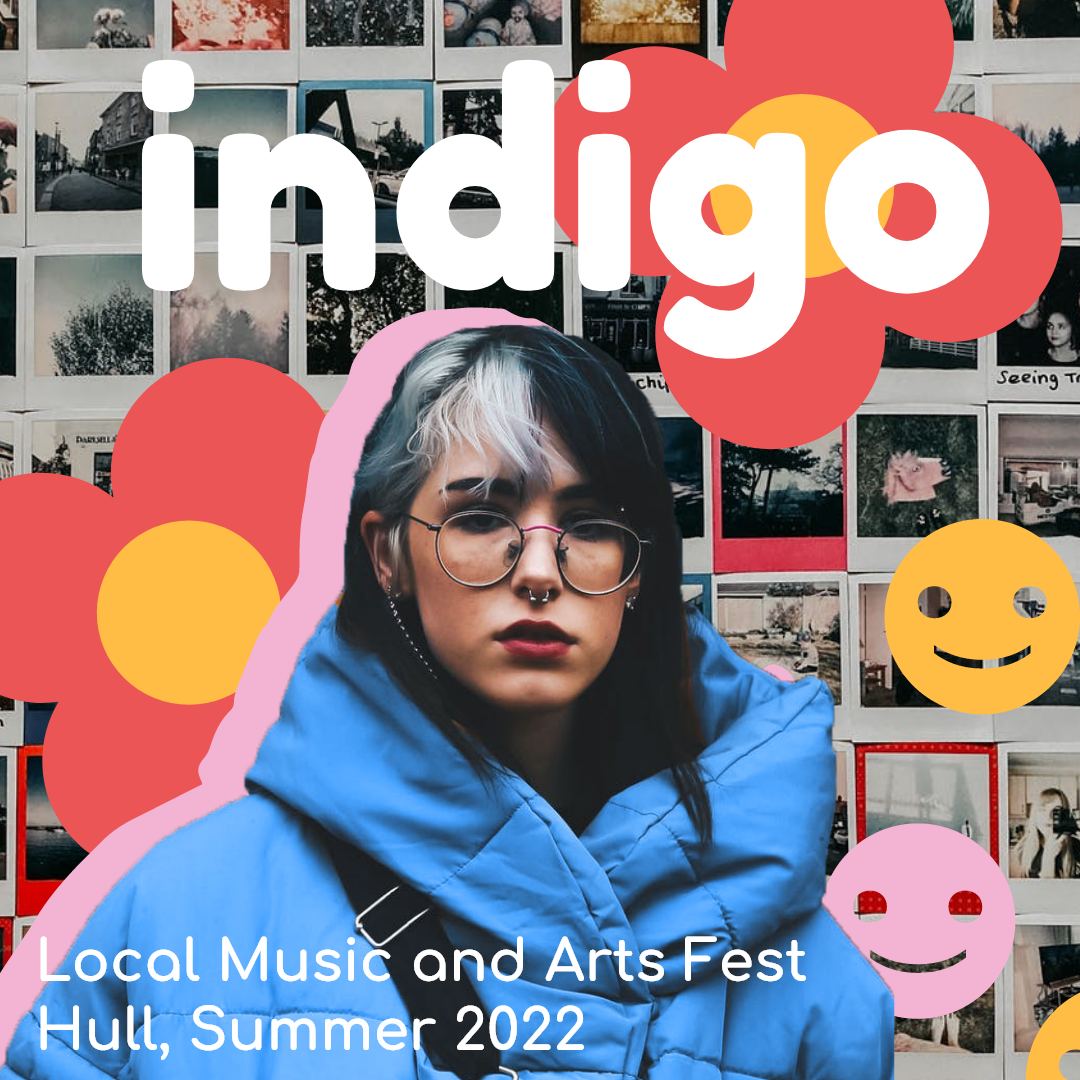
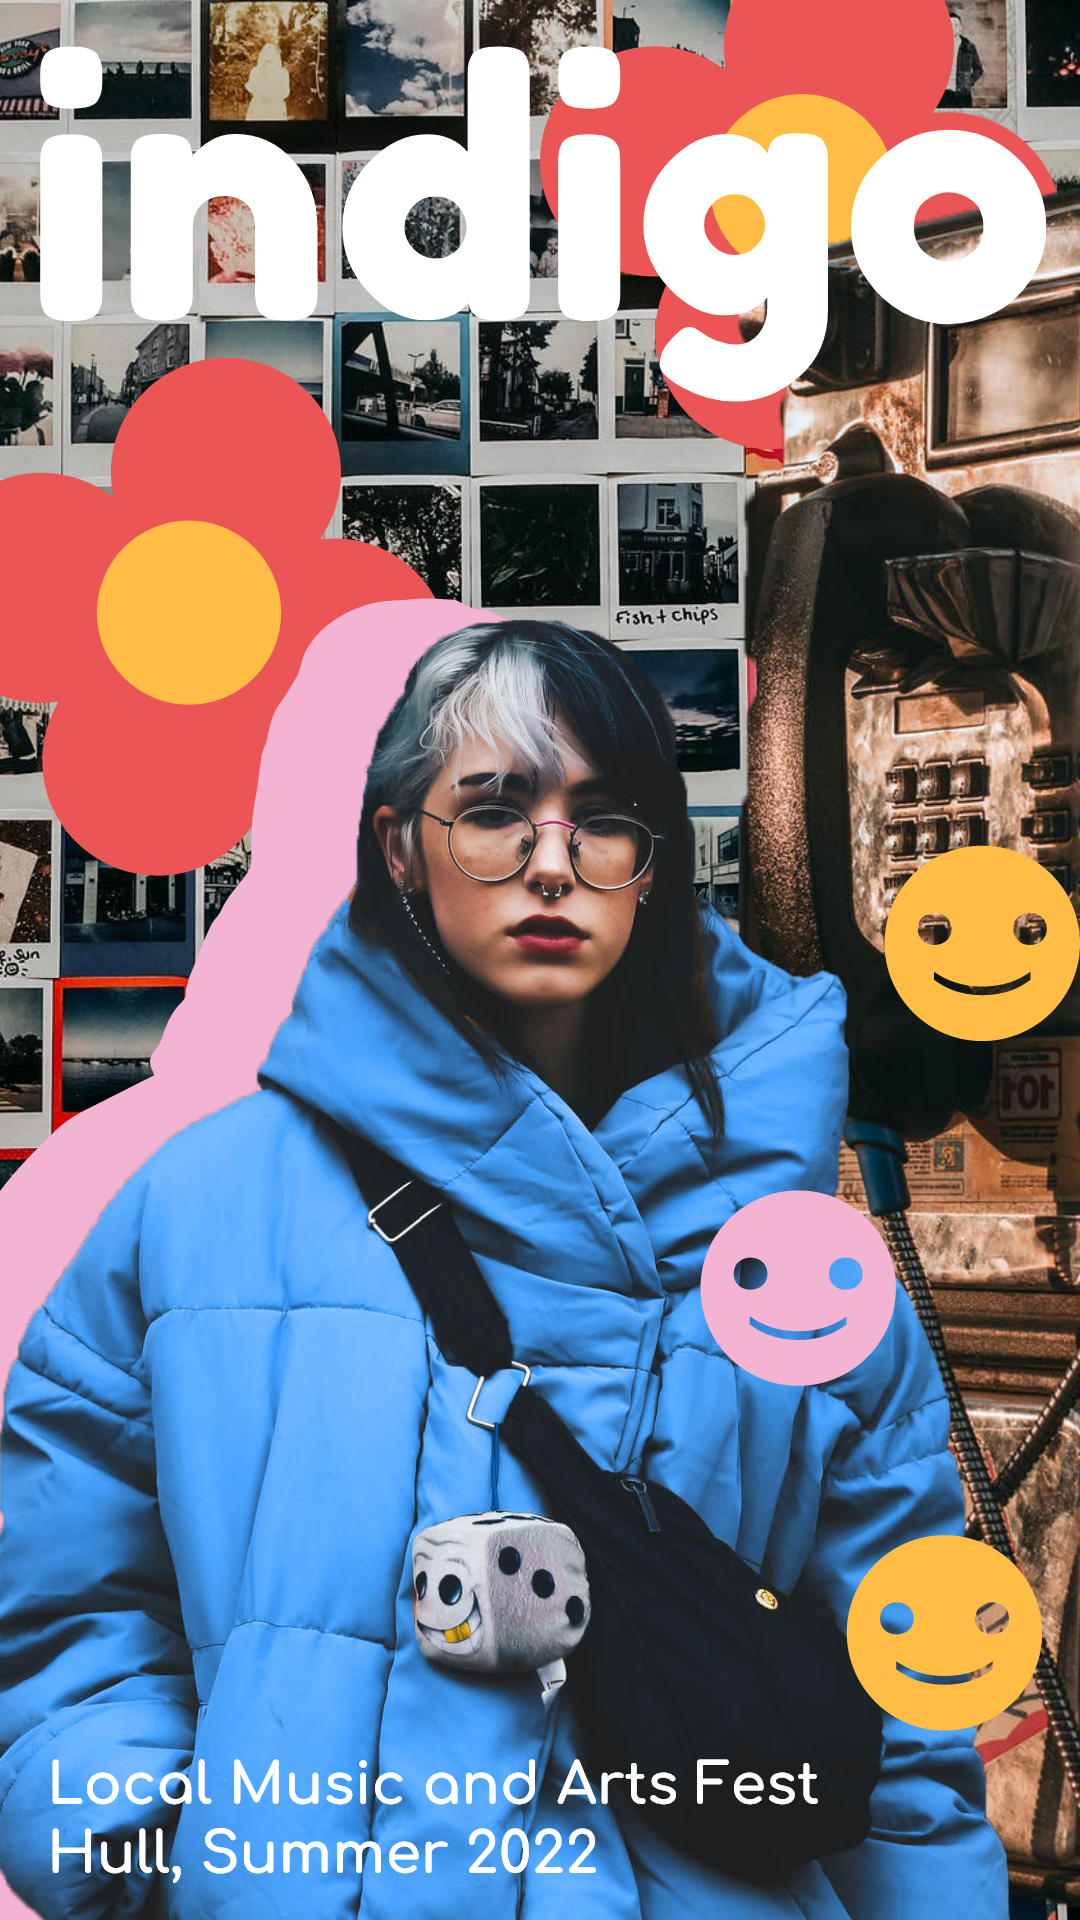
Below is some more experimentation based on my first poster attempt above. These are experiments I created for an Instagram post and an Instagram story respectively. I wanted to see how my design choices would scale to different mediums rather than just poster designs to really see how effective the design was and if it would be able to translate through well without compromising information.
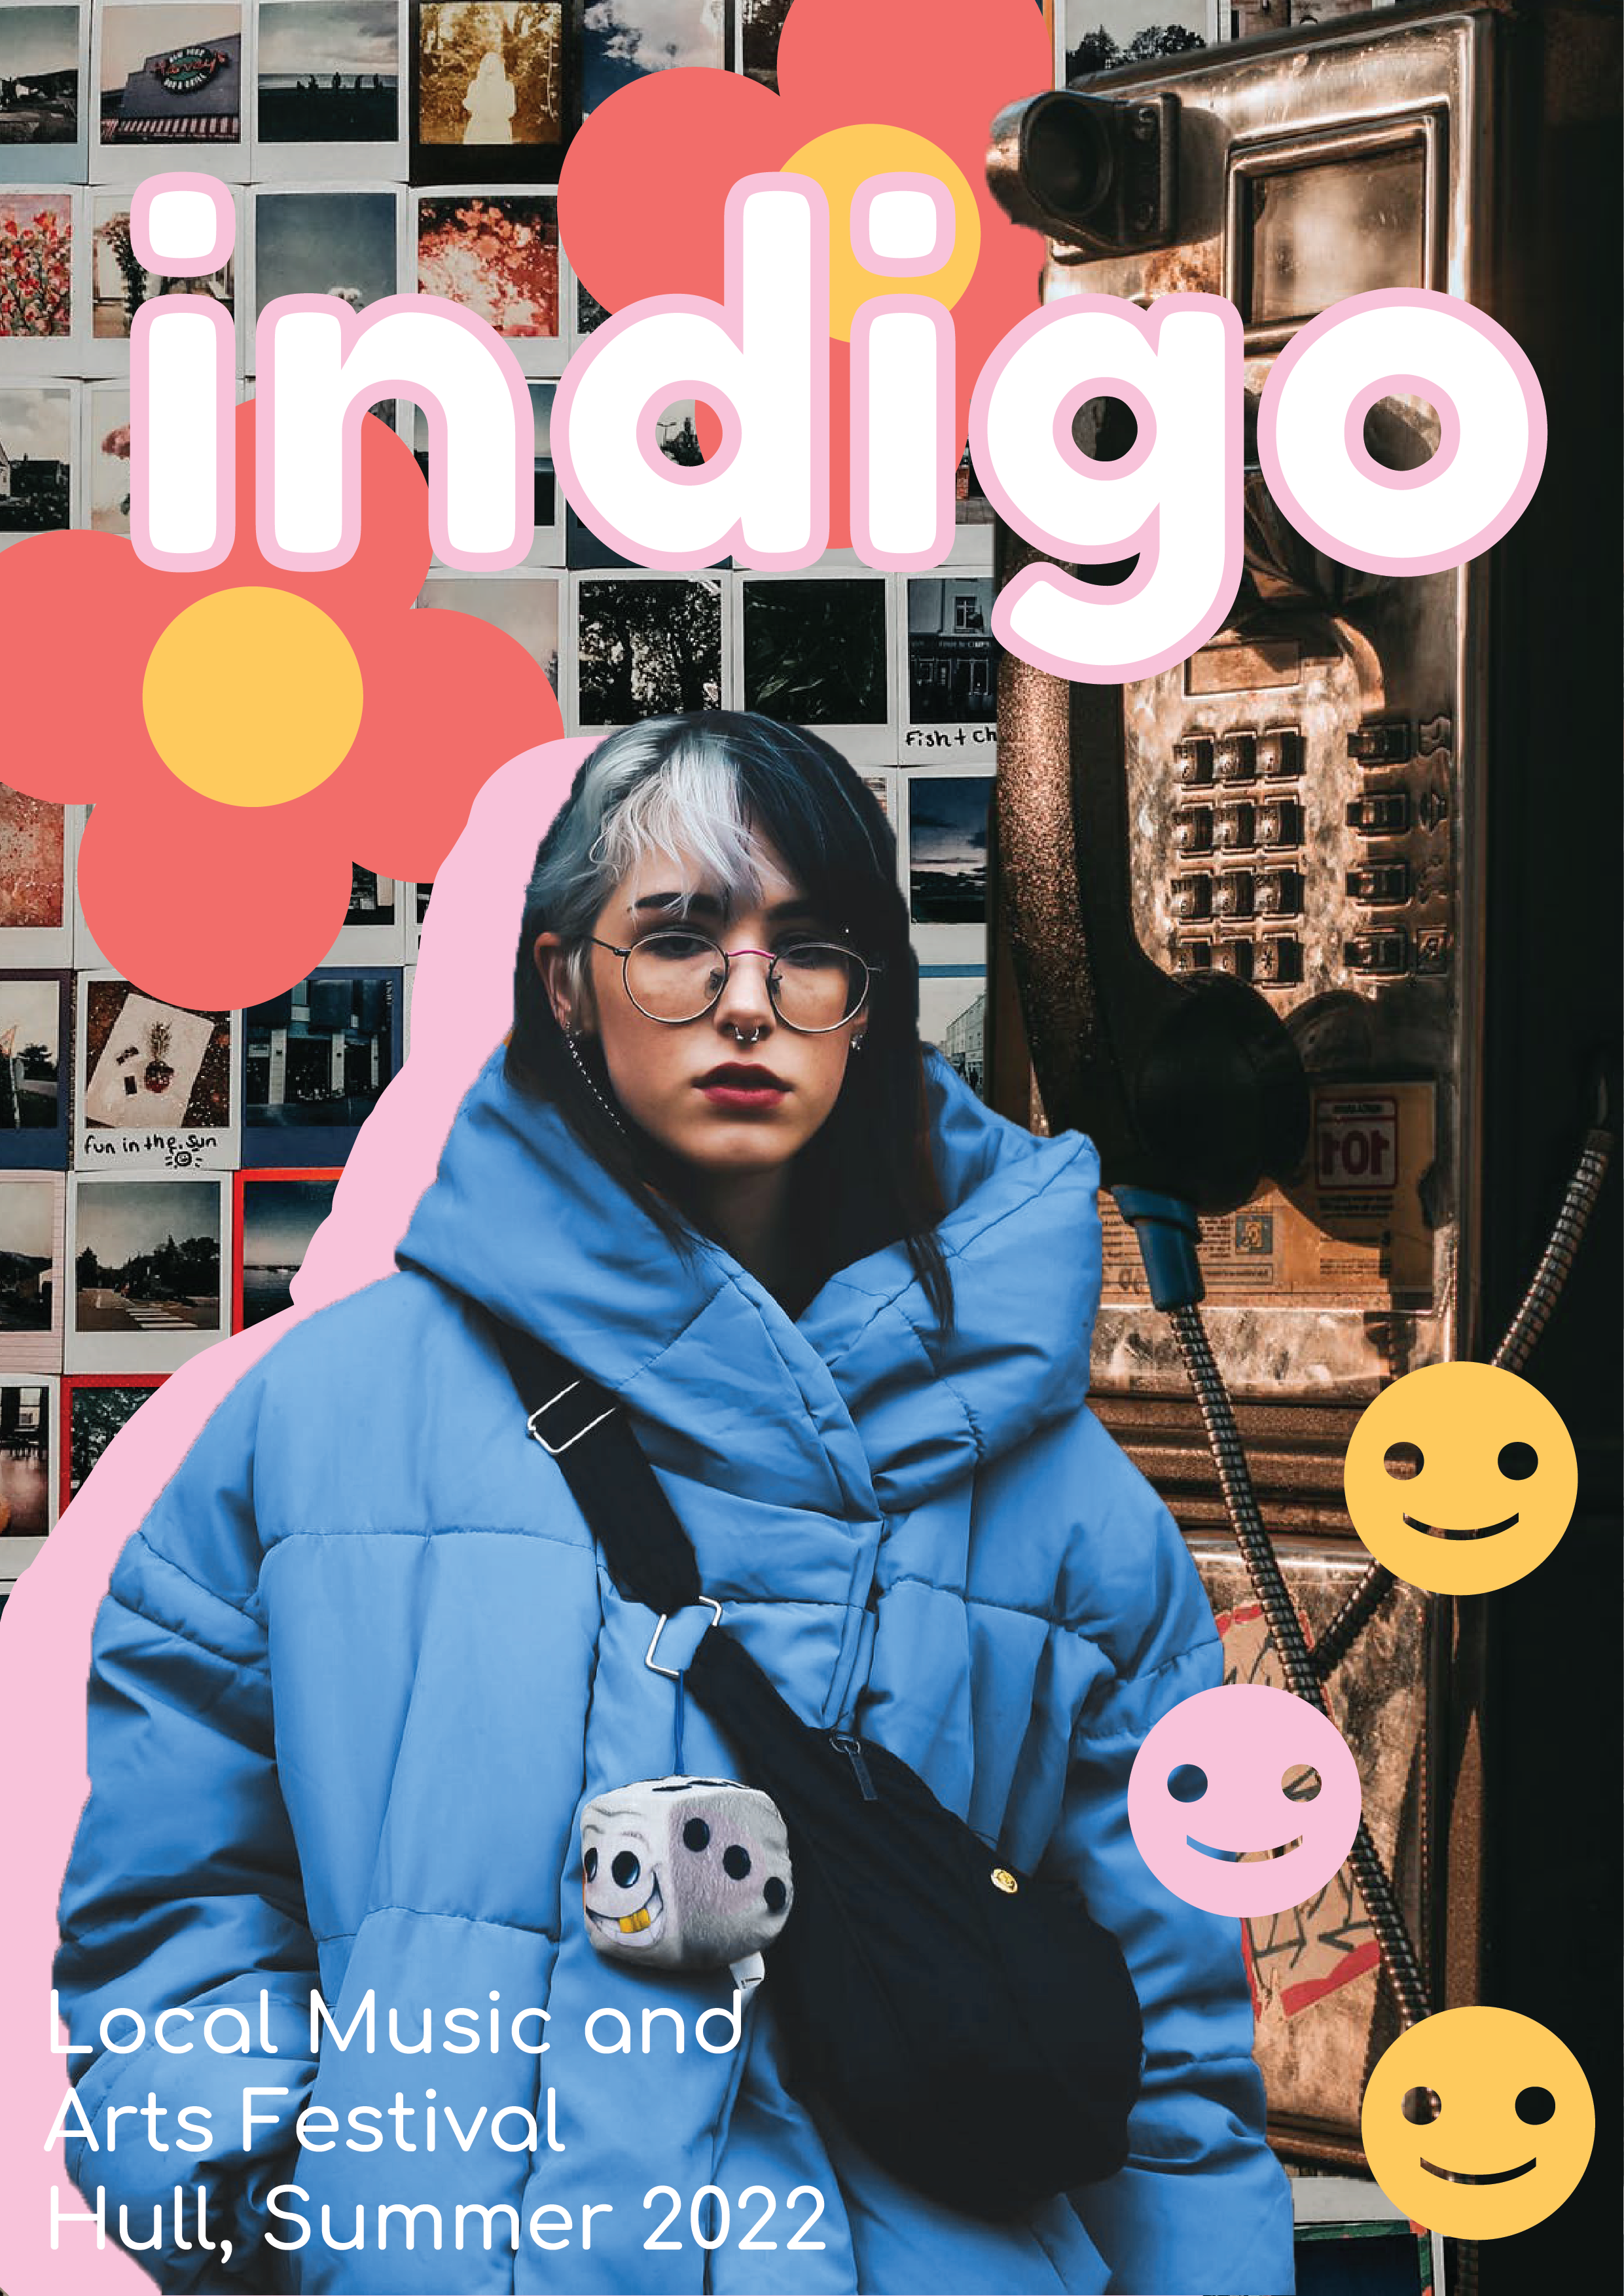
Once I had really had the chance to make these first attempts at posters and designs I decided it would be good to go back and rework them and refine the designs with more information and to be more finalised. Below are the reworked designs that I have created. I think these are worthy of being the finals for this first design. I made 2 instagram post advertisements, a story advertisement and then a poster. These all have the full information on them and are correctly formatted to the social media. The instagram post adverts can also be used cross platform as they are scaled properly to fit a standard post on all social media sites. I really love how this design turned out, I think the use of the blue and pink strokes on the text really ties all of the images and stickers together and really makes the design feel whole. I decided that the finalised text and information on the poster would have a dark blue transparent background to them , the colour taken from my colour scheme, so that the white text would stand out starkly against the background and be clear and easy to read.
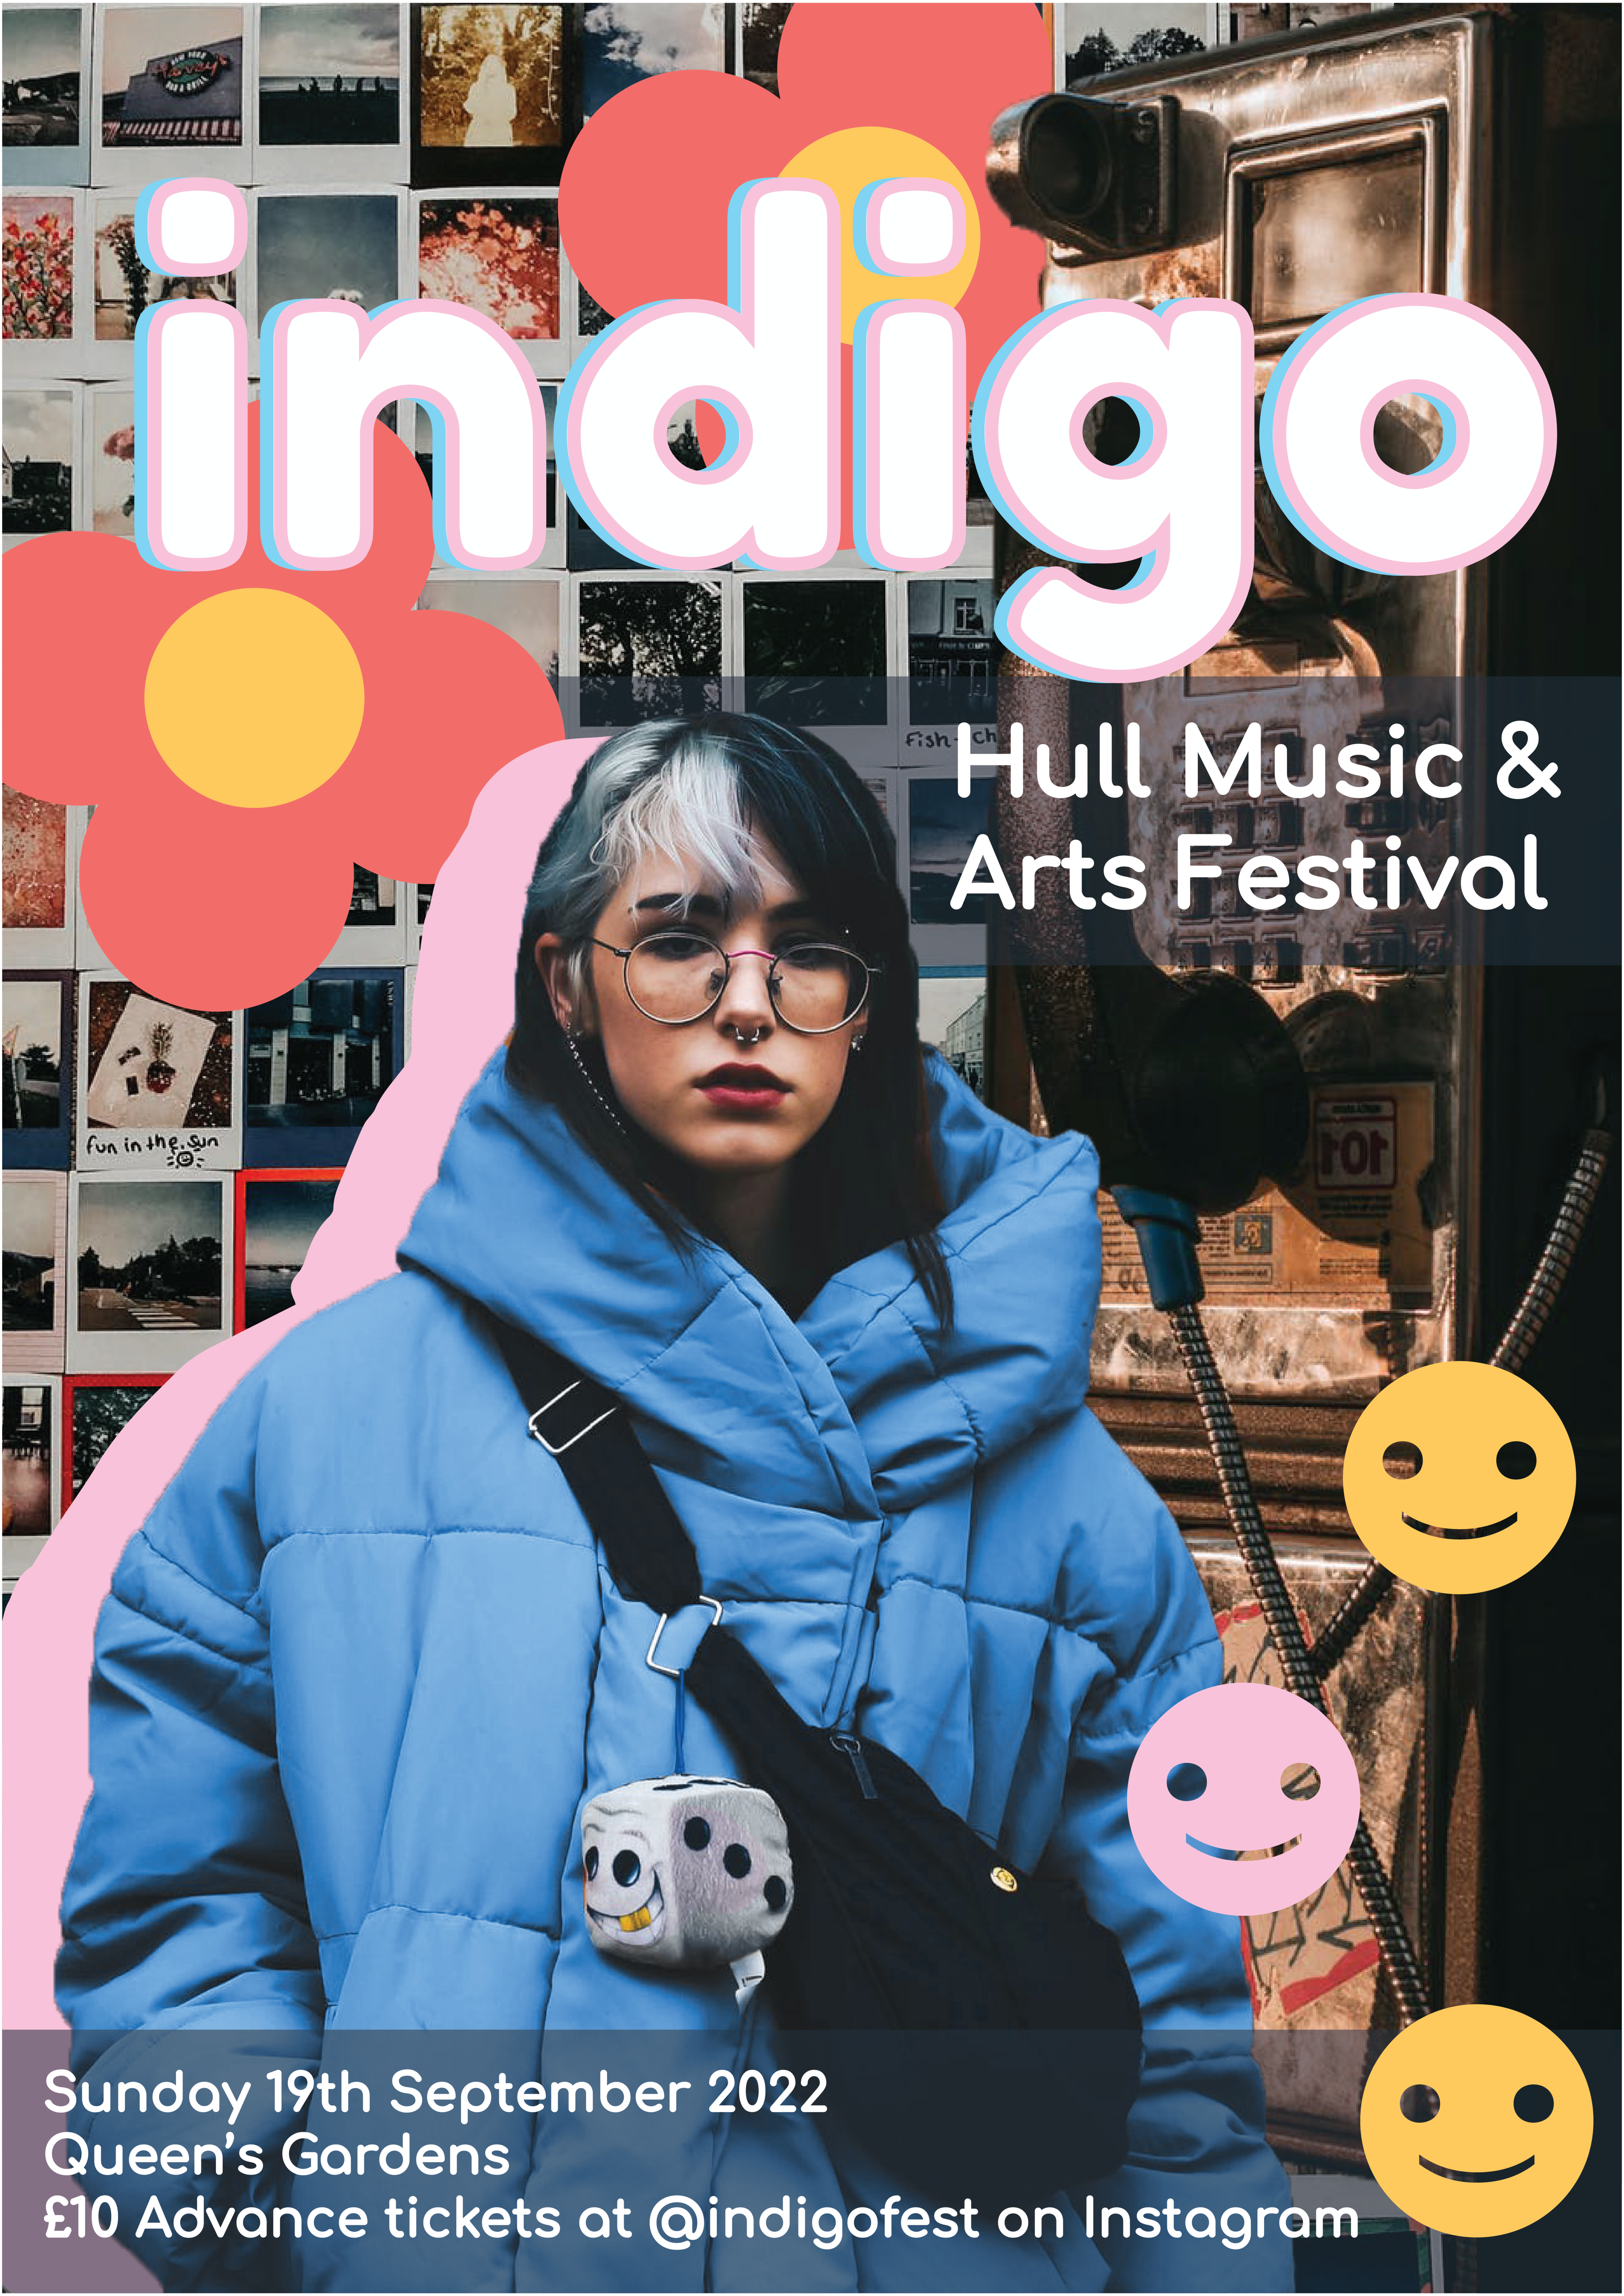
Image References:
Adesina. D, 2018. Woman in Yellow Coat With Black Crossbody Bag Closing Her Eyes. [online] Available at: https://www.pexels.com/photo/woman-in-yellow-coat-with-black-crossbody-bag-closing-her-eyes-833052/ [Accessed 18 March 2022].
Quintero. L, 2019. Black and Gray Telephone Booth. [online] Available at: https://www.pexels.com/photo/black-and-gray-telephone-booth-2111759/ [Accessed 18 March 2022].
Fotios. L, 2020. Collection of old instant photos with trips. [online] Available at: https://www.pexels.com/photo/collection-of-old-instant-photos-with-trips-5653734/ [Accessed 18 March 2022].