
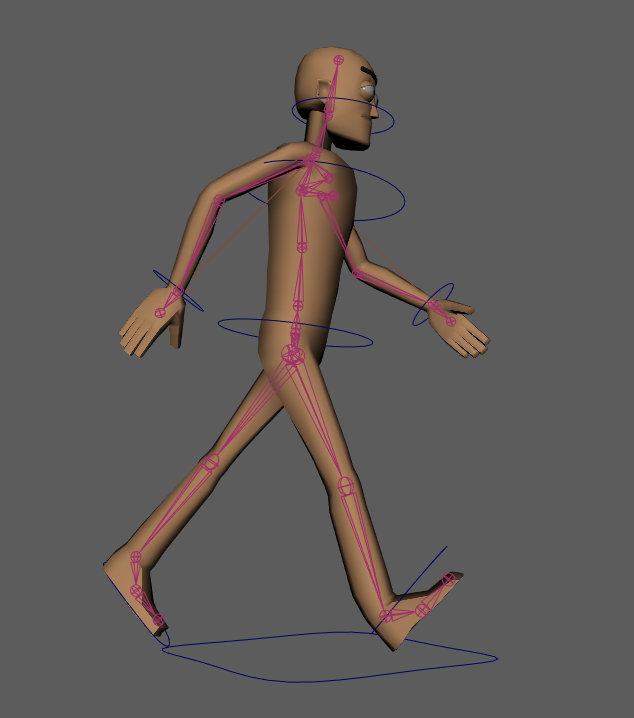
To start animating my first animation I first set the timeline to 25 frames. I then begun to position the characters legs into place for the first step. I used the S key to keyframe each of the controllers into the correct position. I started with the legs for this animation as I wanted to focus on each part individually to make sure it was working smoothly.

I set keyframes every 4 frames along the timeline for the legs and made sure that it looped back to the same position at frame 25 by copying the first frame to this position. I used the rotate tool on some of the frames to make sure that the feet were angled correctly within the animation and so it looked like the feet were smoothly hitting the ground at each step.
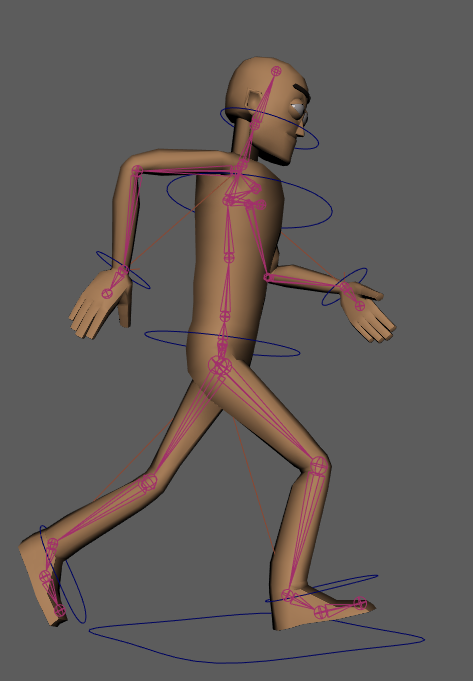
I set keyframes every 4 frames along the timeline for the legs and made sure that it looped back to the same position at frame 25 by copying the first frame to this position. I used the rotate tool on some of the frames to make sure that the feet were angled correctly within the animation and so it looked like the feet were smoothly hitting the ground at each step. I also used the hip controller to vary the height and orientation of the body to make it look like he was stepping with force. I was also making sure to watch the animation through and add any extra keyframes into the timeline where I felt the animation wasn’t smooth enough or looked a bit weird.
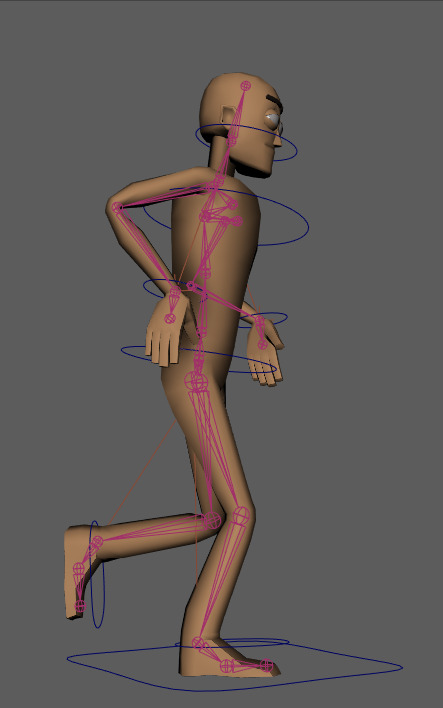
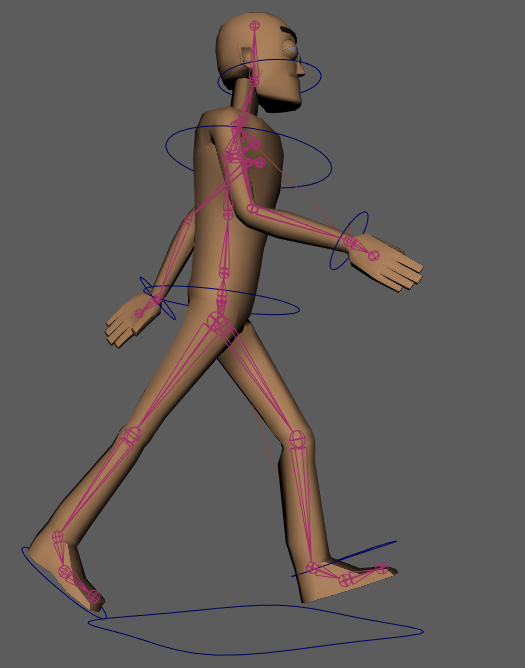
Once I had the legs and feet done for the animation I then decided to work on the arms. I made the arms have a forwards and backwards swinging motion and made the opposite arm match the legs position to have it look natural. I had to do a few more keyframes on the arms than the legs so that the cross over when they changed position would be smoother and so the hands were at the correct angles. After the arms I added some tilt to the head to make it bob up and down throughout the animation which I think added a lot of personality.